
sRGB vs Adobe RGB vs ProPhoto RGB: What Should Photographers Actually Use?
Search for sRGB vs Adobe RGB and you get two kinds of answer: academic gamut diagrams, or confident one-liners that contradict each other. "Always shoot Adobe RGB." "Never use anything but sRGB." Both are wrong in the same way — they treat colour space as one setting, when a photographer actually makes three separate choices.
This guide untangles them. First the three spaces in plain terms, then the three places where you choose one, then a destination table you can apply straight away: Instagram → this, client → this, print → it depends, and here is on what.
The three colour spaces in one paragraph each
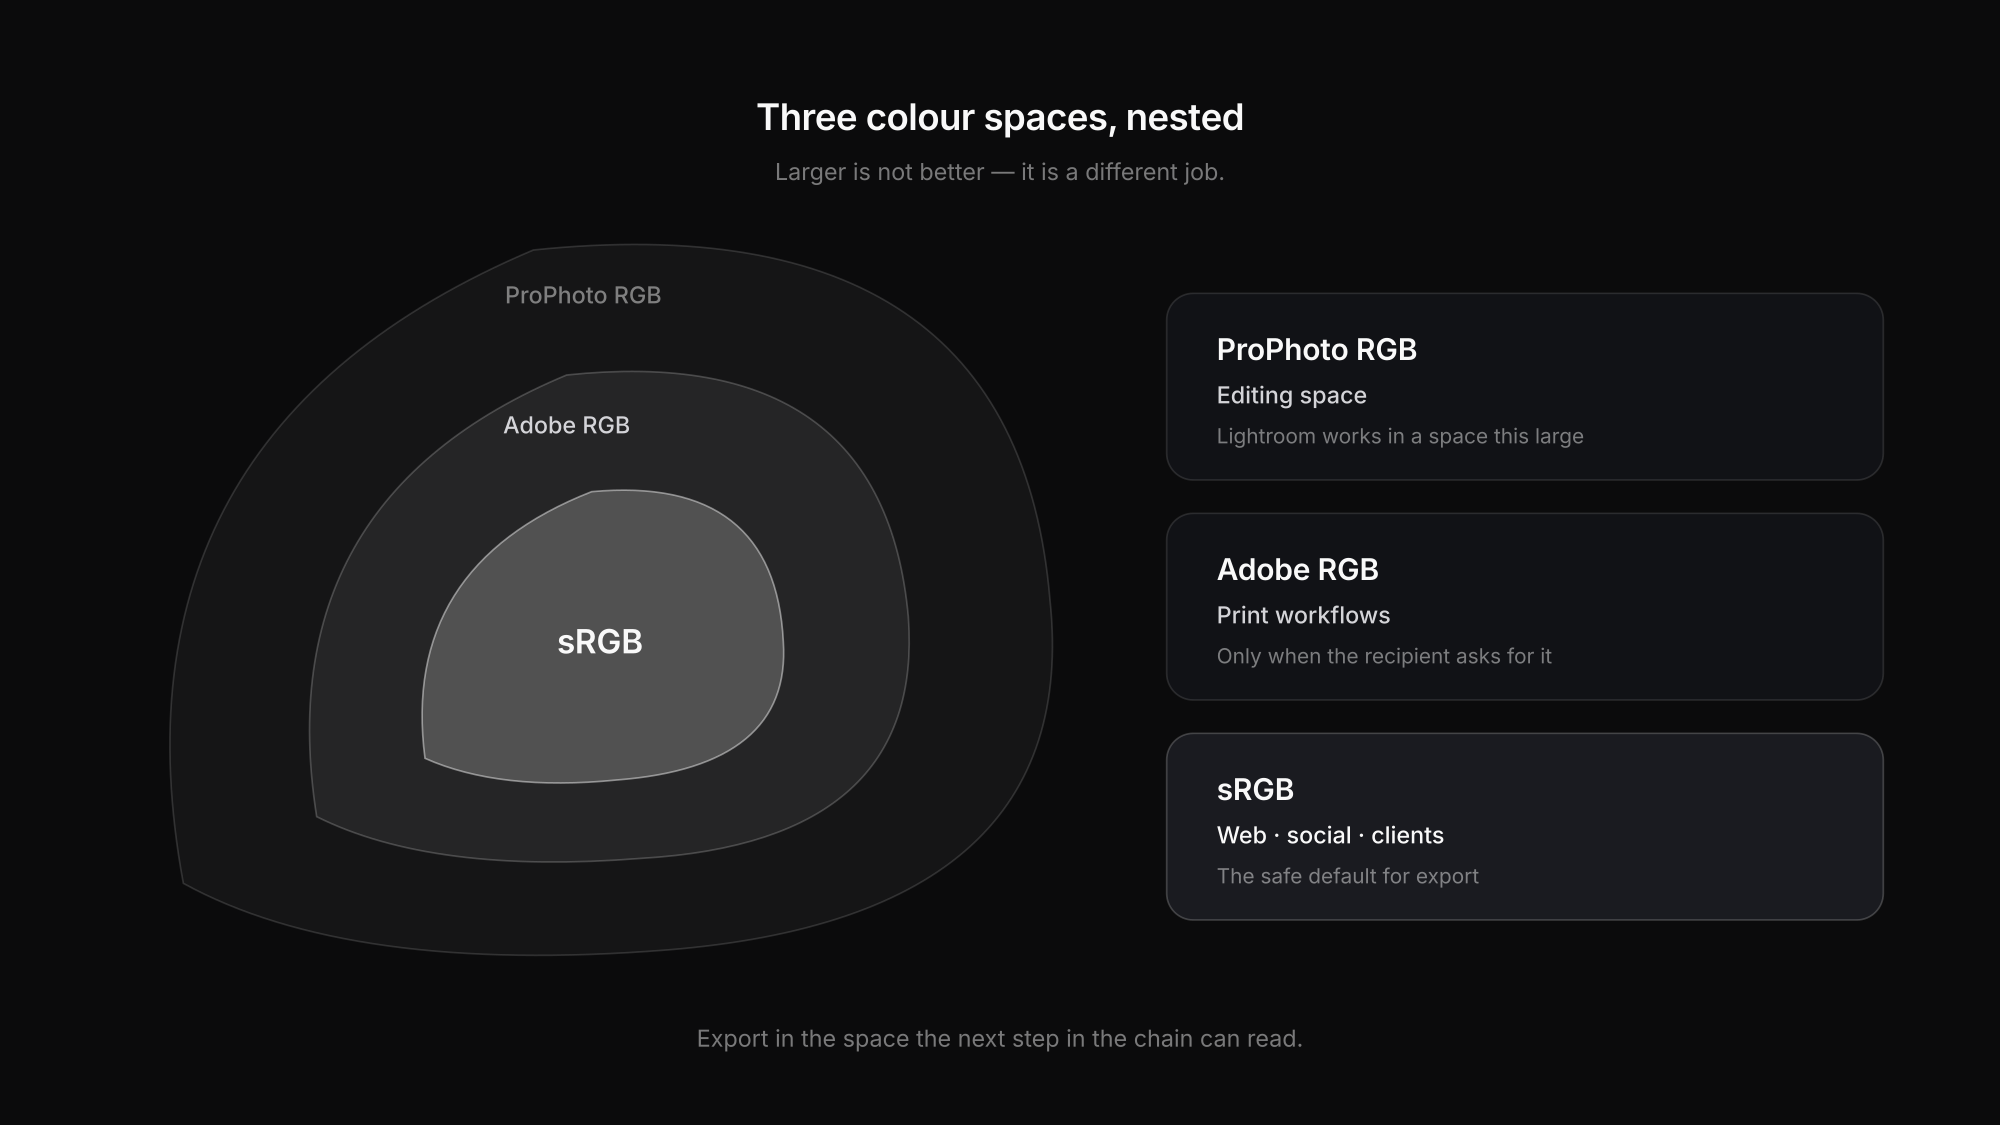
sRGB is the smallest of the three and the standard for the web. The W3C's sRGB proposal defined it as the default colour space for interoperable display on the internet, and untagged images on the web are still assumed to be sRGB.
Adobe RGB covers a noticeably larger gamut, mainly in cyans and greens that some printing processes can reproduce but sRGB cannot describe. It was designed with print workflows in mind.
ProPhoto RGB is very large — large enough to hold practically every colour a camera sensor can record, including some no screen or printer can show. That makes it excellent as a working space for editing and a poor choice for files sent to people whose software you do not control.
Choice one: the colour space in your camera
Most cameras offer sRGB or Adobe RGB in the menu. Canon's own manuals recommend sRGB for normal shooting and Adobe RGB for commercial printing and other professional uses with colour-managed equipment.
Here is the part many guides miss: this setting matters for JPEGs, not for RAW data. A RAW file is sensor data that has not been rendered into any colour space yet. Switching the camera to Adobe RGB does not make a RAW file "contain more colours". It affects in-camera JPEGs, the embedded preview and sometimes a metadata tag — details that vary by manufacturer.
So: if you shoot JPEG and deliver straight from the camera, sRGB is the safe default. If you shoot RAW, the camera setting is close to irrelevant for the final file — the decision that counts comes at export. Our guide to RAW vs JPEG covers when each format makes sense.
Choice two: the space you edit in
Lightroom Classic does not ask you to choose a working space, and that is deliberate. According to Adobe, the Develop module displays and processes images in a ProPhoto RGB–based space, while previews in modules such as Library, Print and Web use Adobe RGB. In short: Lightroom edits in a very large space so that nothing is clipped while you work.
That is why the common advice to "set Lightroom to sRGB" is misleading. You cannot, and you should not want to. sRGB is a destination, not a working space. In Photoshop, where you do choose, a large space such as Adobe RGB or ProPhoto RGB combined with 16-bit editing is the usual professional setup; ProPhoto in 8-bit invites banding.
Choice three: the space you export to
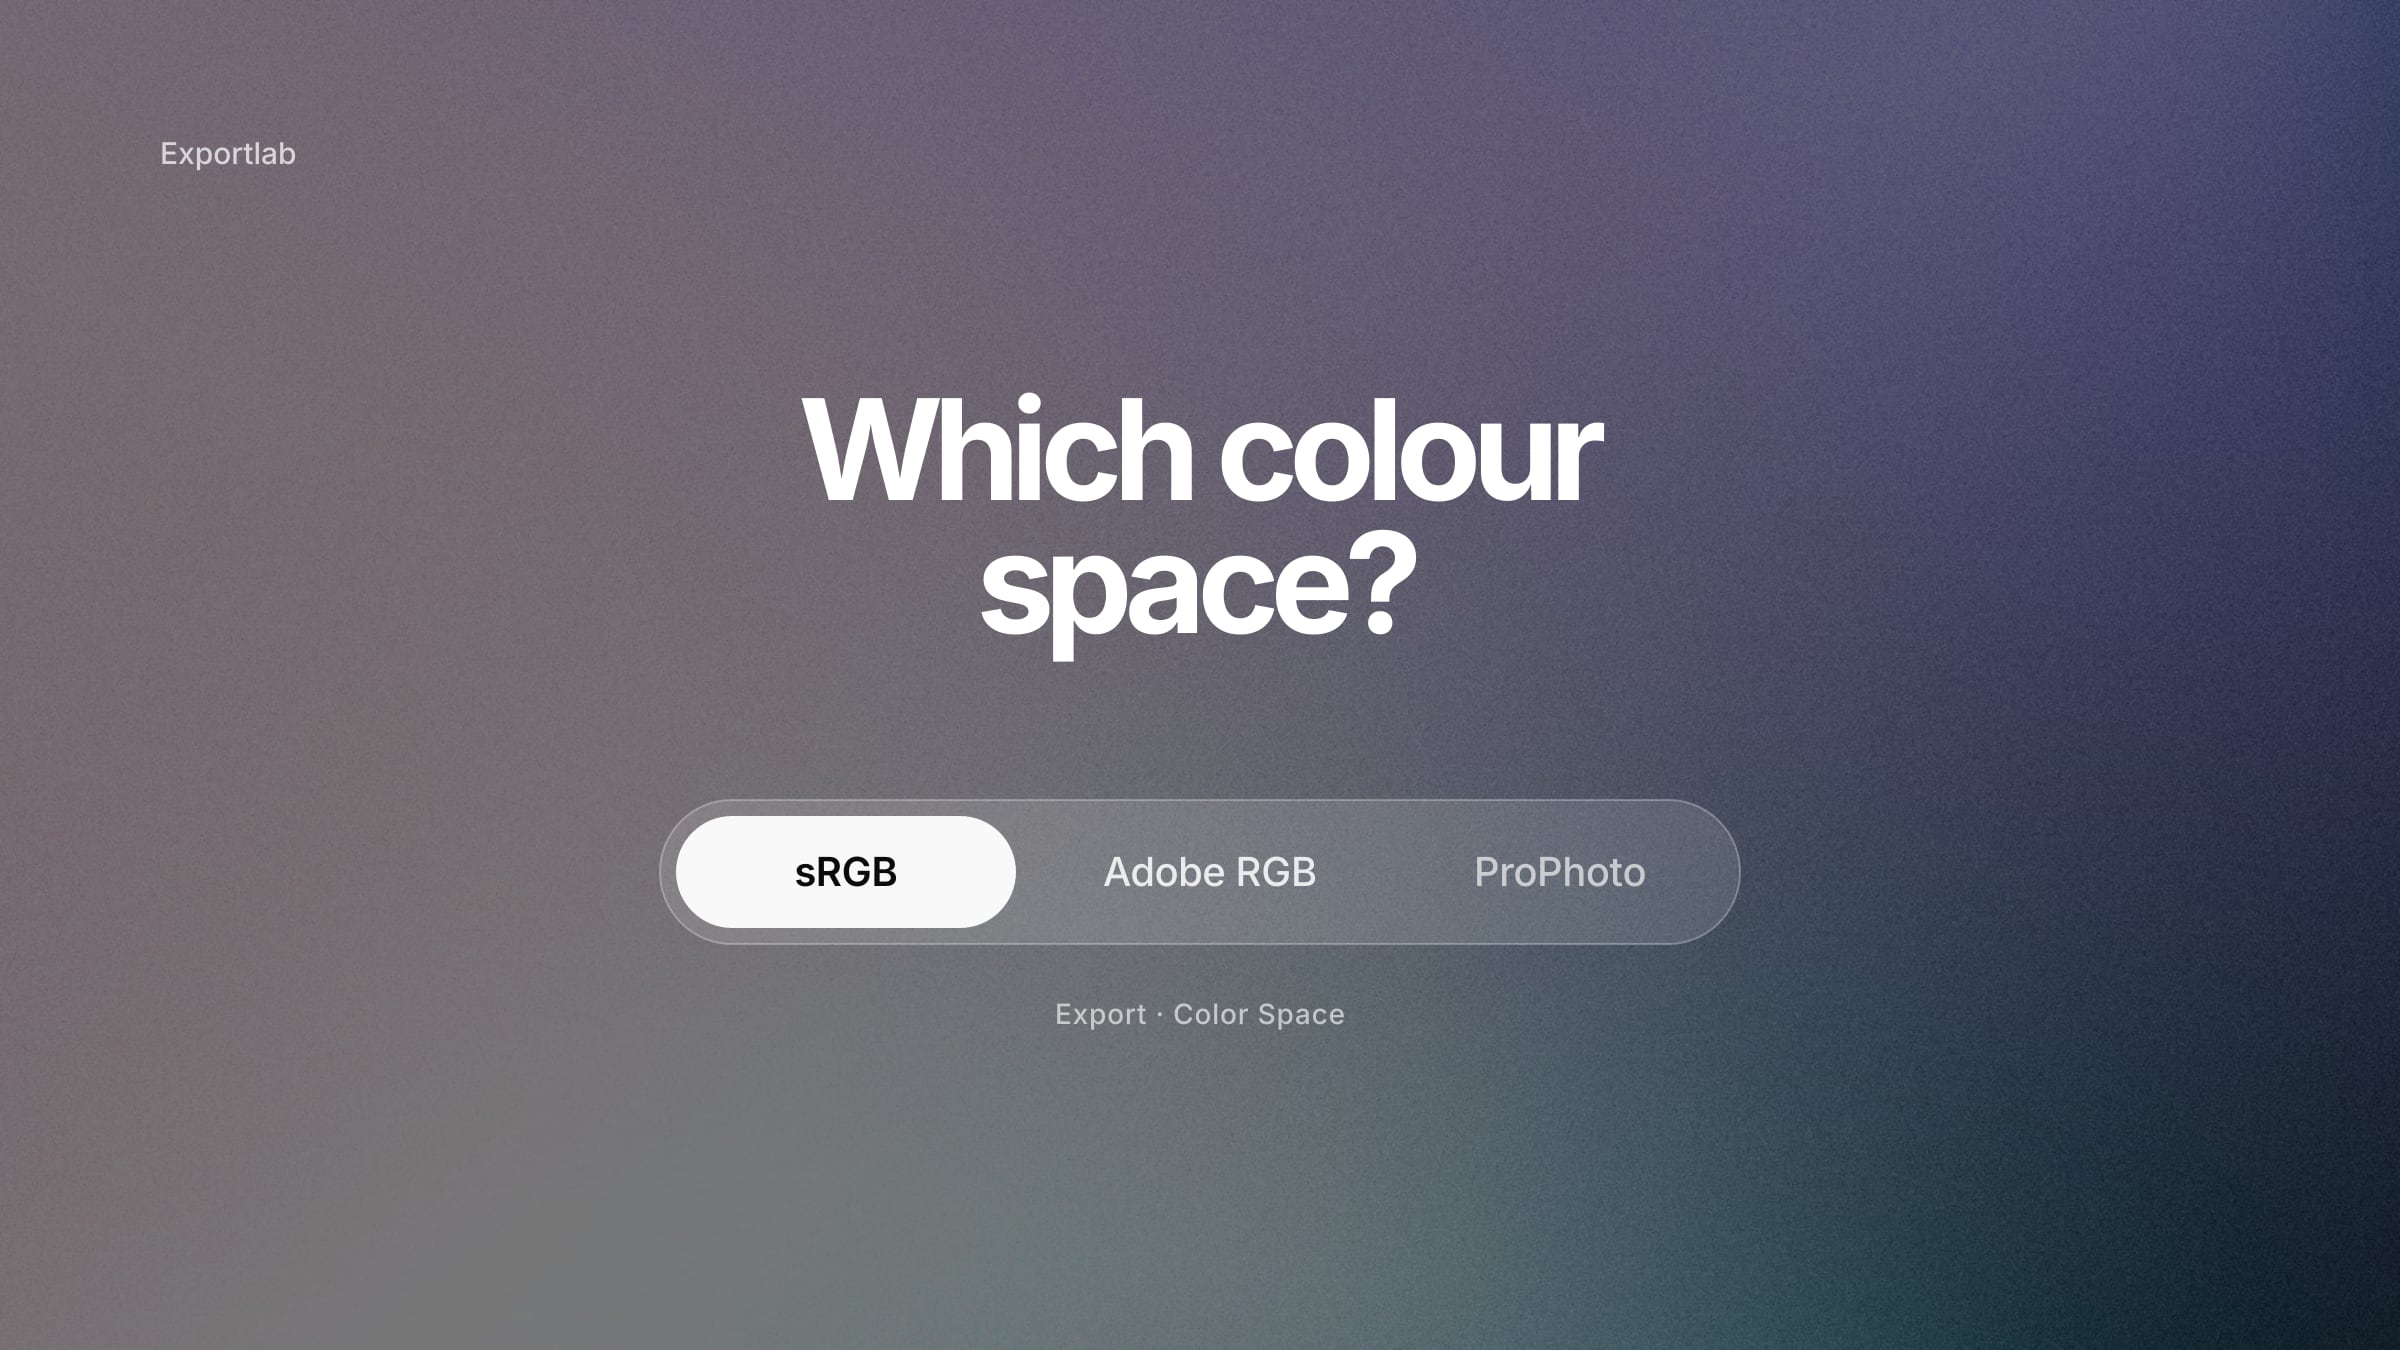
This is the choice that decides what everyone else sees. Lightroom's export dialog lets you convert to sRGB, Adobe RGB, ProPhoto RGB or a custom ICC profile and embeds the profile in the file. The rule behind every row of the table below is the same: export in the colour space that the next step in the chain can interpret correctly.
| Destination | Export in | Why |
|---|---|---|
| Website, blog, portfolio | sRGB | the web's common denominator; safe even where colour management fails |
| Instagram and social media | sRGB | the platform re-processes your file; give it the most predictable input |
| Clients without a defined colour workflow | sRGB | looks right on phones, laptops, TVs and in office software |
| Agency or client with an Adobe RGB spec | Adobe RGB | only when the recipient asks for it and can handle it |
| Photo lab | exactly what the lab specifies | most consumer labs want sRGB; some professional labs accept Adobe RGB or supply ICC profiles |
| Your own fine-art printing | the printer/paper ICC profile, via print module or soft proofing | the profile describes your actual output |
| Rendered master for your archive | 16-bit TIFF in Adobe RGB or ProPhoto RGB | keeps headroom for later re-exports |
| Long-term archive | the RAW/DNG itself | an output colour space is never a substitute for the original |
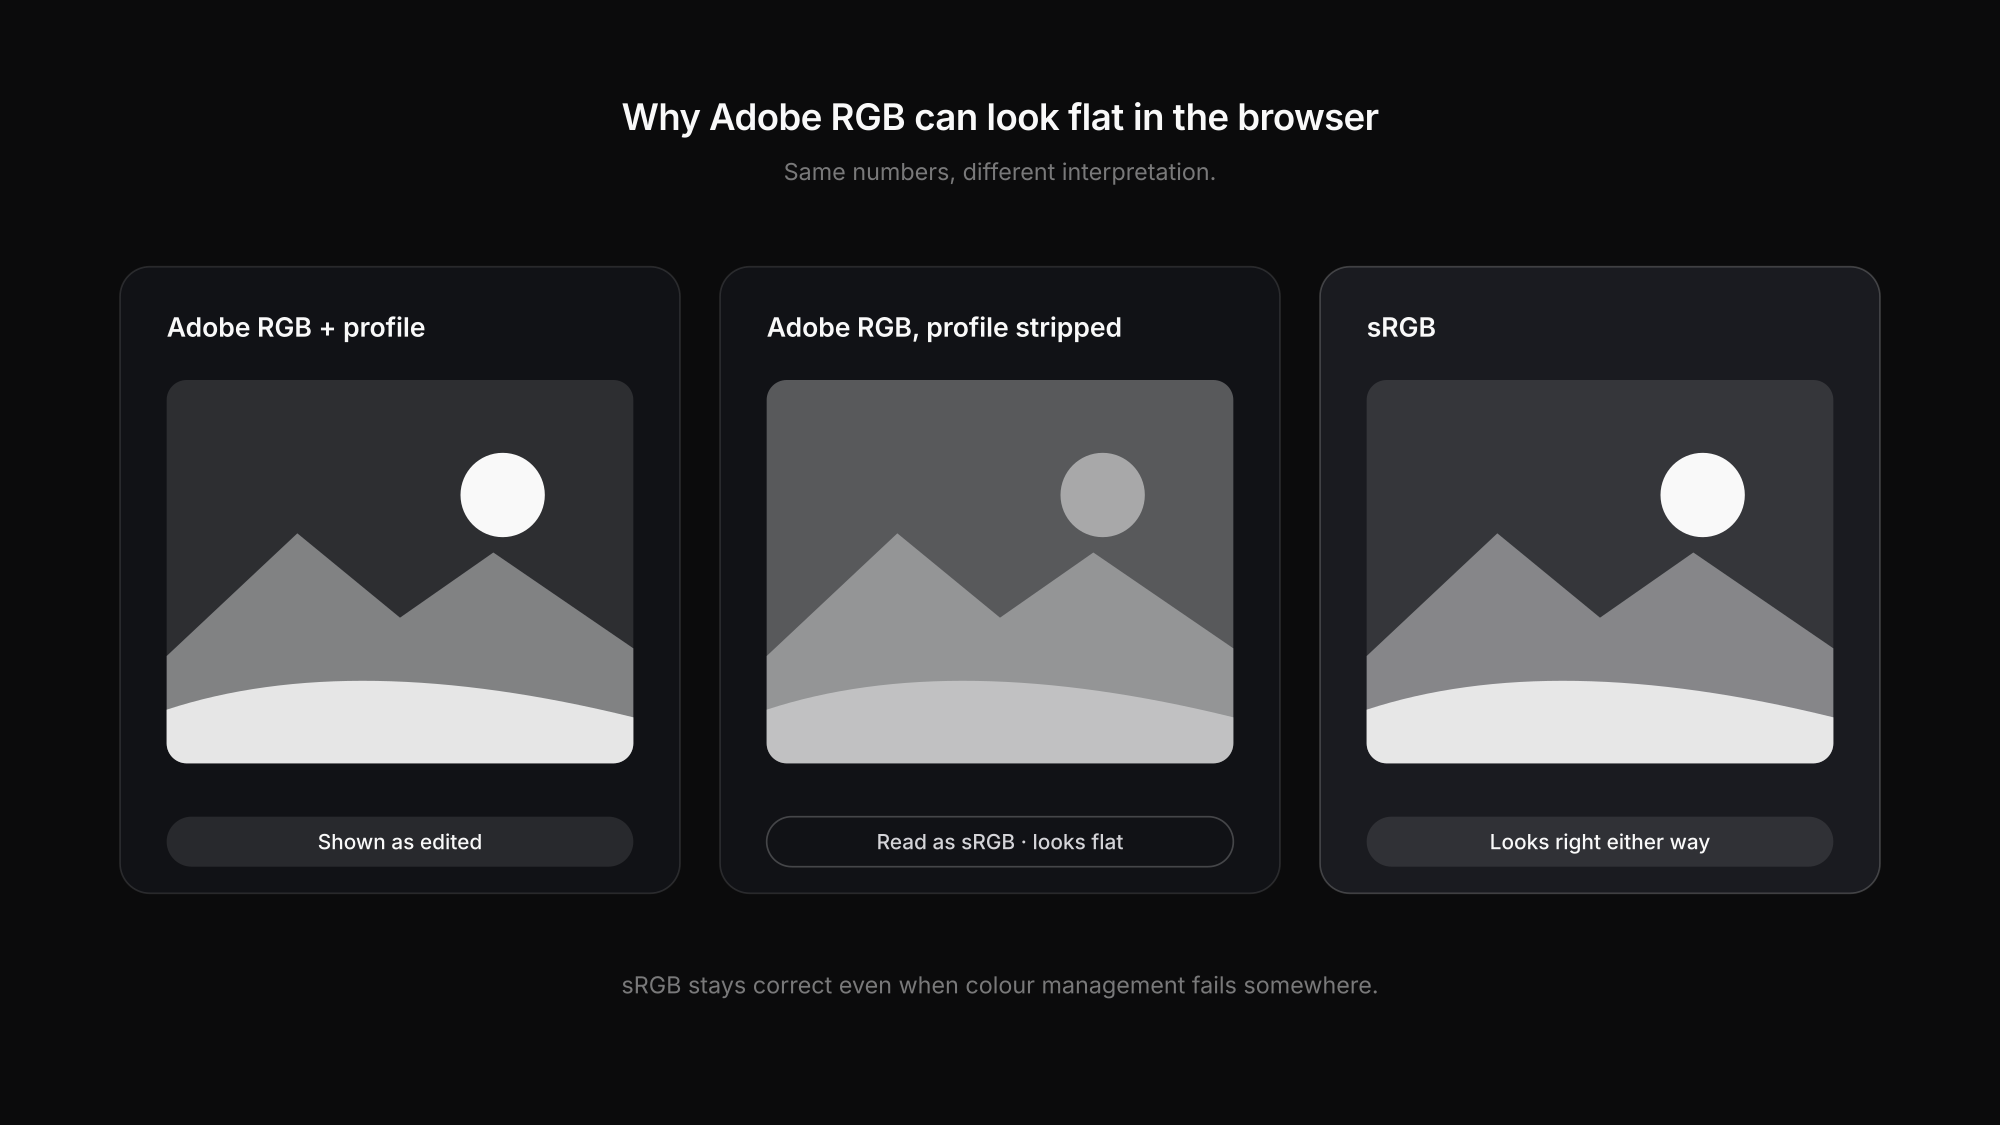
Why images sometimes look flat in the browser
The usual explanation — "browsers cannot show Adobe RGB" — is outdated. Modern browsers and operating systems are colour-managed: they read the embedded ICC profile and translate the colour values for your display. The ICC's guidance on colour management describes exactly this profile-based process.
Images look flat or desaturated when that chain breaks:
- The profile is missing. An Adobe RGB file saved without its profile, or stripped of it by a CMS, an upload pipeline or a compression tool, is interpreted as sRGB. The same numbers then produce visibly duller colours.
- A step in between re-encodes the file. Platforms and website builders often convert and recompress uploads, and not all of them handle wide-gamut files gracefully.
- The monitor is not profiled. If your own screen is uncalibrated, you cannot judge any colour space reliably — the issue is on your desk, not in the file.
That is the real reason sRGB remains the right choice for web and social: not because nothing else can be displayed, but because sRGB still looks correct when something in the chain gets colour management wrong.
What this means for client delivery
For most clients the answer is short: deliver full-resolution JPEGs in sRGB with the profile embedded. They will view the images on phones, share them on social media and send some to a print shop that expects sRGB. Adobe RGB only belongs in a delivery when the client has a colour-managed workflow and explicitly asks for it — sending it unasked is how "the photos look washed out on my laptop" emails start.
Once the export is right, make sure delivery does not undo it. Messenger apps and some email services recompress images. With Exportlab for photographers your exported files reach the client in original quality, and you decide per gallery which resolution can be downloaded. More on the handover in delivering photos to clients.
FAQ: sRGB vs Adobe RGB
Should I set my camera to sRGB or Adobe RGB?
If you shoot JPEG for direct use, sRGB is the safer choice. If you shoot RAW, the setting hardly affects the final image, because RAW data is assigned a colour space only during development and export.
Is Adobe RGB better than sRGB?
It is larger, not better. Adobe RGB can describe more saturated cyans and greens, which helps in colour-managed print workflows. On the web and on unmanaged devices, an Adobe RGB file is more likely to look wrong than an sRGB one.
Should I export in ProPhoto RGB?
Only for files that stay inside a controlled, colour-managed 16-bit workflow, such as a TIFF master for your archive. Never send ProPhoto JPEGs to clients or upload them to the web.
Which colour space do photo labs want?
Most consumer labs expect sRGB. Some professional labs accept Adobe RGB or provide ICC profiles for soft proofing. Always check the lab's specification rather than guessing.
Conclusion
The sRGB vs Adobe RGB vs ProPhoto RGB question has a clear answer once you split it into three: the camera setting matters only for JPEGs, Lightroom already edits in a large space, and the export is where you choose. For web, social media and almost every client, export sRGB. For print, follow the lab or the paper profile. For your archive, keep the RAW.
Want the exported colours to reach your clients untouched? Start with Exportlab and deliver in original quality.