
Best Lightroom Export Settings for Professional Photographers (Web, Instagram, Clients, Print)
There is no single set of best Lightroom export settings. There are four — one for each place your images actually end up: a website, Instagram, a client's hard drive and a print lab. Most export problems come from using one preset for all of them: web files sent to print, print files uploaded to Instagram, full-resolution files slowing down a portfolio.
This guide walks through the Lightroom Classic export dialog field by field, explains which settings matter and which do not, and ends with four starting presets you can save today. They are starting points, not platform rules — where a platform or lab publishes its own specification, that wins.
The export dialog, field by field
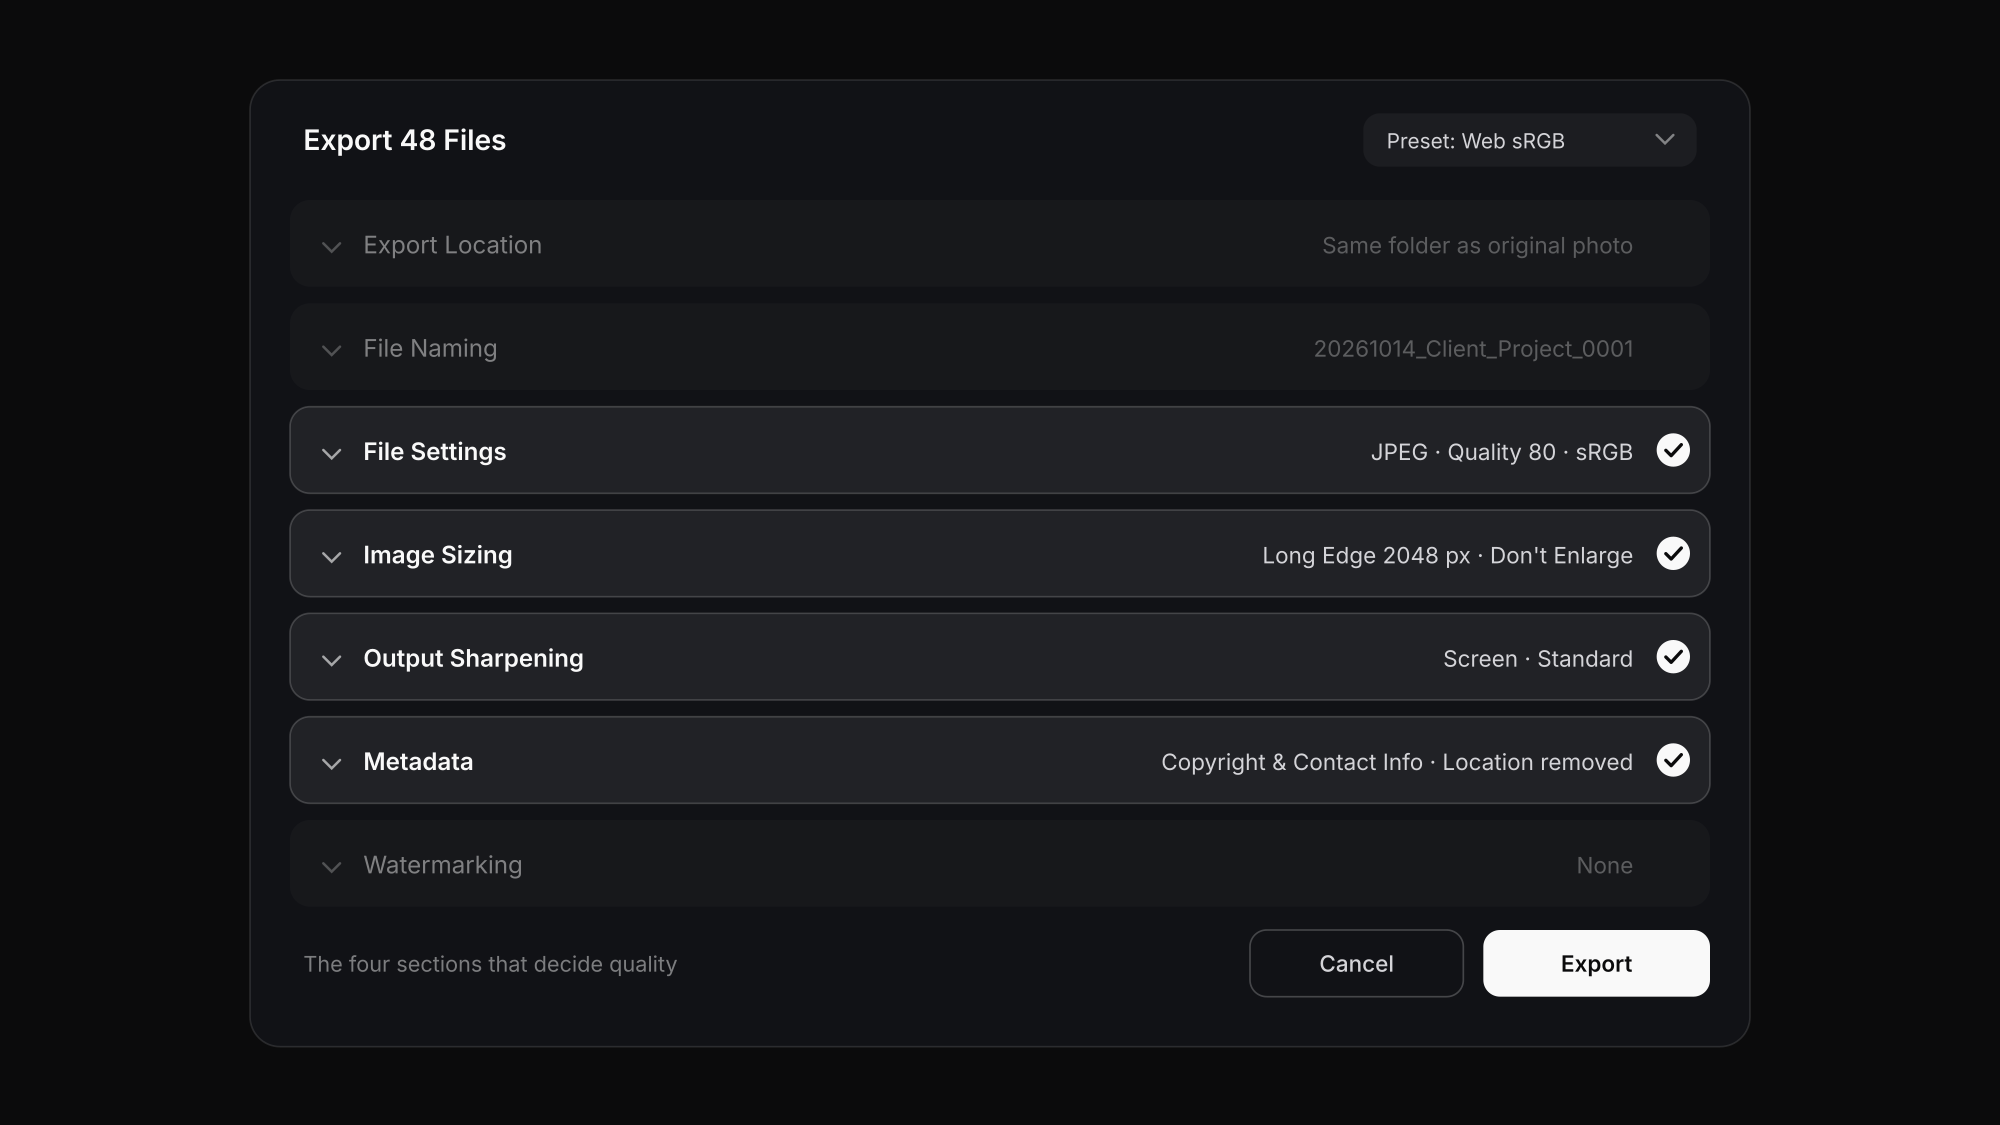
Lightroom Classic's export dialog has more sections than most people use. These are the ones that decide quality. Adobe documents every option in its Lightroom Classic export reference.
File Settings: format, quality and colour space
Format. JPEG for almost everything you hand to other people. TIFF for print masters when the lab accepts it and for 16-bit archives. Lightroom also exports PNG, DNG, PSD, AVIF and JPEG XL; the newer formats are worth knowing about, but JPEG is still the one every recipient can open.
Quality. Lightroom's JPEG slider runs from 0 to 100 and controls how much compression is applied. JPEG remains lossy at every setting — quality 100 is not lossless, it is the least lossy. Above roughly 90, file size climbs steeply while visible gain disappears. To see what different compression levels do to a real file, try our free image compressor. Adobe does not prescribe a "correct" value; the numbers in the presets below are practical starting points.
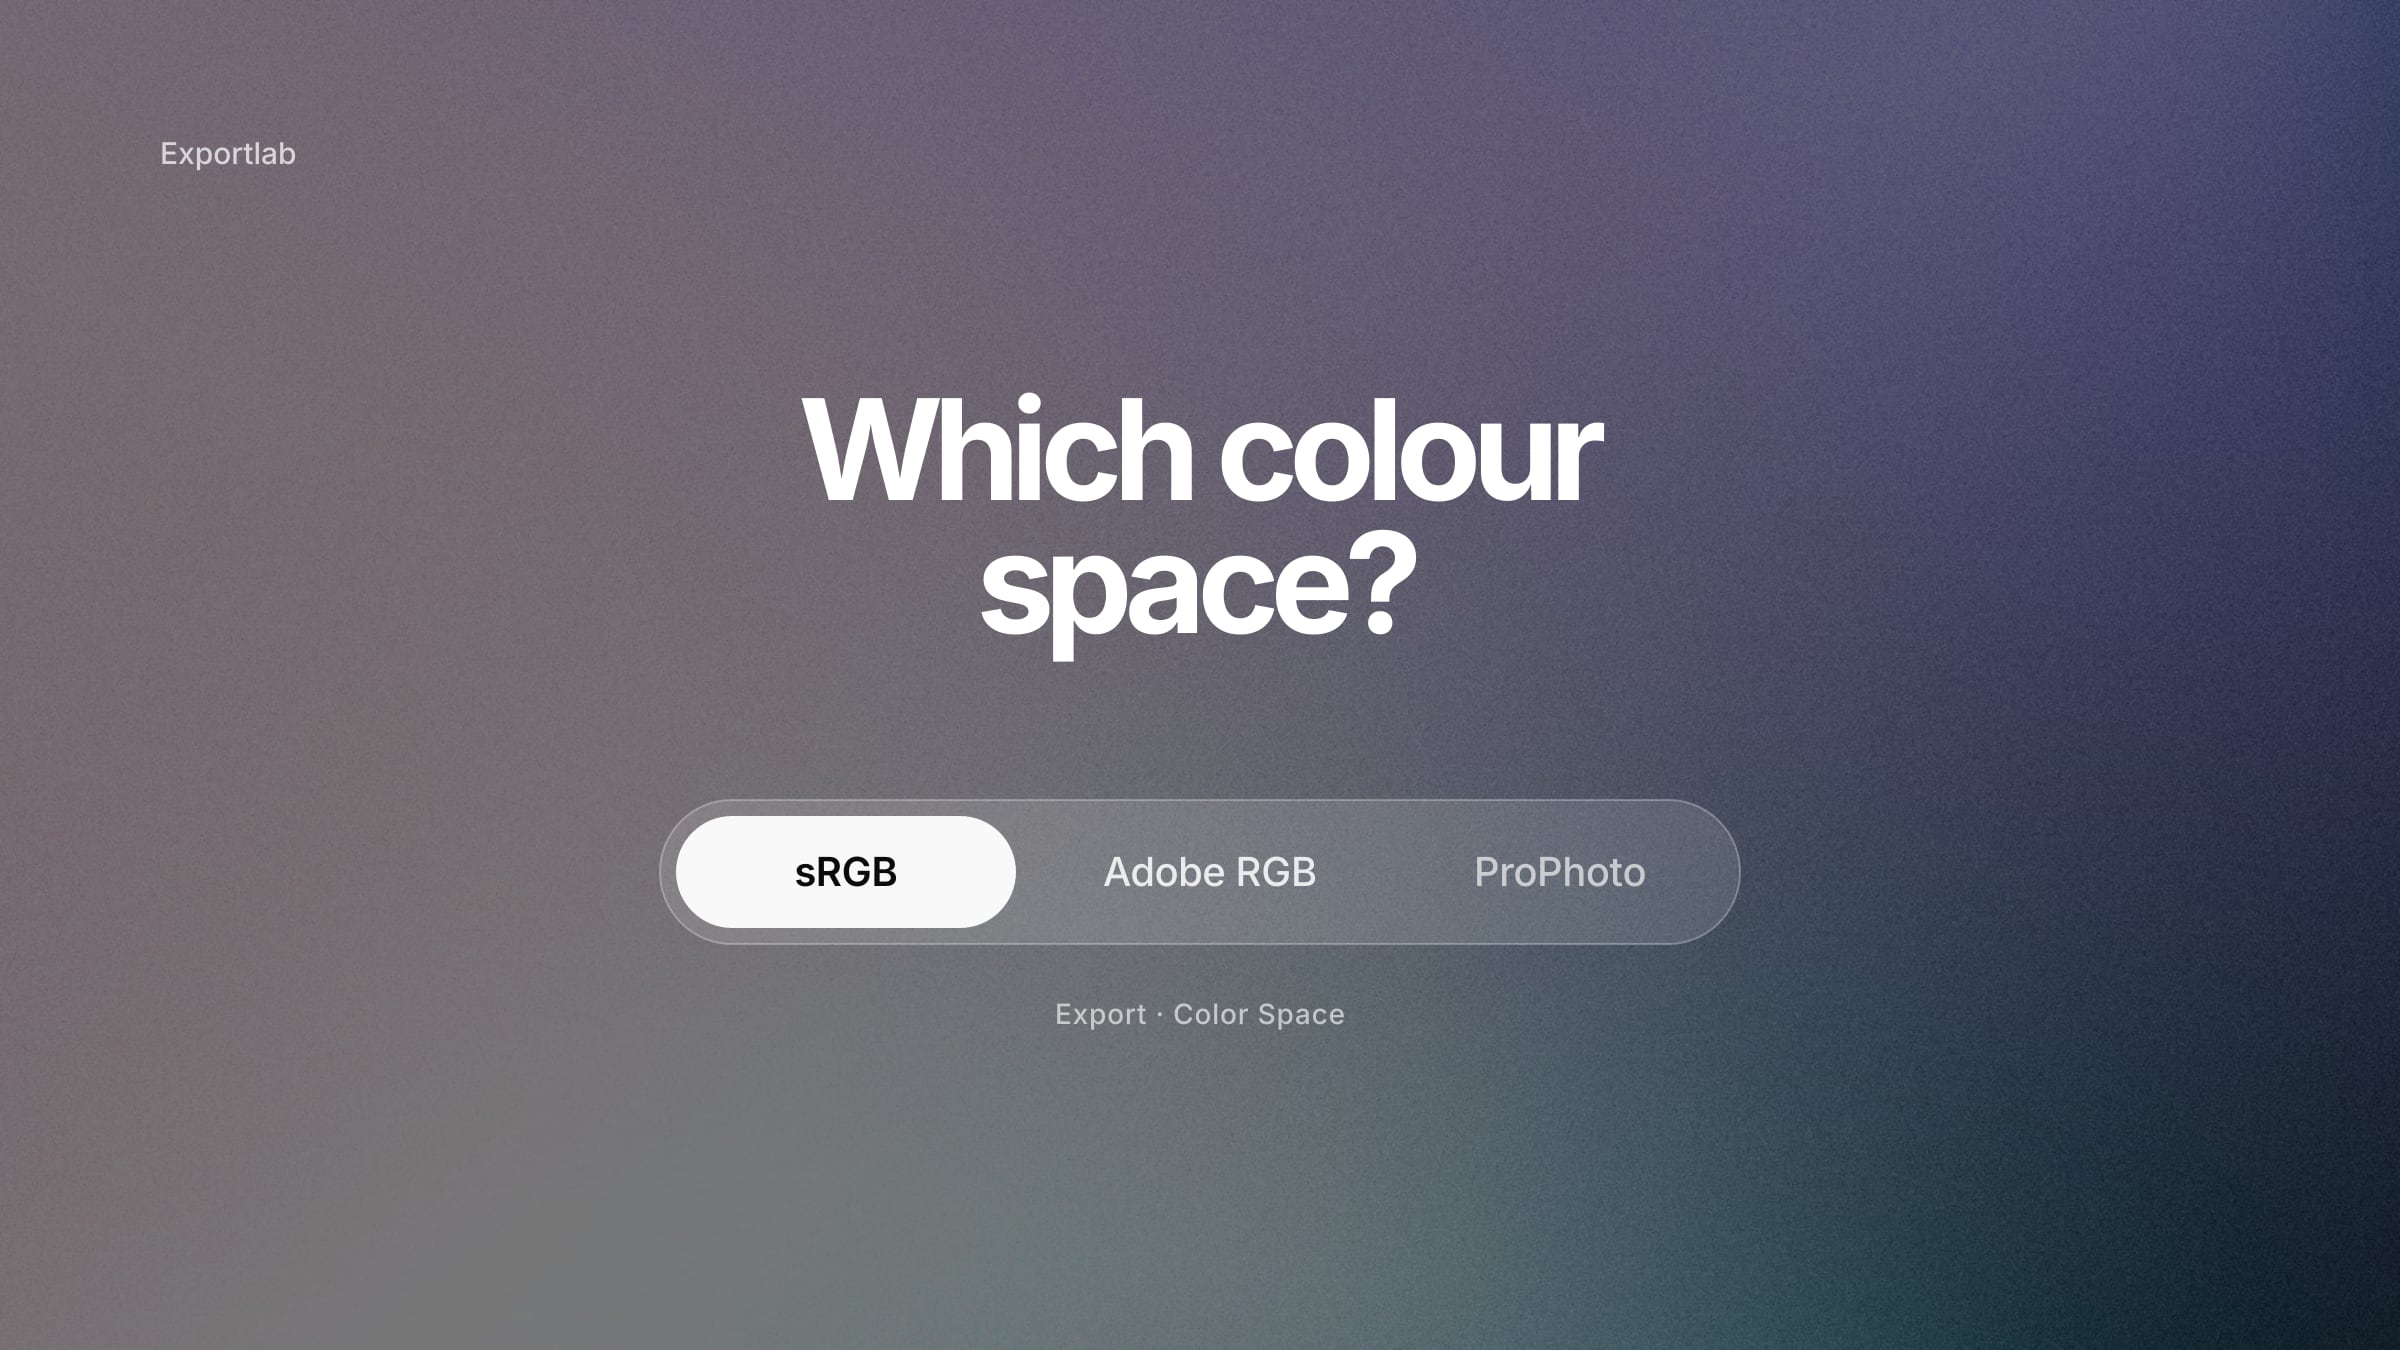
Colour space. sRGB for web, social media and nearly every client; Adobe RGB or a lab profile for print when specified. Lightroom edits in a very large colour space internally, so this is the point where you choose what the outside world gets. The full reasoning is in our guide to sRGB vs Adobe RGB vs ProPhoto RGB.
Image Sizing: pixels, not dpi
Resize to Fit offers Width & Height, Dimensions, Long Edge, Short Edge, Megapixels and Percentage. Long Edge is the simplest for web. Width & Height is the clever option for Instagram, because it fits each image inside a box while keeping its aspect ratio. Tick Don't Enlarge so small crops are never upscaled.
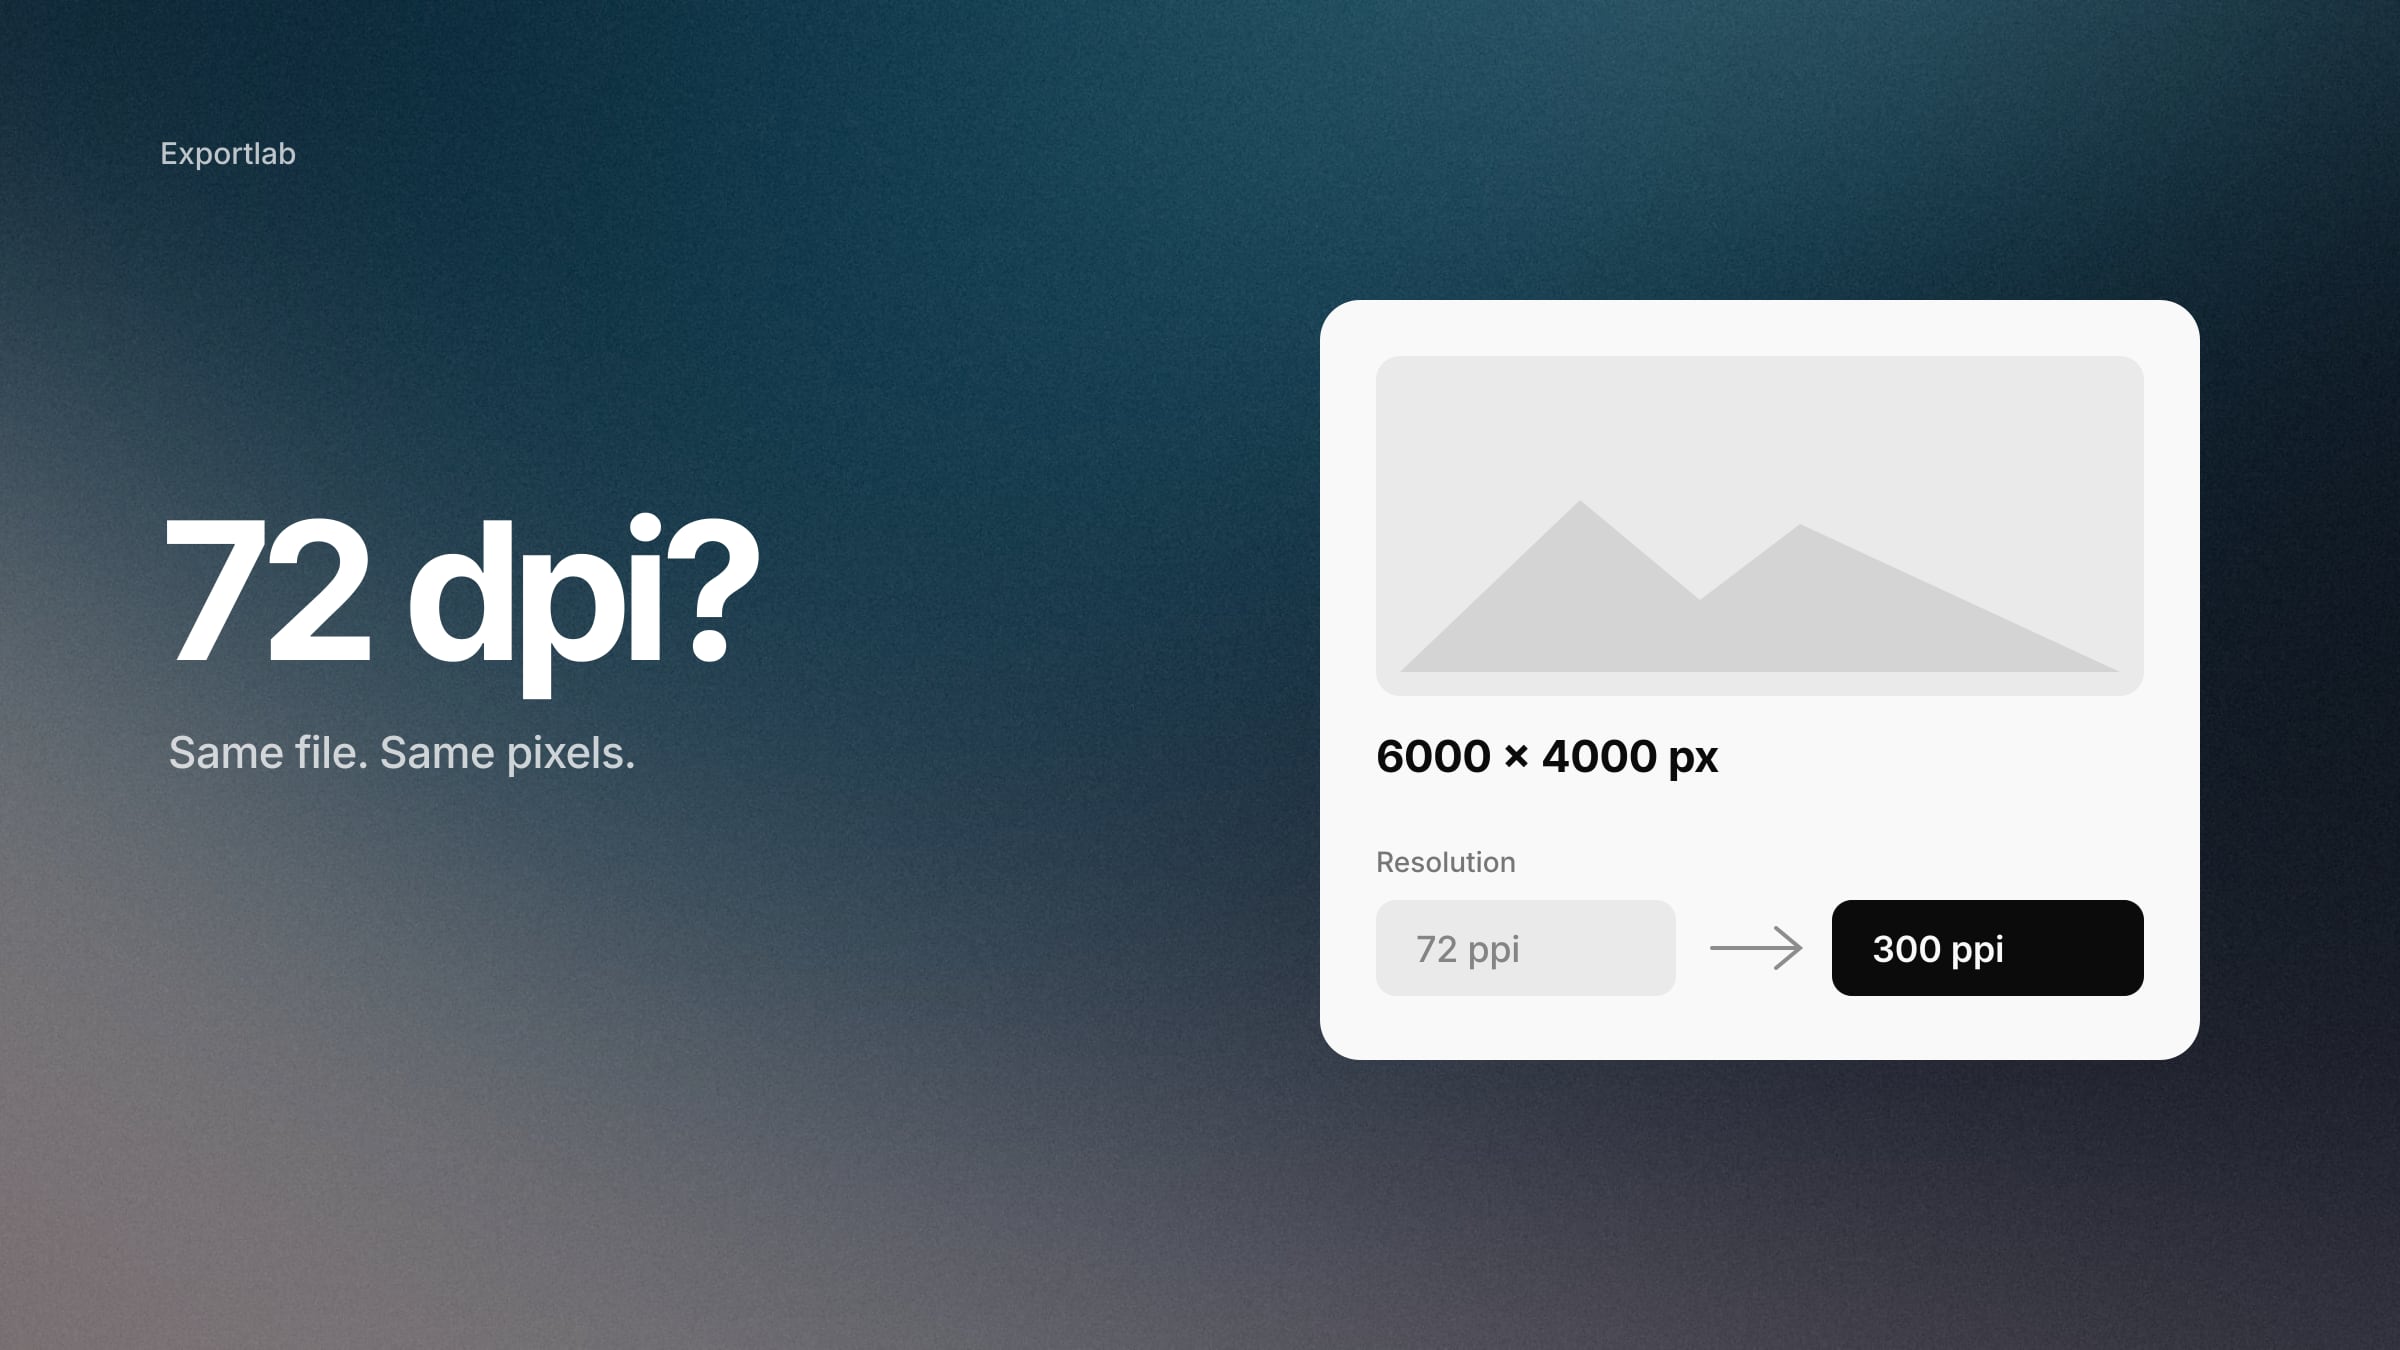
Resolution — the ppi field — only matters for print. On screen it changes nothing, which our article on DPI vs PPI explains in detail. Setting it to 300 for every preset does no harm and avoids confused emails.
Output Sharpening
Lightroom applies adaptive sharpening based on the output medium and size, in addition to any sharpening done in Develop. Choose Screen, Matte Paper or Glossy Paper, then Low, Standard or High. Adobe recommends Standard as a starting point in most cases.
The rule of thumb: sharpen for the final medium and size. Downsized web and Instagram files almost always benefit from Screen / Standard. Full-resolution client files whose end use is unknown are better delivered with little or no output sharpening — sharpening that suits a phone screen can look crunchy in a large print.
Metadata and file naming
Metadata. For anything published, *Copyright & Contact Info Only* plus Remove Location Info is a sensible default: your name travels with the image, the GPS coordinates of a client's home do not. If you need to strip metadata from files exported elsewhere, our free EXIF remover does it in the browser.
File naming. Use a scheme that stays traceable, for example 20261014ClientProject_0001.jpg, or client and project plus the original frame number. What matters is that a re-order months later can be matched to the original without guesswork.
Four starting presets
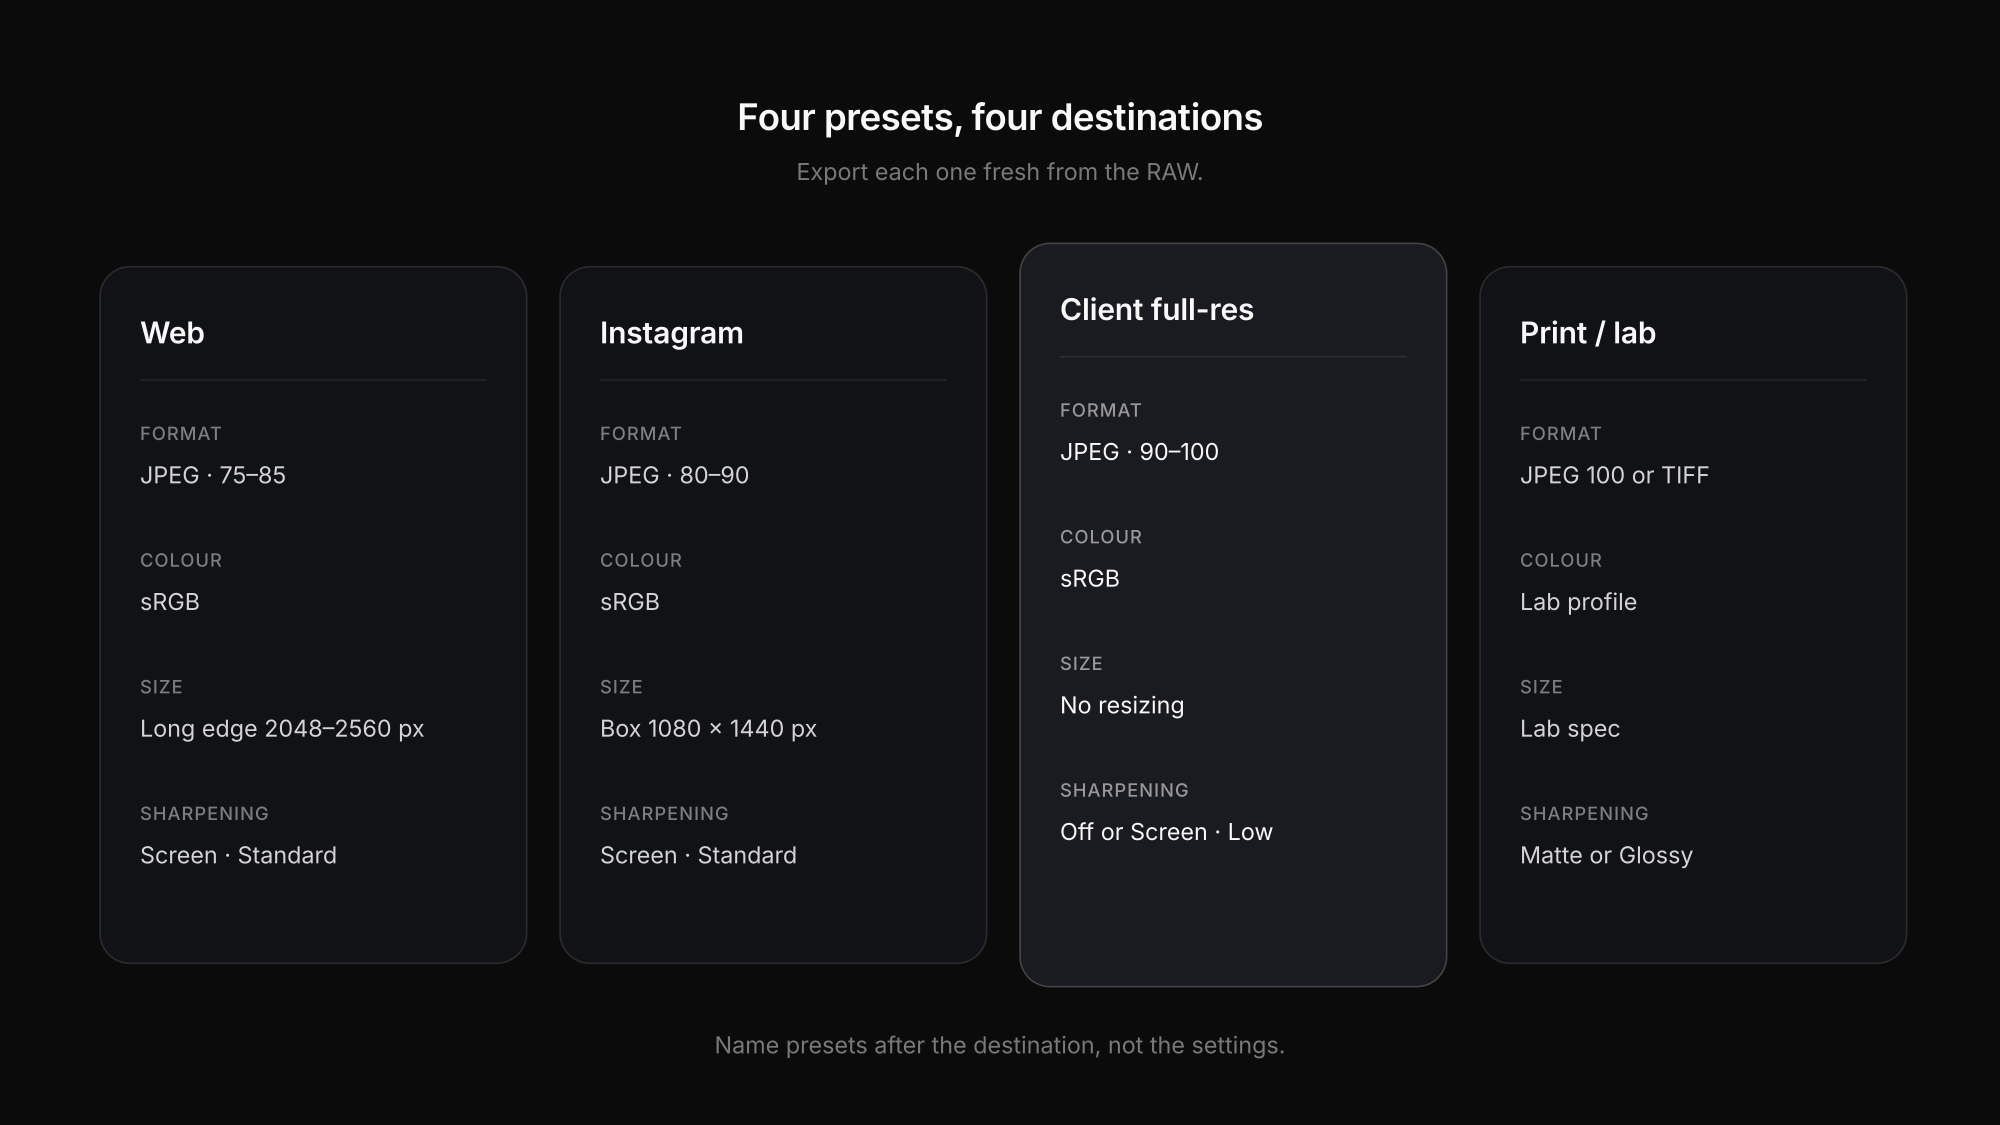
Save one export preset per destination and name it after the destination, not the settings.
Web and portfolio
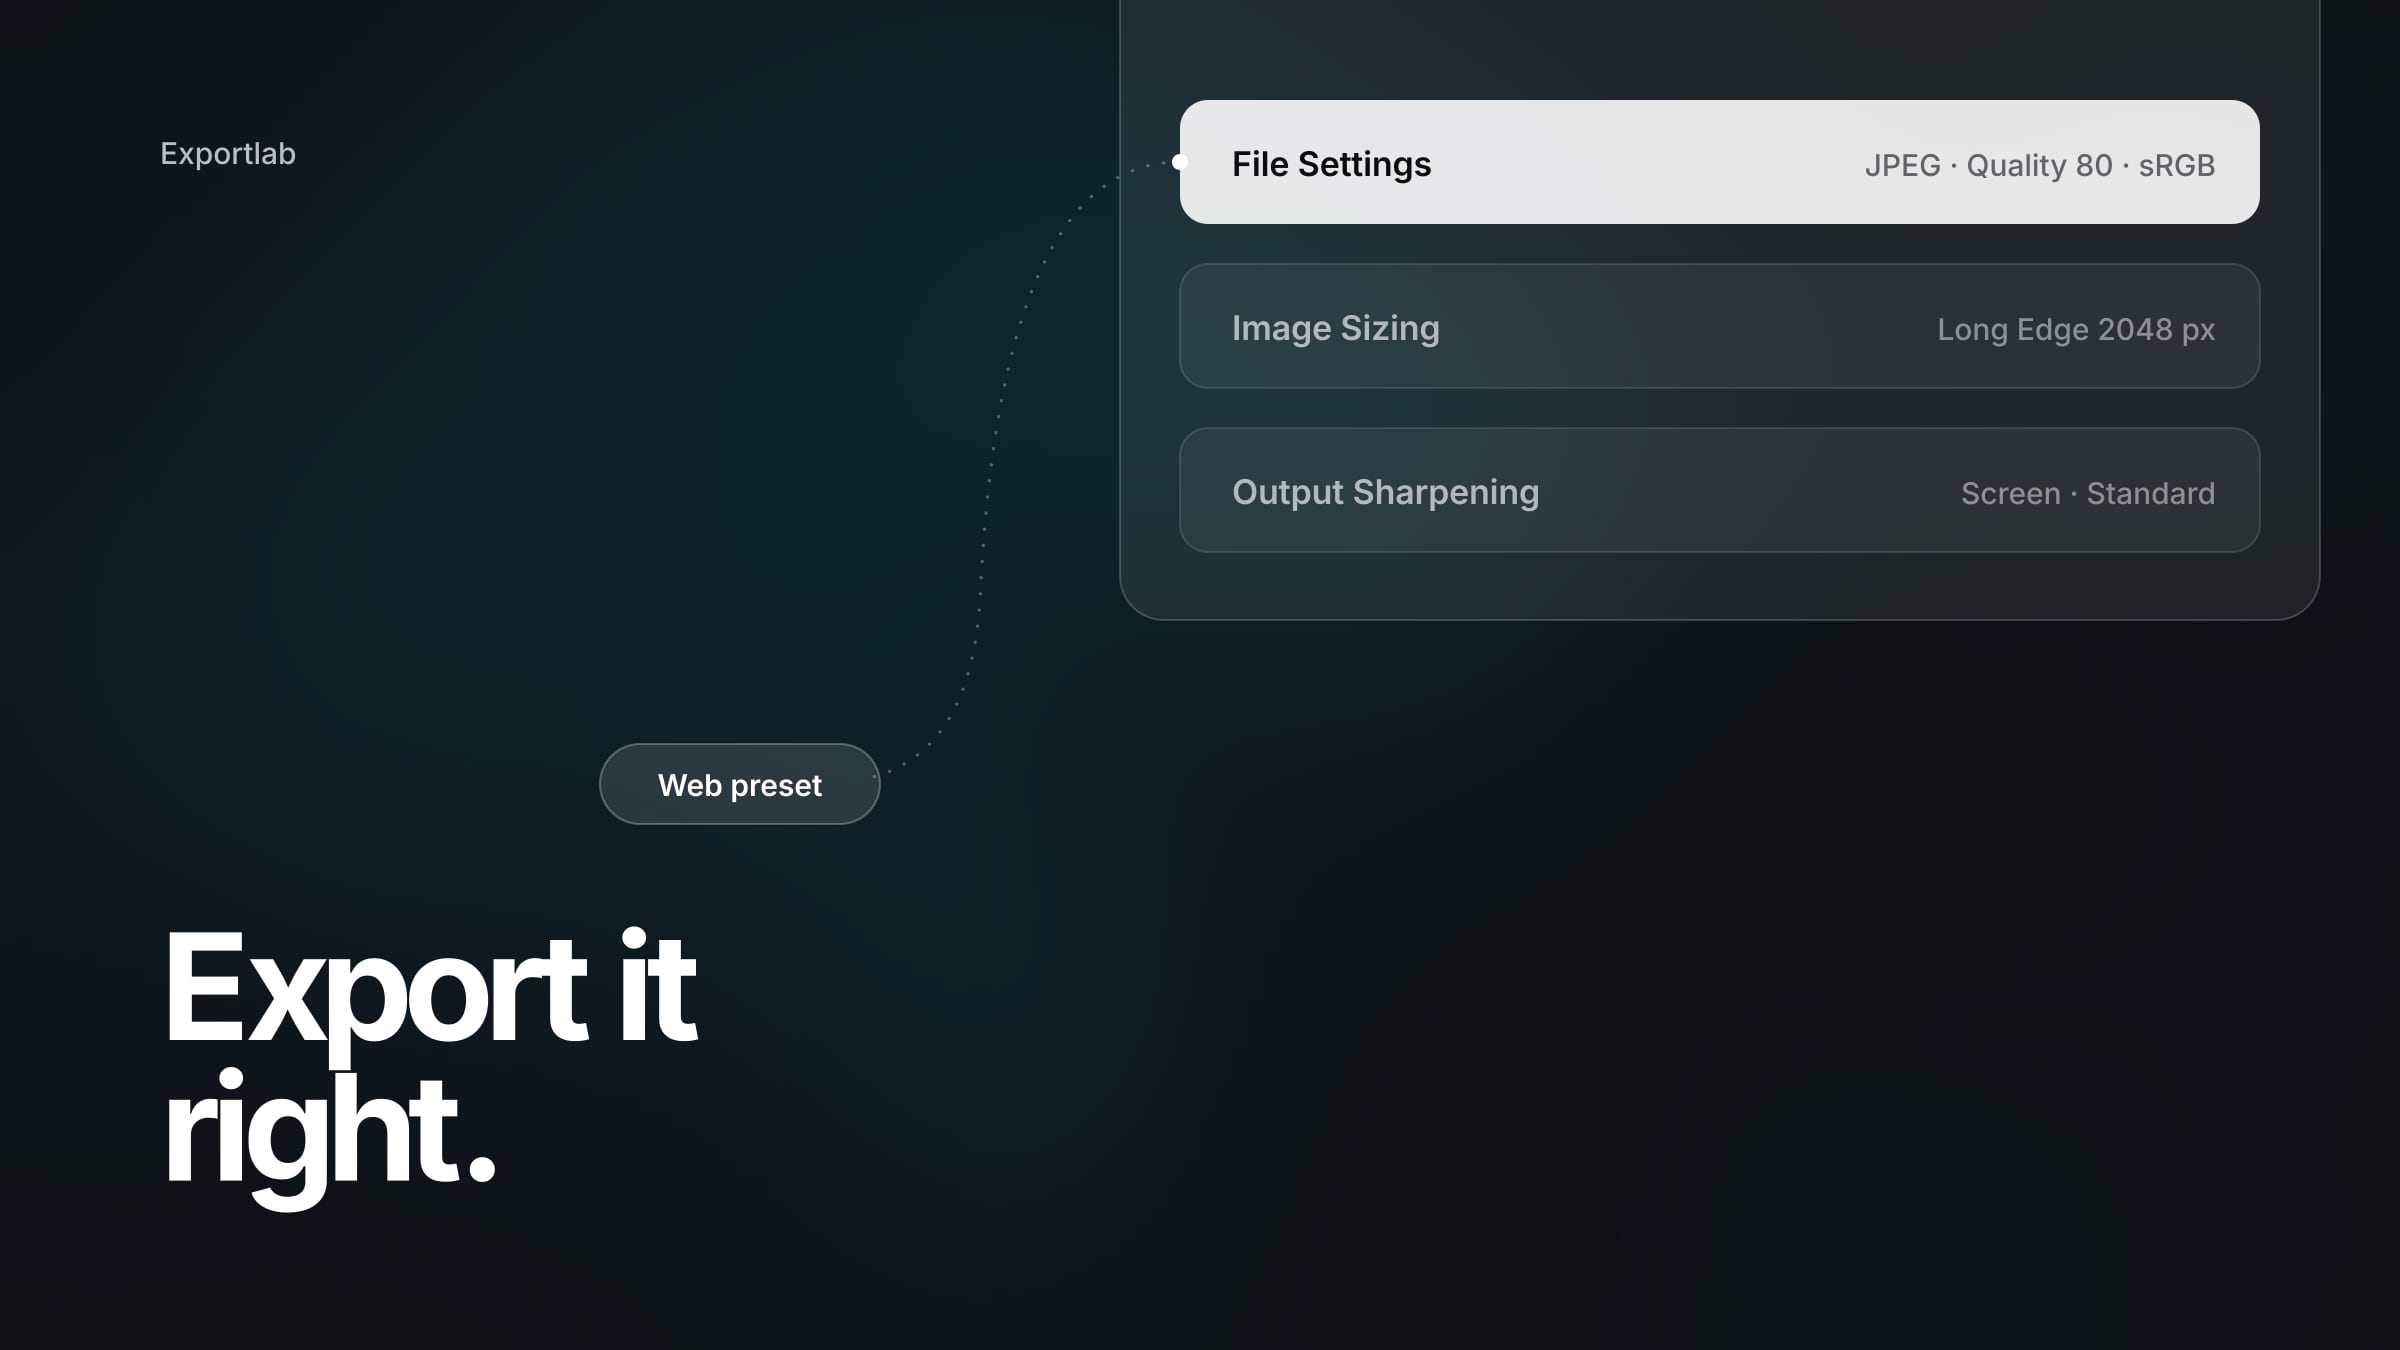
01JPEG, quality 75–85, sRGB. Resize to the size your site actually displays — if unknown, a long edge of 2048–2560 px covers most layouts including high-density screens. Output sharpening Screen / Standard. Metadata: copyright and contact, location removed.
JPEG, quality 80–90, sRGB. Resize to fit Width & Height 1080 × 1440 px with Don't Enlarge ticked: 3:4 crops export at 1080 × 1440, 4:5 at 1080 × 1350, squares at 1080 × 1080, landscapes at 1080 wide. Output sharpening Screen / Standard. Metadata: copyright, location removed.
Client full resolution
03JPEG, quality 90–100, sRGB unless the client specifies otherwise. No resizing. Output sharpening off or Screen / Low. Metadata: copyright and contact, and whatever else your contract requires. Name files so they map back to your originals.
Print and lab
04Follow the lab's specification first. Otherwise: JPEG at quality 100 or 16-bit TIFF if accepted, the colour space or ICC profile the lab names, resolution 300 ppi, no resizing unless the lab asks for exact dimensions. Output sharpening Matte or Glossy Paper / Standard — unless the lab sharpens itself.
The four presets side by side
| Setting | Web | Client full-res | Print / lab | |
|---|---|---|---|---|
| Format | JPEG | JPEG | JPEG | JPEG or TIFF (lab) |
| Colour space | sRGB | sRGB | sRGB (unless specified) | lab / ICC profile |
| Quality | 75–85 | 80–90 | 90–100 | 100 if JPEG |
| Resize | long edge 2048–2560 px | W&H 1080 × 1440 | none | none / lab spec |
| Resolution field | irrelevant | irrelevant | secondary | 300 ppi or lab spec |
| Output sharpening | Screen / Standard | Screen / Standard | off or Screen / Low | Matte or Glossy / Standard |
| Metadata | copyright + contact, no GPS | copyright, no GPS | per contract | per workflow |
The Instagram preset gets a full walkthrough of its own in our Instagram export guide, including why 1440 is the height, not the width.
Mistakes that cost quality
- One preset for everything. A 2048-pixel web file sent to a lab prints soft; a full-resolution TIFF uploaded to a website loads for ages.
- Exporting Adobe RGB to the web. If the profile gets stripped anywhere along the way, colours look flat. sRGB is the robust default for screens.
- Double sharpening. Strong Develop sharpening plus High output sharpening plus a lab that sharpens automatically adds up to halos.
- Recompressing an already compressed file. Export once from the RAW for each destination, rather than shrinking yesterday's JPEG again.
- Losing traceability. A fresh export sequence that no longer relates to the original filenames makes re-orders and corrections painful.
Skip the export folder for client galleries
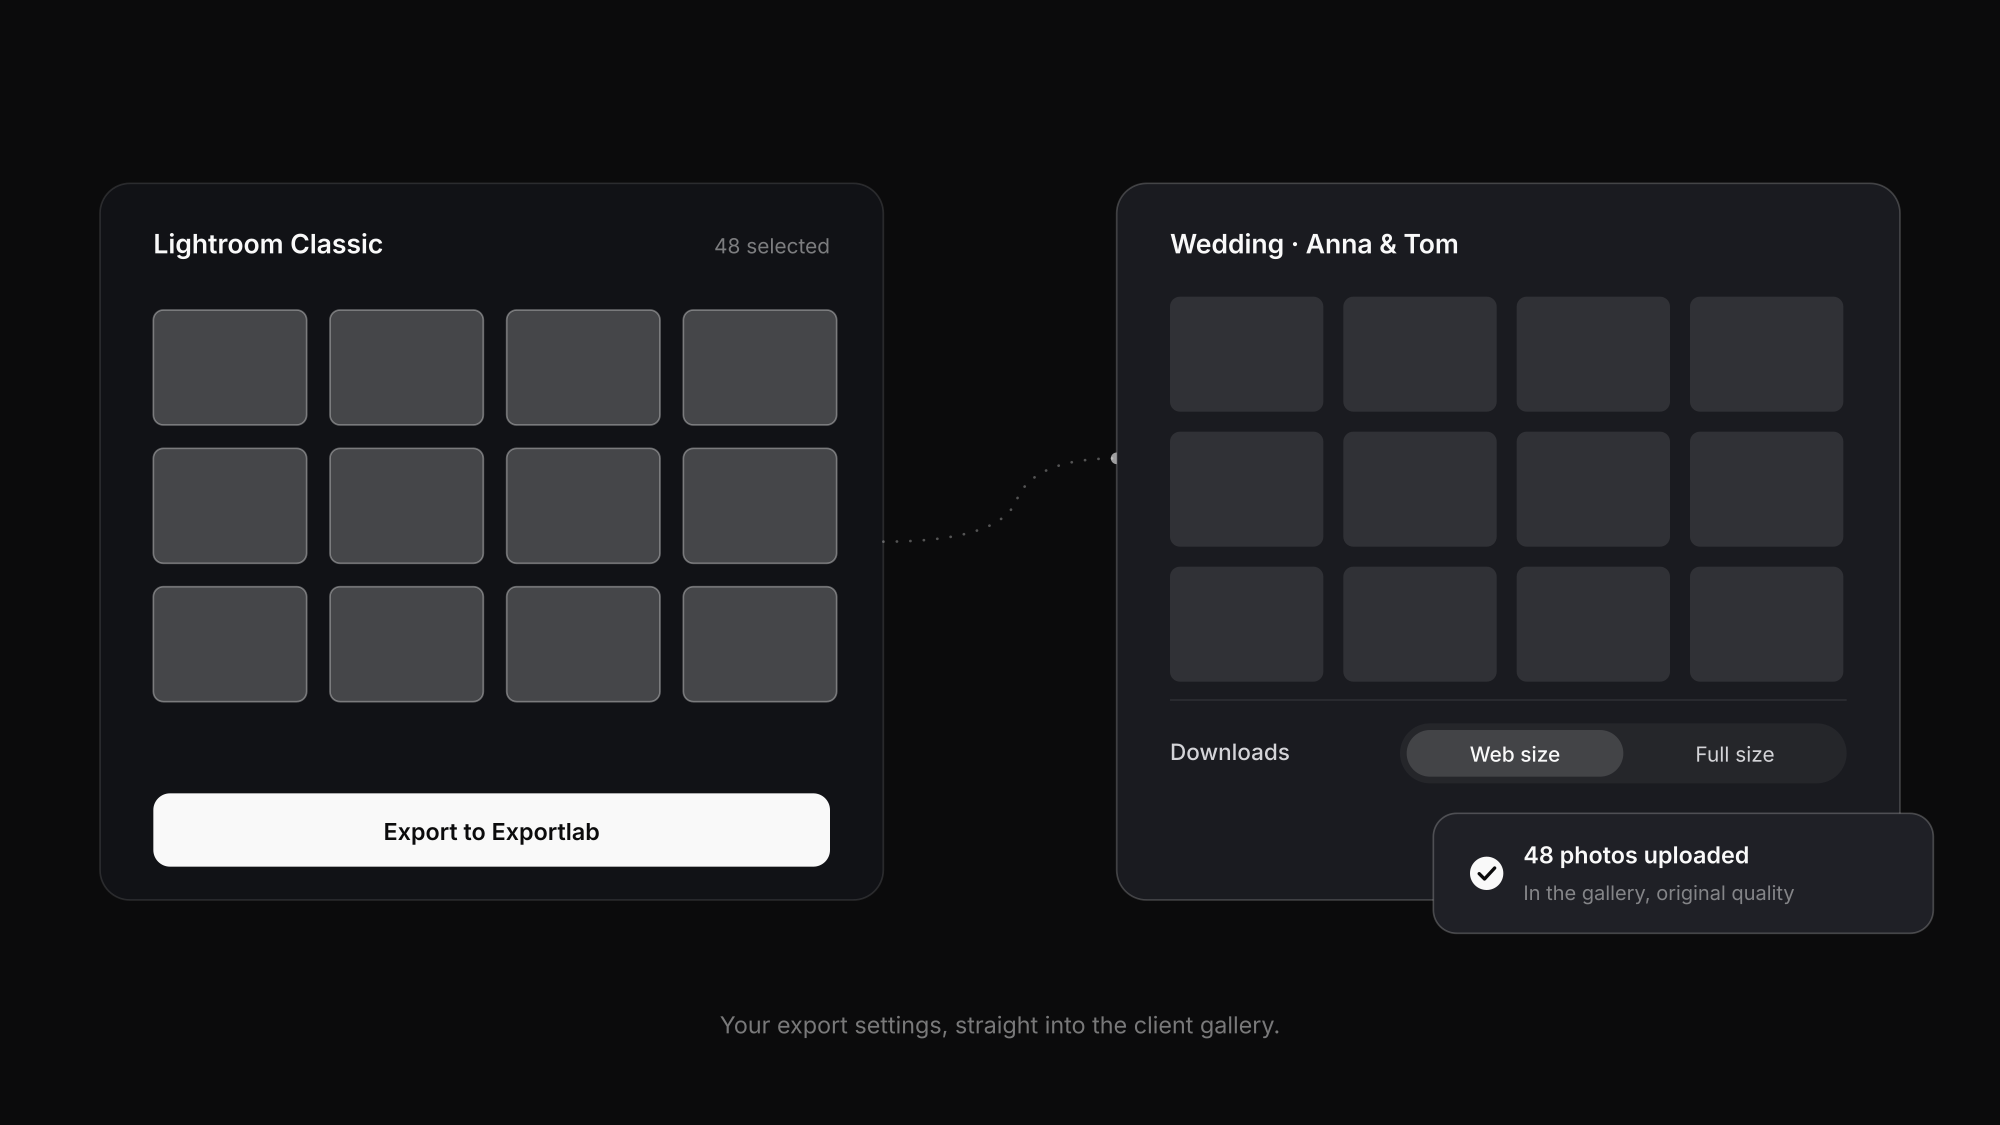
For client deliveries, the export folder itself is often an unnecessary detour: export, find the folder, open the browser, upload, wait. The Exportlab Lightroom Classic plugin uses your export settings but sends the files straight into a client gallery. The client receives them in original quality, and you decide per gallery which resolution can be downloaded — web-size for sharing, full-size for printing.
If you deliver from Capture One instead, the same logic applies — our guide on delivering from Capture One shows the matching process recipes. And whatever you shoot, keep your RAW files as the original: every preset above should be exported fresh from the RAW, not from another export.
FAQ: Lightroom export settings
What quality should I export JPEGs at in Lightroom?
For the web, 75–85 is a good starting point. For Instagram, 80–90. For client delivery and print, 90–100. Above about 90 the file size grows much faster than the visible quality, and even 100 is still lossy compression.
Should I export at 72 or 300 dpi from Lightroom?
For screens it makes no difference — only the pixel dimensions count. For print, 300 ppi is a common reference, but your lab's specification takes priority. Setting 300 in every preset is harmless.
Should I use output sharpening when exporting?
Yes for downsized web and Instagram files, usually Screen / Standard. For print, choose the paper type. For full-resolution client files with an unknown end use, use little or none.
Conclusion
The best Lightroom export settings are the ones that match the destination. Save four presets — web, Instagram, client full resolution and print — export each one fresh from the RAW, choose sRGB unless someone specifies otherwise, and let pixels rather than dpi determine size. That alone eliminates most of the quality complaints photographers hear after delivery.
Want your exports to land in a client gallery without the detour? Start with Exportlab and deliver straight from Lightroom.