

DaVinci Resolve Color Grading: The Foundation That Actually Holds
Most colour grading tutorials show a result: flat log footage in, "cinematic look" out. What they rarely show is the structure behind it — and that structure decides whether you still understand your own work the next day, and whether a correction can be undone later.
This article shows the build rather than the effect: a node tree that works on every project, the four controls that do 90% of the work, and the order in which to use them.
Colour correction is not colour grading
Two steps that get conflated constantly — and the order is not negotiable:
Colour correction fixes: exposure, white balance, contrast. The goal is a neutral, technically clean image. After this step every clip in a scene matches, whether or not the clouds rolled in halfway through.
Colour grading interprets: mood, look, signature. This is where the cool shadows or the warm skin tones you remember come from.
Build the look first and correct exposure afterwards, and you work against yourself — every correction shifts the look you just spent an hour finding. Neutralise first, then design.
Nodes: the structure matters more than the control
Resolve does not work in layers but in nodes. Each node is one working step, and the image flows through them left to right. The decisive advantage: you can disable, rename, reorder or reduce the strength of any single node — including three days later.
That is exactly why a clean node tree beats any trick. A grade built inside one node is like a photo that only exists as a finished JPEG: it may look fine, but you cannot get back inside it.
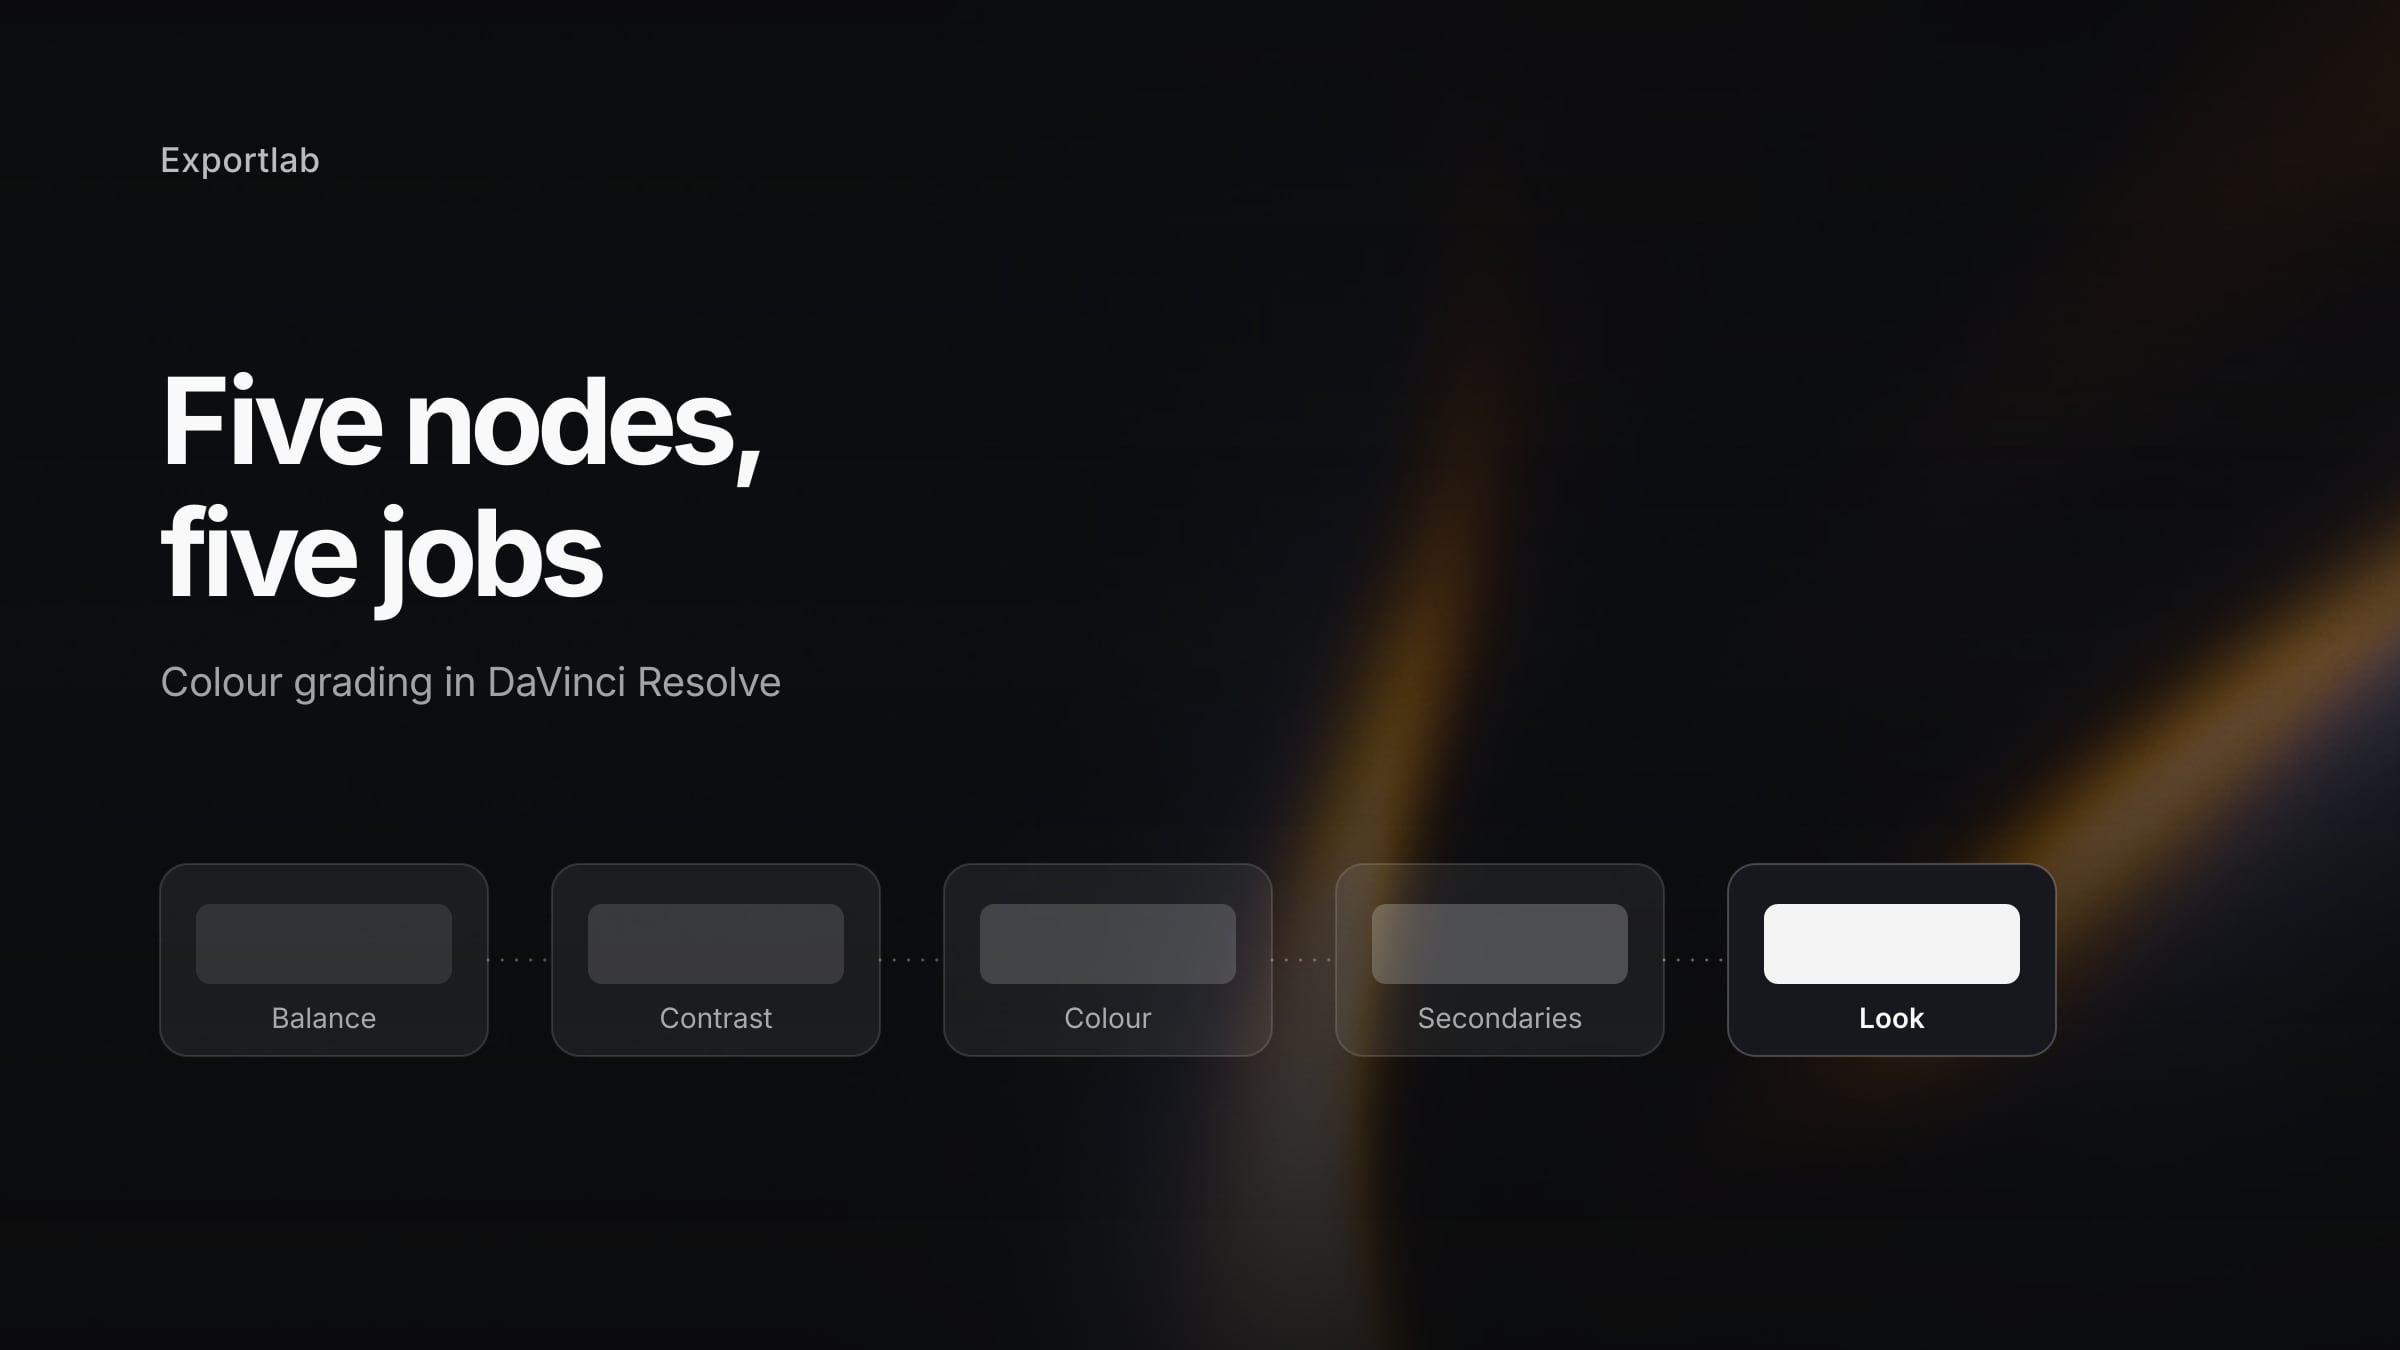
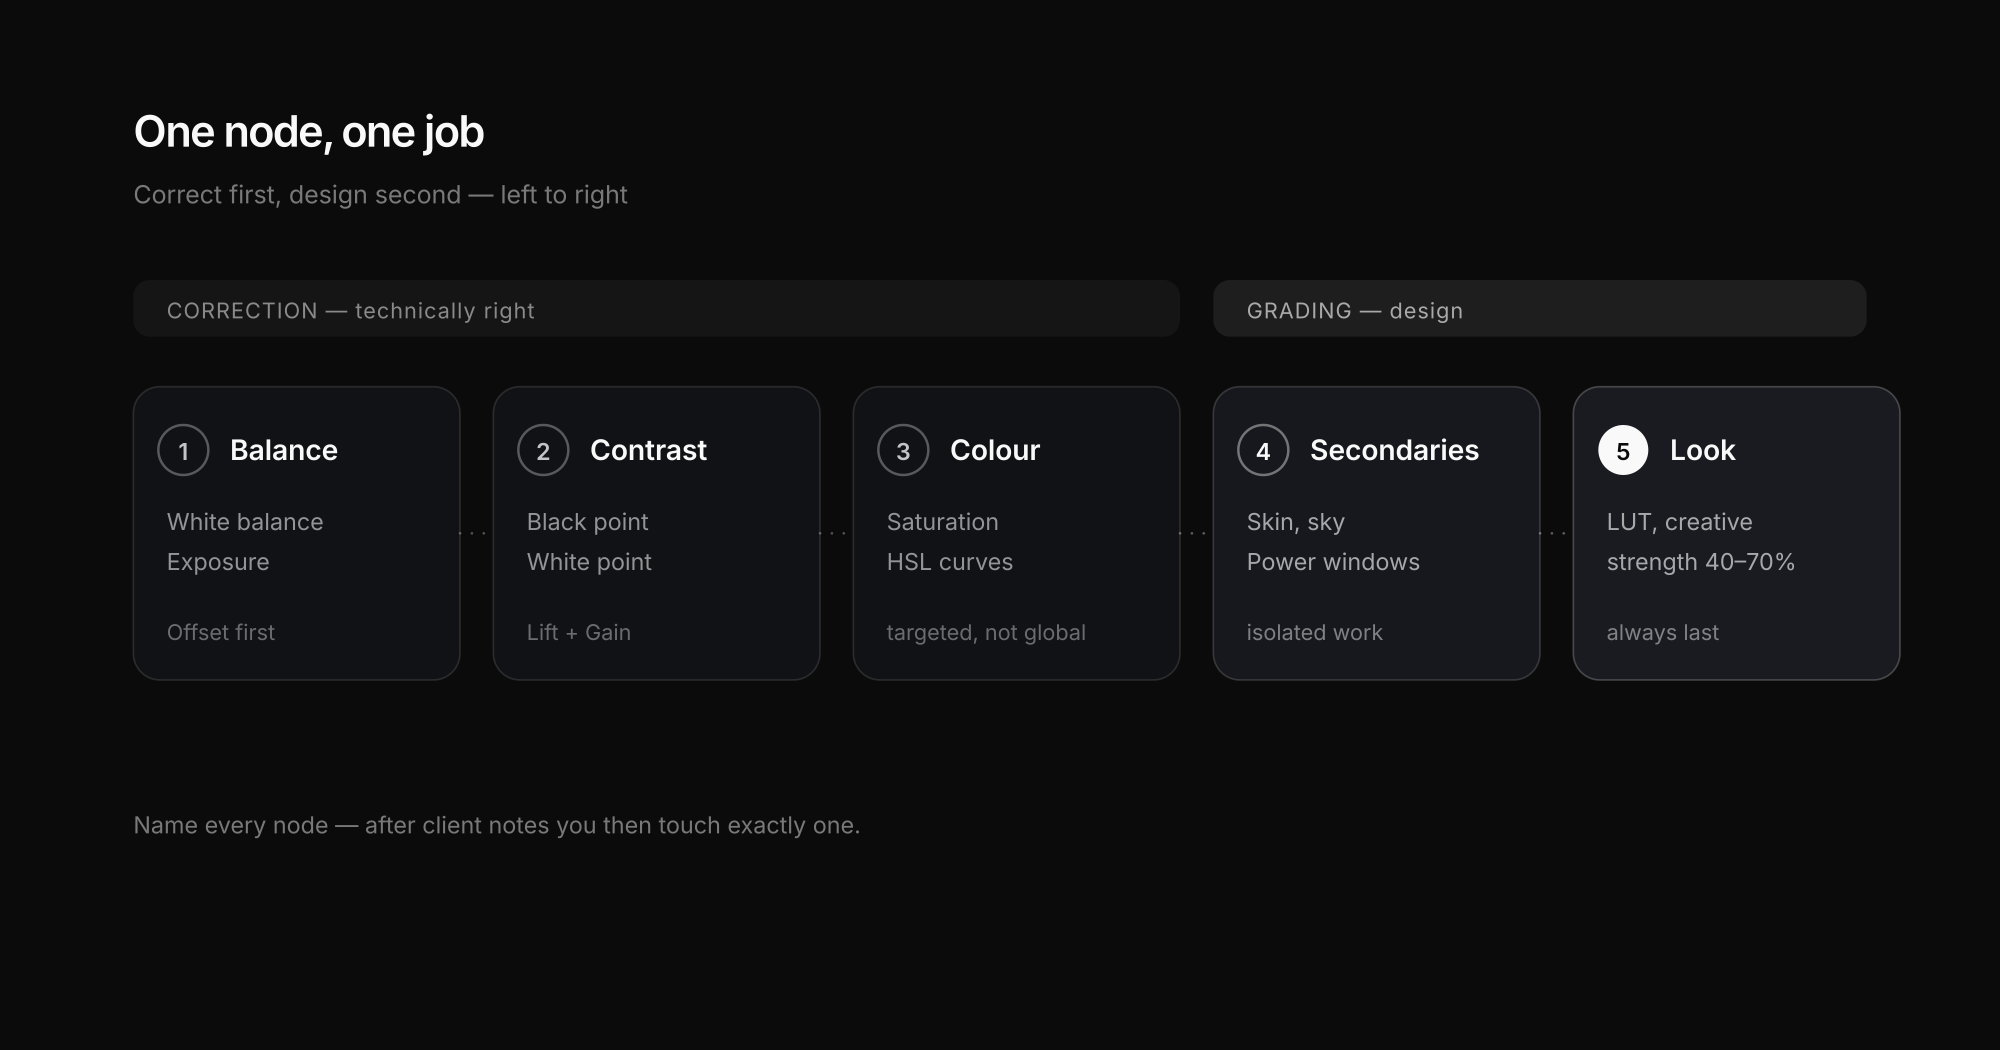
The node tree that carries almost every project — five nodes, each with exactly one job:
- Balance — white balance and exposure. Nothing creative here, just straightening.
- Contrast — black point, white point, tonal shaping.
- Colour — saturation and individual hues (HSL).
- Secondaries — isolated work: skin, sky, one distracting sign.
- Look — the creative layer, often with a LUT, right at the end.
Name your nodes. It costs five seconds and saves minutes on every revision round. Anyone who only has to touch one node after "the skin is too red" instead of hunting through a tree understands the benefit immediately.
Read the scopes before touching anything
The most common beginner mistake is grading by eye. Monitors are calibrated differently, ambient light changes perception, and after twenty minutes your eye accepts any colour cast as normal. The scopes do not lie.
Three are enough to start:
- Waveform shows luminance distribution. It tells you whether shadows are crushing or highlights clipping.
- RGB Parade shows red, green and blue separately. If the black levels of the three channels do not sit at the same height, you have a cast in the shadows — the fastest route to a clean white balance.
- Vectorscope shows hue and saturation. The important part is the skin tone line: human skin sits along that axis almost regardless of complexion.
The four controls that do most of the work
The primary colour wheels look more complicated than they are. Four areas, cleanly separated:
- Lift — the shadows. This is where you set the black point.
- Gamma — the midtones. Where faces and most image content live.
- Gain — the highlights. This is where you set the white point.
- Offset — the whole image at once. The best tool for white balance.
The order that reliably works: Offset for white balance, then Lift and Gain for tonal range, and Gamma last for brightness. Start with Gamma and you will correct the same thing three times.
With log footage, switching to the Log Wheels pays off: they act on a tighter tonal region instead of dragging half the image with them.
Curves: when the wheels are too blunt
Two curves cover nearly everything:
The Custom Curve creates contrast. A gentle S-shape — shadows slightly down, highlights slightly up — is the classic filmic contrast. "Gentle" matters: most beginners pull too hard and lose detail at both ends.
The HSL curves are the real gain. They let you change one colour without touching the rest: Hue vs. Sat to calm the over-vivid green of grass. Hue vs. Hue to pull an orange towards skin. That is more precise than any qualifier and needs no mask.
Using LUTs properly
A LUT is not a grade, it is a starting point. Two rules save a lot of frustration:
LUTs go late in the node tree, on the Look node — not first. A LUT on uncorrected footage lays a look over a problem instead of solving it.
Reduce the strength almost every time. Very few LUTs suit your footage at 100%. Pulled back to 40–70% via the node's key output gain, an intrusive filter becomes a usable foundation.
A special case are conversion LUTs, which transform log footage into a normal colour space. Those belong early in the tree and are not weakened — they correct, they do not design.
Common colour grading mistakes
Working without a reference
After twenty minutes your eye treats any cast as normal. Without a saved before-image or reference clip, the grade drifts unnoticed.
Putting everything in one node
Works right up until the first revision round. After that nothing can be undone individually, and client notes mean starting over.
Over-saturating
Saturation reads as quality at first. On a calibrated monitor and in the vectorscope it becomes clear that skin tones suffer first.
Grading on an uncalibrated monitor
The grade looks good on your laptop and wrong at the client's. If calibration is not possible, at least use the scopes as an objective check.
Grading shots in isolation
A clip can be perfect on its own and still jump out in the edit. Always compare neighbouring clips by switching directly between them.
After the grade: the file still has to reach the client
The grade is finished, and then begins the part where most time actually gets lost in practice — approval.
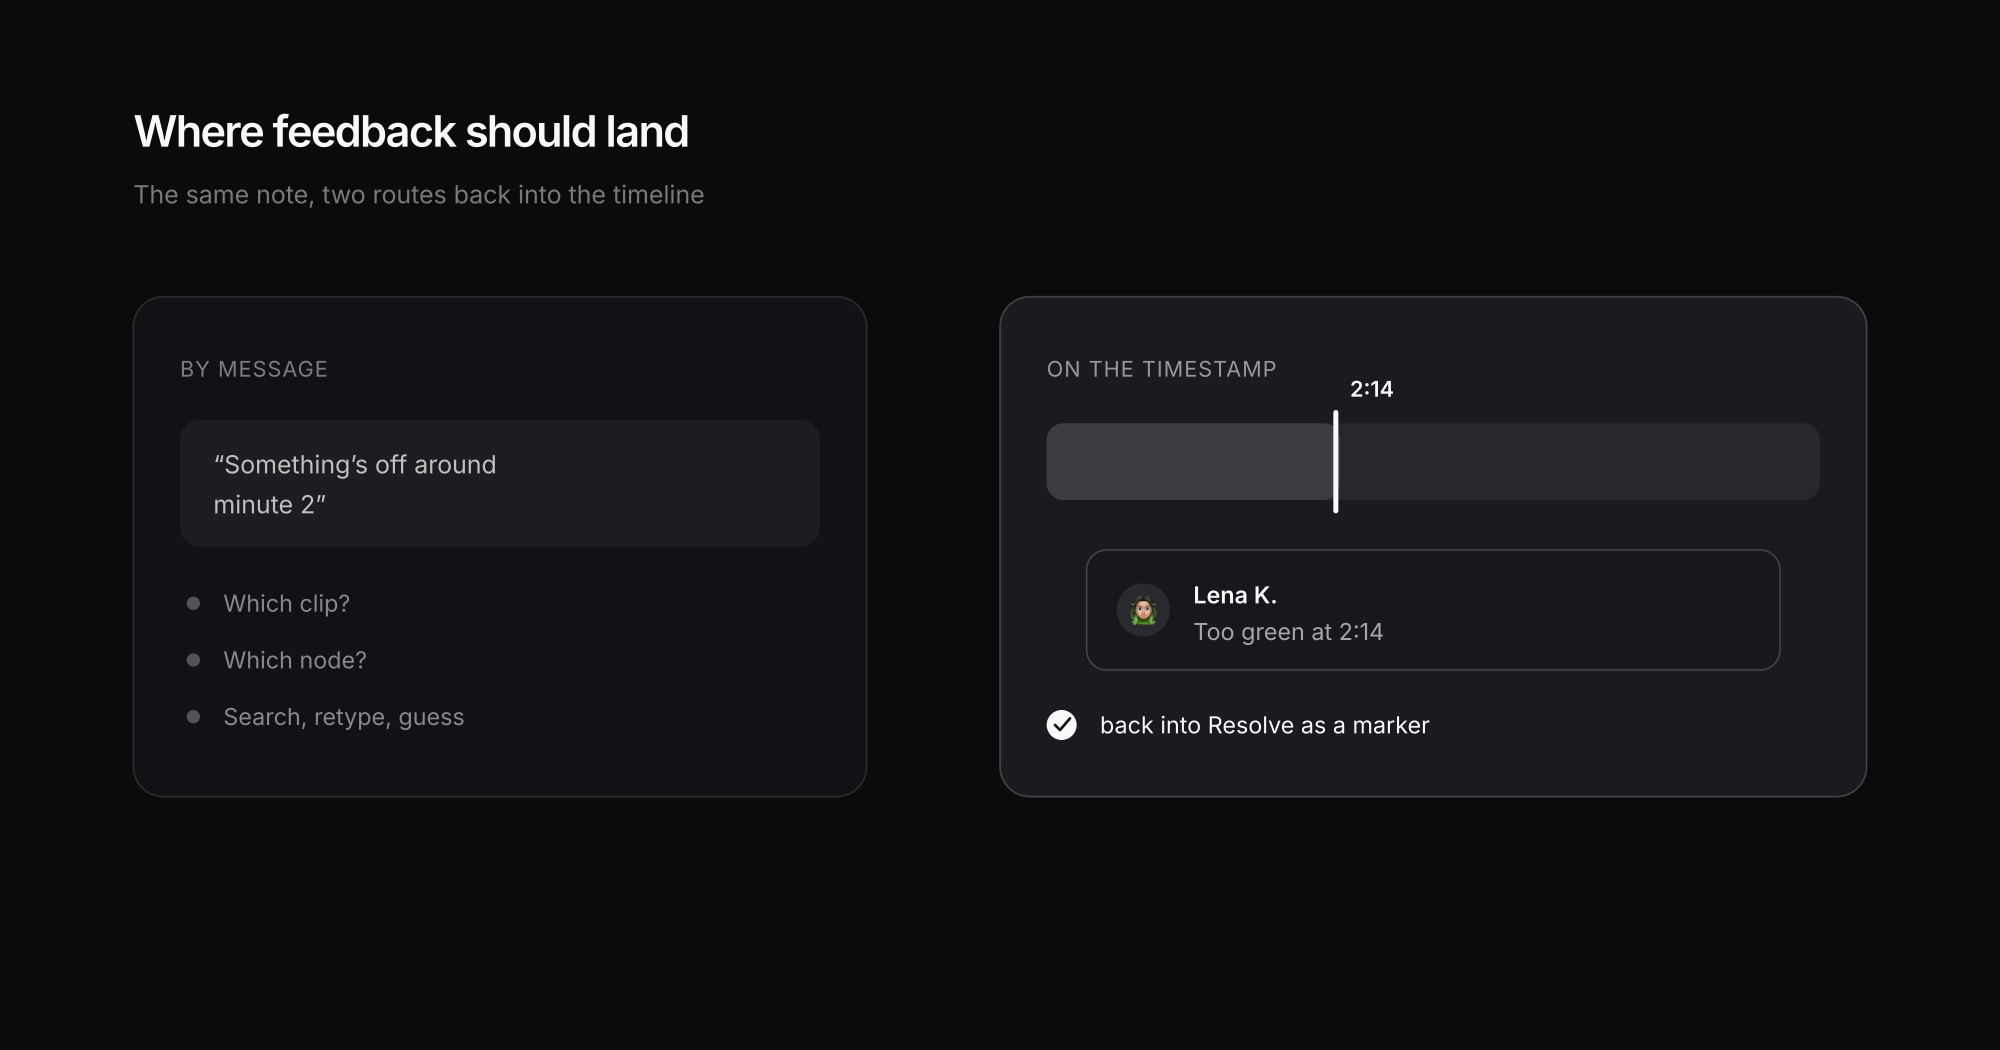
Because feedback rarely arrives as "node 3, gamma too warm". It arrives as "something's off around minute 2" in a chat message, or as a screenshot in an email. Having to guess which clip is meant costs more time than the grading did.
That is where Exportlab comes in — and to stay honest: Exportlab does not grade. It replaces no part of Resolve and renders no colour. It handles the step after:
- The rendered video sits behind a review link the client opens without an account.
- Notes attach to the timestamp instead of an email — "too green at 2:14" lands exactly there.
- From DaVinci Resolve, those comments can be pulled back into the timeline as markers via the Resolve integration.
How the various feedback platforms differ is covered in the video review tools comparison.
FAQ: Colour grading in DaVinci Resolve
Is the free version of DaVinci Resolve enough for colour grading?
For the vast majority of projects, yes. Nodes, colour wheels, curves, qualifiers, power windows and scopes are all fully included in the free version. Studio mainly adds tracking improvements, noise reduction, some effects and acceleration at high resolutions — none of which you need to start.
What is the difference between colour correction and colour grading?
Correction makes the image technically right: exposure, white balance, contrast, so every clip in a scene matches. Grading then shapes the mood. The order is decisive — look before correction means every later correction destroys the look again.
How many nodes do I need?
Five cover most projects: balance, contrast, colour, secondaries, look. More important than the count is that each node has exactly one job and a name. That keeps every step individually reversible, including after client notes.
Why do my skin tones look unnatural?
Usually too much saturation or a cast in the midtones. The vectorscope helps: skin tones sit along the skin tone line almost regardless of complexion. If the cluster deviates noticeably, fix the white balance first, not the saturation.
Should I grade in log or in Rec.709?
Bring log footage into a normal colour space first, via a conversion LUT or colour management, and grade there. Grading directly in the flat log image works but is needlessly hard to judge, because contrast and saturation are missing.
How do I get client feedback on a grade back cleanly?
Not by email and screenshot, but through a review link with timestamped comments. That way every note attaches to exactly the point in the video it refers to. From Resolve, such comments can be imported as timeline markers instead of retyped.
Conclusion
Colour grading in Resolve does not improve through more controls but through structure. A named node tree with five clear steps, the scopes as an objective check, and the order "correct first, design second" carry further than any LUT collection.
The rest is practice — and the part that comes after: a grade is only finished when the client has approved it. When their feedback attaches directly to the timestamp instead of sitting in an email, the revision round becomes a task of minutes rather than an evening.