

Video Export Settings: For Clients, YouTube and Your Archive
Most export guides answer exactly one question: which settings for YouTube? That is useful — but it misses the case that comes up more often in commissioned work: the file goes to a client who has to approve it, reuse it, or feed it into their own channels.
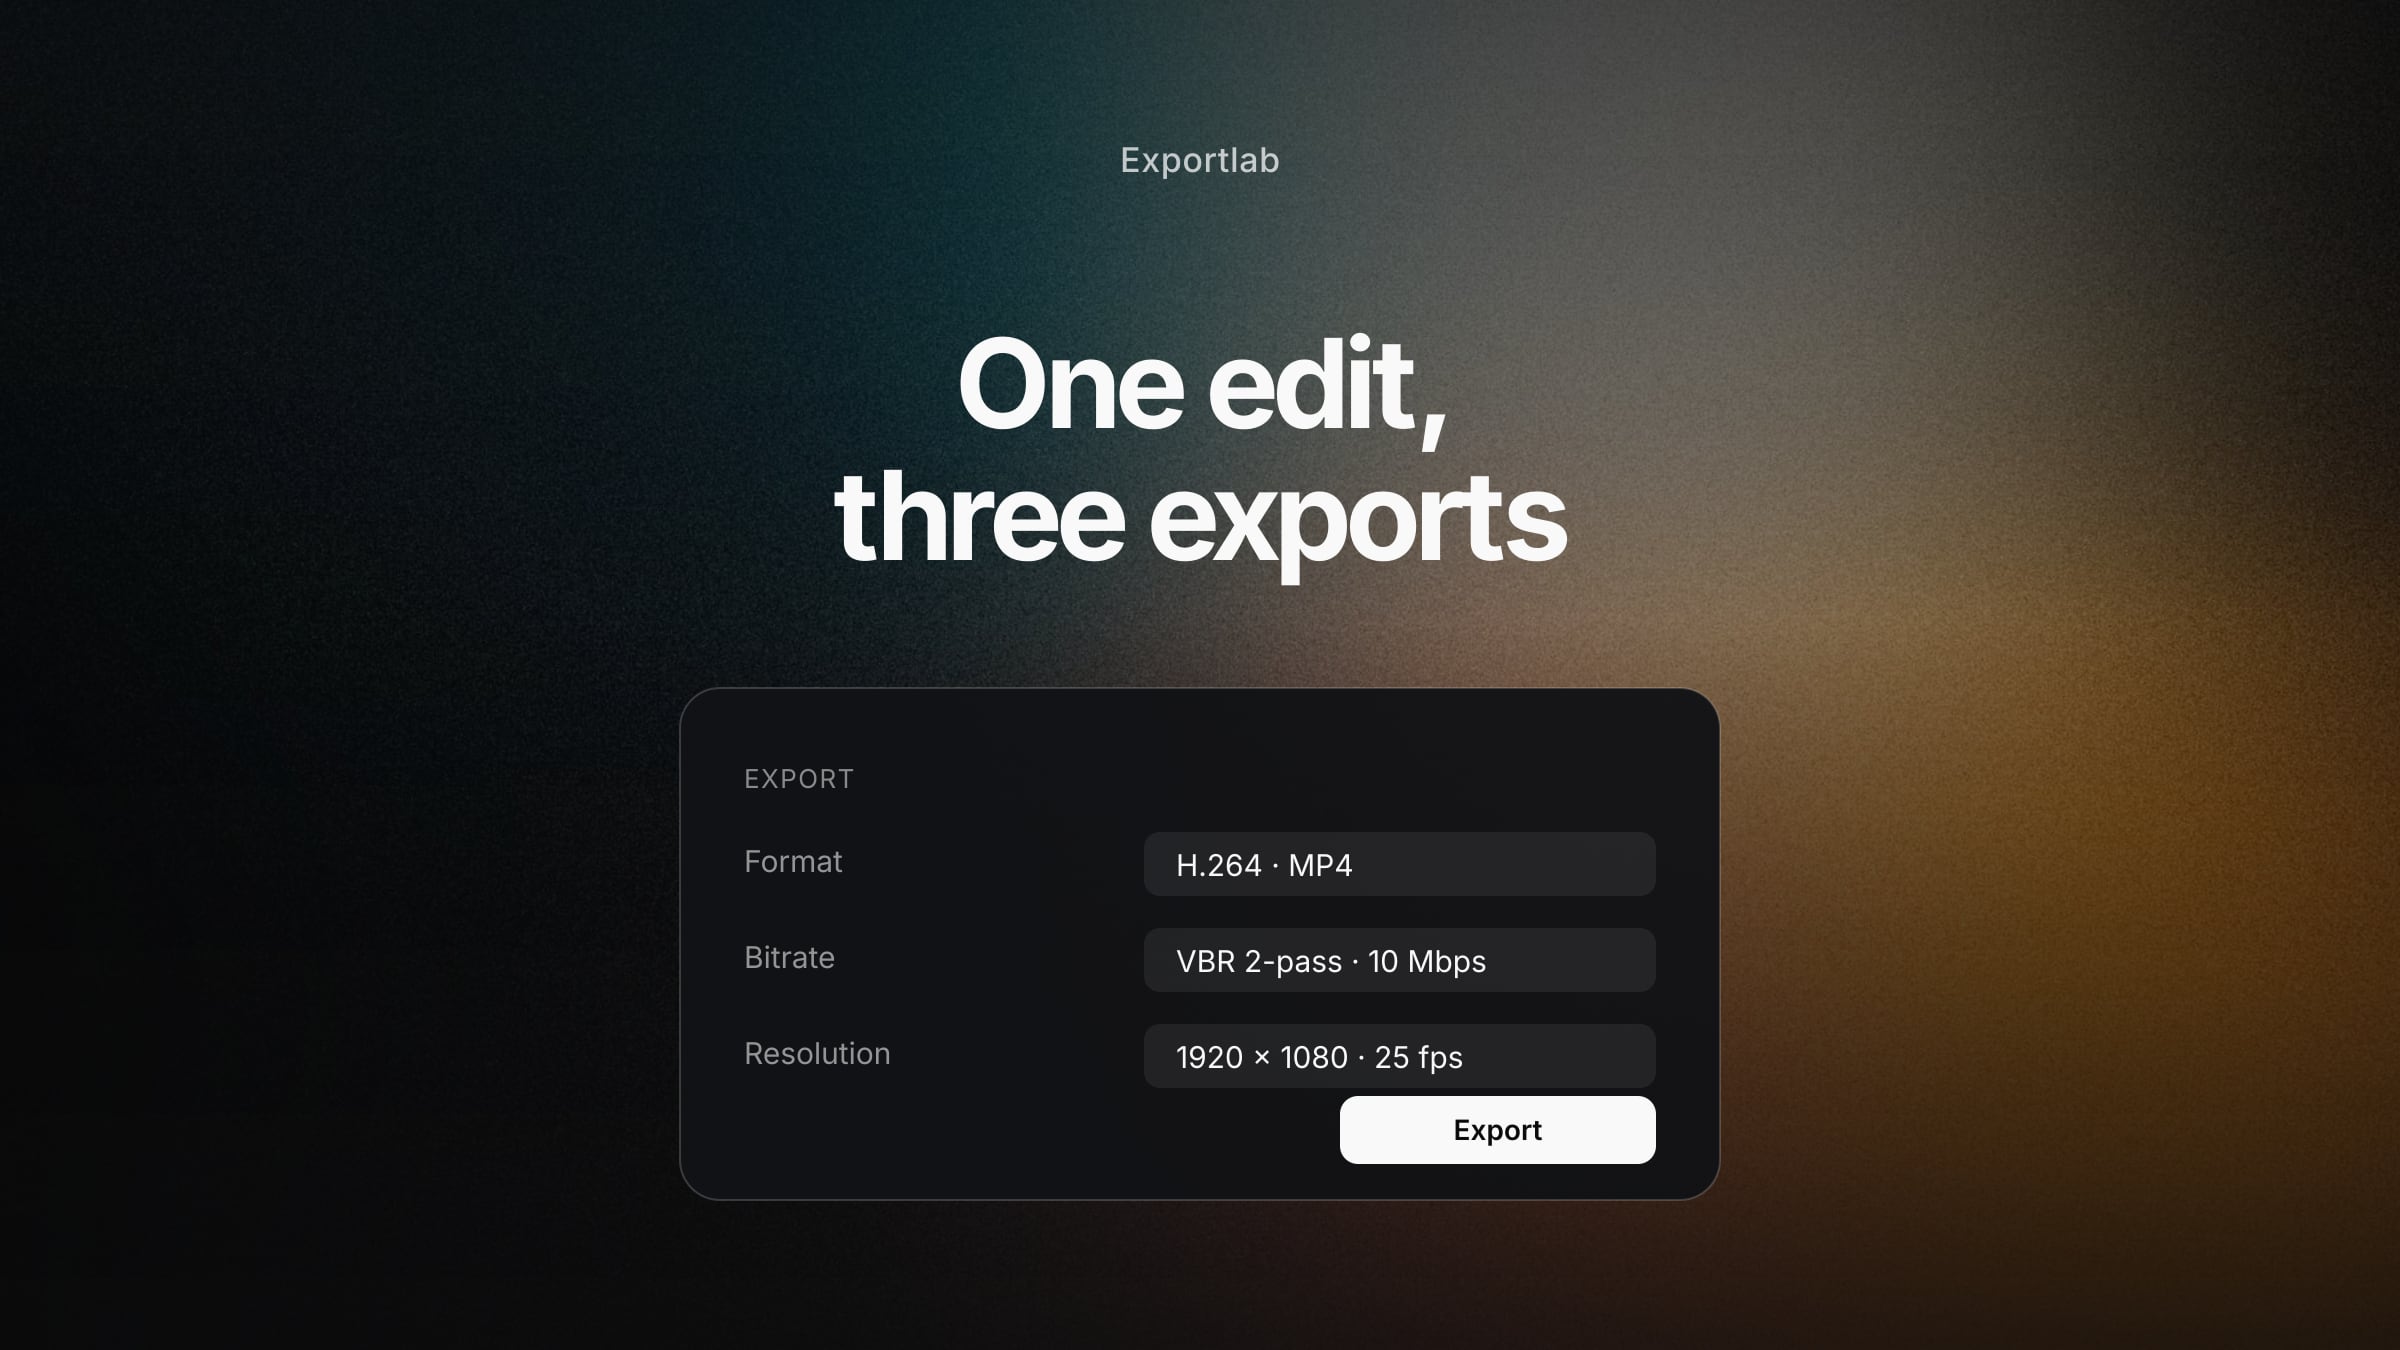
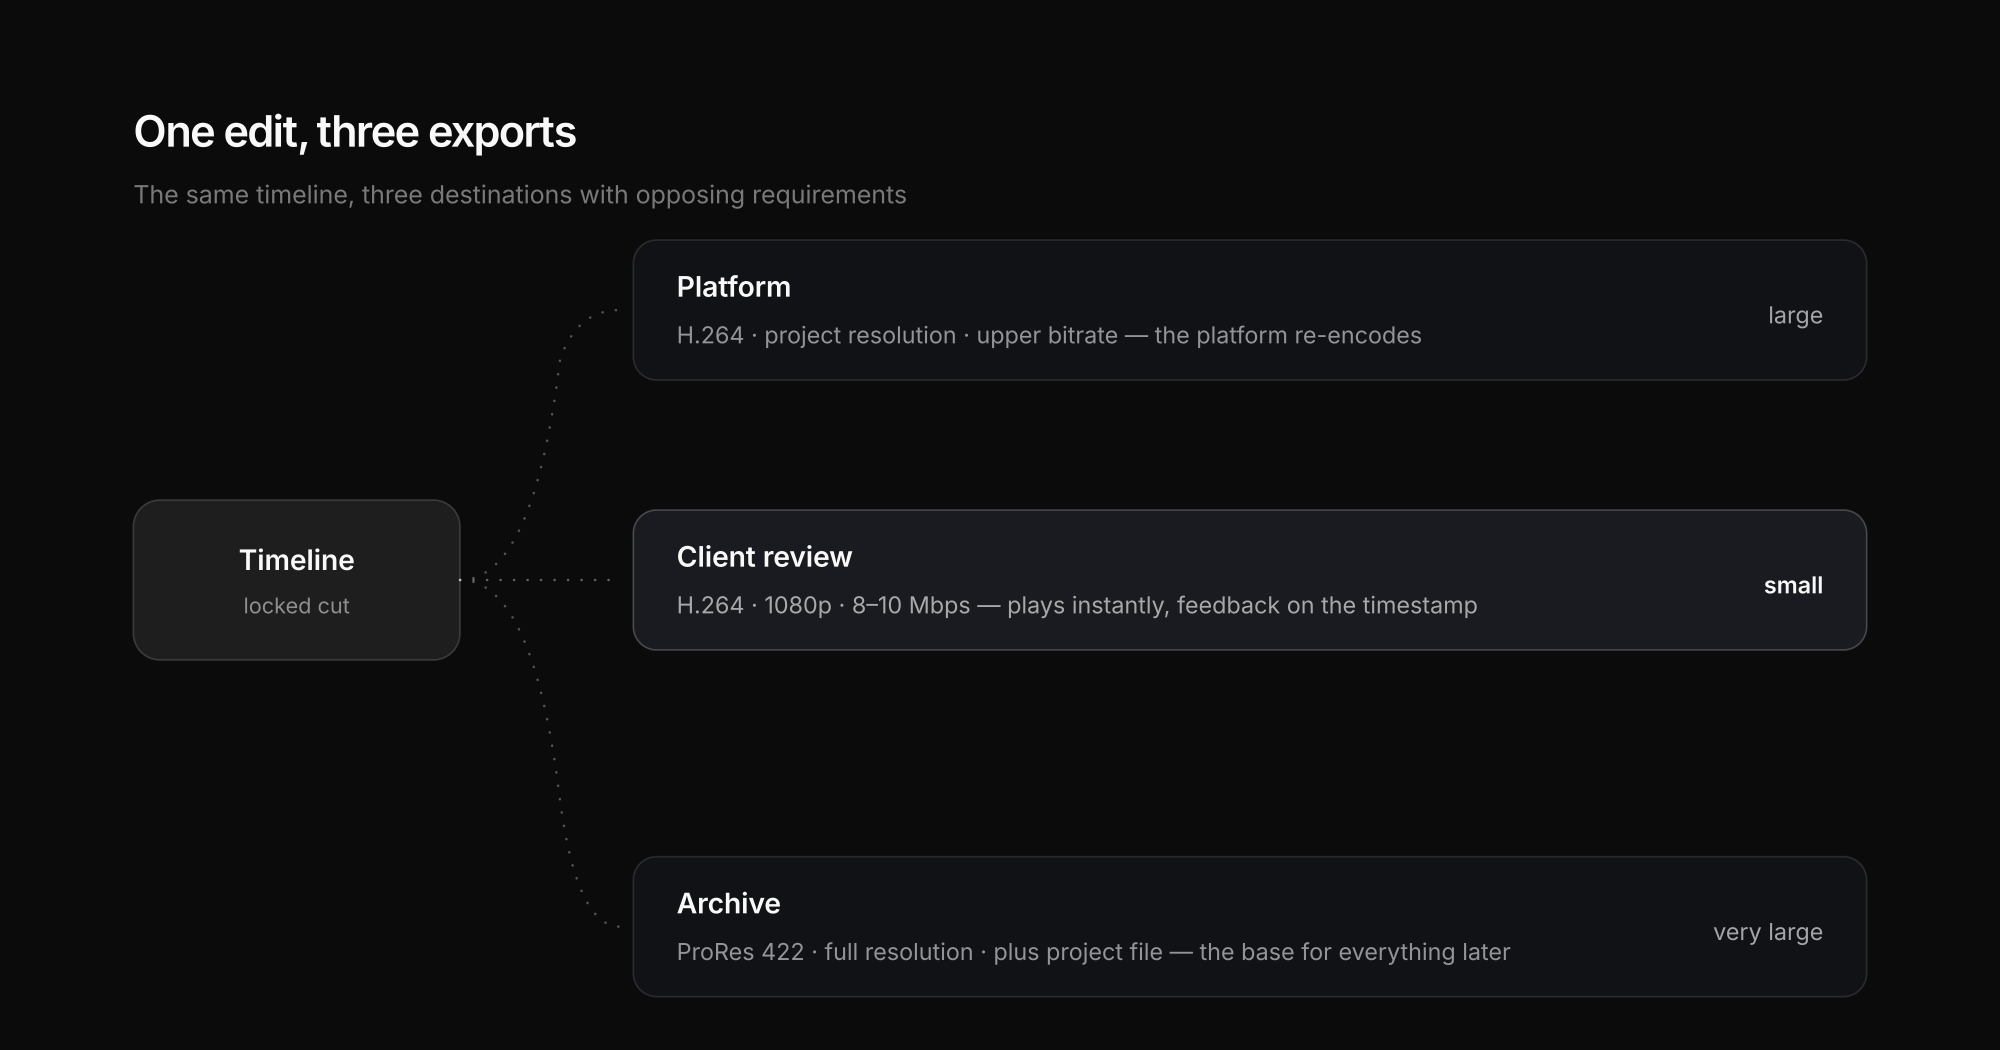
Three destinations — client review, platform, archive — need different settings. This article explains the four controls and gives concrete values for each destination.
The four controls
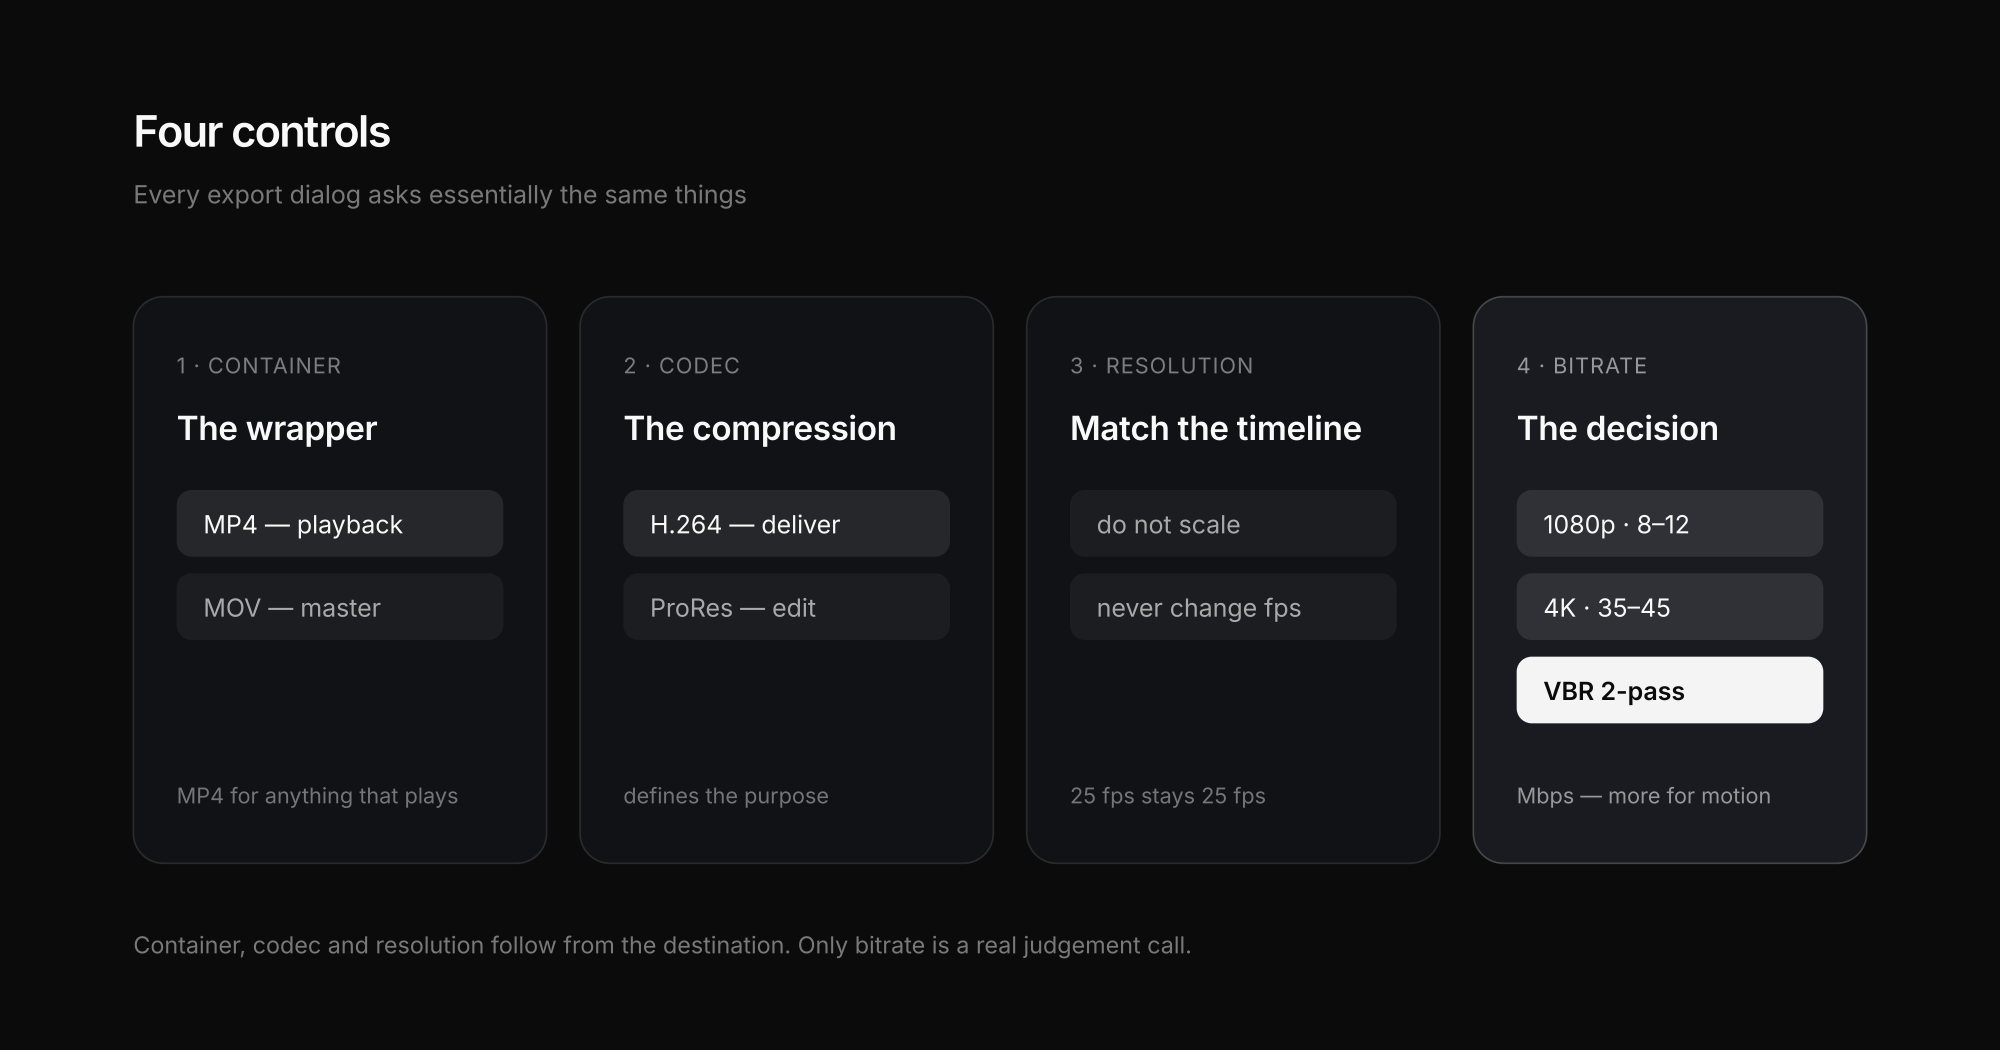
Every export dialog, whether Premiere Pro, DaVinci Resolve or Final Cut, asks essentially the same things.
Container is the wrapper: MP4 or MOV. MP4 is the standard for anything meant to be played; MOV is more for intermediate steps and ProRes masters.
Codec is the compression inside. H.264 for delivery, ProRes or DNxHR for editing and archive — the distinction is covered in detail in ProRes vs H.264.
Resolution and frame rate normally stay identical to the timeline. Scaling at export is rarely useful: cutting in 4K and outputting 1080p throws away resolution the platform would have handled better anyway. Never change the frame rate — 25 fps stays 25 fps, otherwise you get judder or unnatural motion.
Bitrate is the actual quality decision: how much data per second. It affects file size and image quality more than anything else.
Bitrate: what the numbers mean
Bitrate is given in megabits per second (Mbps). More bitrate means more detail and larger files — but only up to a point beyond which the gain stops being visible.
Two modes are available:
- CBR (constant bitrate) uses the same value throughout, even in passages where almost nothing moves. Wasteful, but predictable.
- VBR (variable bitrate) puts the data where the motion is. VBR 2-pass analyses the material first and then encodes — roughly twice the render time, and the best result at a given file size.
For deliveries, VBR 2-pass is almost always right. The extra render time is negligible next to the editing time.
Reference values for H.264:
| Resolution | Frame rate | Target bitrate | Maximum |
|---|---|---|---|
| 1080p | 24–30 fps | 8–12 Mbps | 16 Mbps |
| 1080p | 50–60 fps | 12–16 Mbps | 20 Mbps |
| 4K | 24–30 fps | 35–45 Mbps | 50 Mbps |
| 4K | 50–60 fps | 55–68 Mbps | 75 Mbps |
Go higher for heavy motion, film grain, screen recordings or fine graphics — anywhere many pixels change at once. Go lower for calm interviews and static setups.
The three destinations in detail
Client review: small and instantly playable
At the work-in-progress stage this is about content and timing, not maximum quality. The client should be able to watch immediately, with no download and no waiting.
- Container/codec: MP4 / H.264
- Resolution: 1080p is almost always enough, even on 4K projects
- Bitrate: 8–10 Mbps, VBR 2-pass
- Audio: AAC, 192–320 kbps, 48 kHz
The decisive factor at this stage is not the bitrate anyway, but how the feedback comes back. A review link with comments on the timestamp removes the "which bit do you mean?" round trip.
YouTube and social: export generously, the platform re-encodes
Important to understand: every platform re-encodes what you upload. Your export file is not what viewers see — it is the source for it. So export generously, to give the platform good material to work from.
- Resolution: project resolution, so 4K for 4K footage
- Bitrate: the upper values from the table
- Audio: AAC, 384 kbps, 48 kHz
A widely repeated tip is to upscale 1080p footage to 4K, because platforms allocate more bitrate to 4K uploads. It does work, but it produces much larger files and longer uploads. For compression-prone material (gradients, smoke, rain) it can pay off; otherwise it rarely does.
The same principle applies to vertical and horizontal formats: build the sequence in the target format from the start rather than cropping at export.
Archive: the master everything else comes from
The archive is the export nobody sees and the one that matters longest. Here the opposite of "small" applies:
- Container/codec: MOV / ProRes 422 (or DNxHR on Windows)
- Resolution: full project resolution
- Plus: the project file itself
Keep only the H.264 delivery and every later version — different length, different format, a new cut — has to be built from already compressed material. The losses stack visibly.
Common mistakes
Changing frame rate at export
Turning 25 fps into 30 fps creates judder or duplicated frames. Frame rate is decided at the shoot, not at export.
Bitrate too low for moving footage
Pans, rain, smoke or film grain produce blocking artefacts. Exactly that material needs the upper values, not the lower ones.
One file for every purpose
There is no file that is both small enough for the client and good enough for the archive. That is two exports.
Forgetting audio
Many presets deliver 128 kbps. With music and speech that is audibly thin — 256–320 kbps costs almost nothing in file size.
Wrong colour space with HDR footage
Export HDR material as SDR without conversion and the colours look flat and desaturated. That is not a bitrate problem and no amount of Mbps will fix it.
What happens after the export
The export is done — and then the question is how the file reaches the client. A 4 GB file fits in no email, and a transfer service with an expiry date means the link is dead two weeks later, exactly when the client needs it again.
For work in progress a review link is more practical than a download anyway: Exportlab transcodes the uploaded file for streaming automatically, so the client downloads nothing, and comments attach to the timestamp instead of an email. From DaVinci Resolve those notes can be pulled back as markers.
For the final file — or when someone genuinely needs the master — Easy Transfer is the direct route: large file transfer by link, PIN-protected, with no account needed at the other end.
FAQ: Video export settings
What bitrate for 1080p?
For 1080p at 24–30 fps, 8–12 Mbps is a good guide; at 50–60 fps, 12–16 Mbps. Material with heavy motion, film grain or fine graphics benefits from the upper values, while calm interviews manage with less. Use VBR 2-pass as the mode.
What bitrate for 4K?
At 24–30 fps, 35–45 Mbps sits in the sensible range; at 50–60 fps, 55–68 Mbps. Much higher values mainly enlarge the file — the result rarely looks visibly better, because platforms re-encode anyway.
CBR or VBR — which is better?
VBR, specifically 2-pass. It puts the data rate where the motion is and produces a better image at the same file size. The export takes roughly twice as long, which is negligible next to editing time.
Should I upscale 1080p to 4K for YouTube?
It can help, because platforms allocate a higher bitrate to 4K uploads, and it mainly pays off with compression-prone material like gradients, smoke or rain. The cost is considerably larger files and longer uploads — with ordinary material the difference is small.
Why does my video look worse after uploading?
Because the platform compresses the file again. What you upload is only the source. So export generously, stay at project resolution, and use the upper bitrate values for motion-heavy passages.
Which settings for client review?
MP4/H.264 at 1080p and around 8–10 Mbps is enough, even on 4K projects. At the review stage what counts is that the file plays instantly and that feedback can be located precisely — a review link with timestamped comments is more practical than a download.
Conclusion
There is no single correct export setting, but three destinations with different requirements: small and instantly playable for review, generous for platforms, low-loss for the archive.
Build those three presets once and you never have to make the decision again — and you avoid the most common mistake: exporting a single file and hoping it serves every purpose at once.