

How to Make a Storyboard: Template, Guide and When to Skip It
A storyboard turns a script into pictures before anything is filmed. It settles what is in each shot, where the camera sits and how long it runs — at a point where changing your mind still costs nothing.
The usual obstacle is not the concept but the belief that you have to be able to draw. You don't. This article gives you the template, shows what belongs in each panel, and also says when the effort is not worth it.
Download the storyboard template
Six panels per page, four pages for 24 shots, landscape at 16:9. Under each panel sit the four fields the edit actually needs: action, shot size and camera, sound, duration.
Download PDF · Download Word template
No form, no email address. The PDF is for printing and drawing on, the Word file for filling in on screen — the panels there are a real table, so you can drop images straight into the cells.
What belongs in a panel
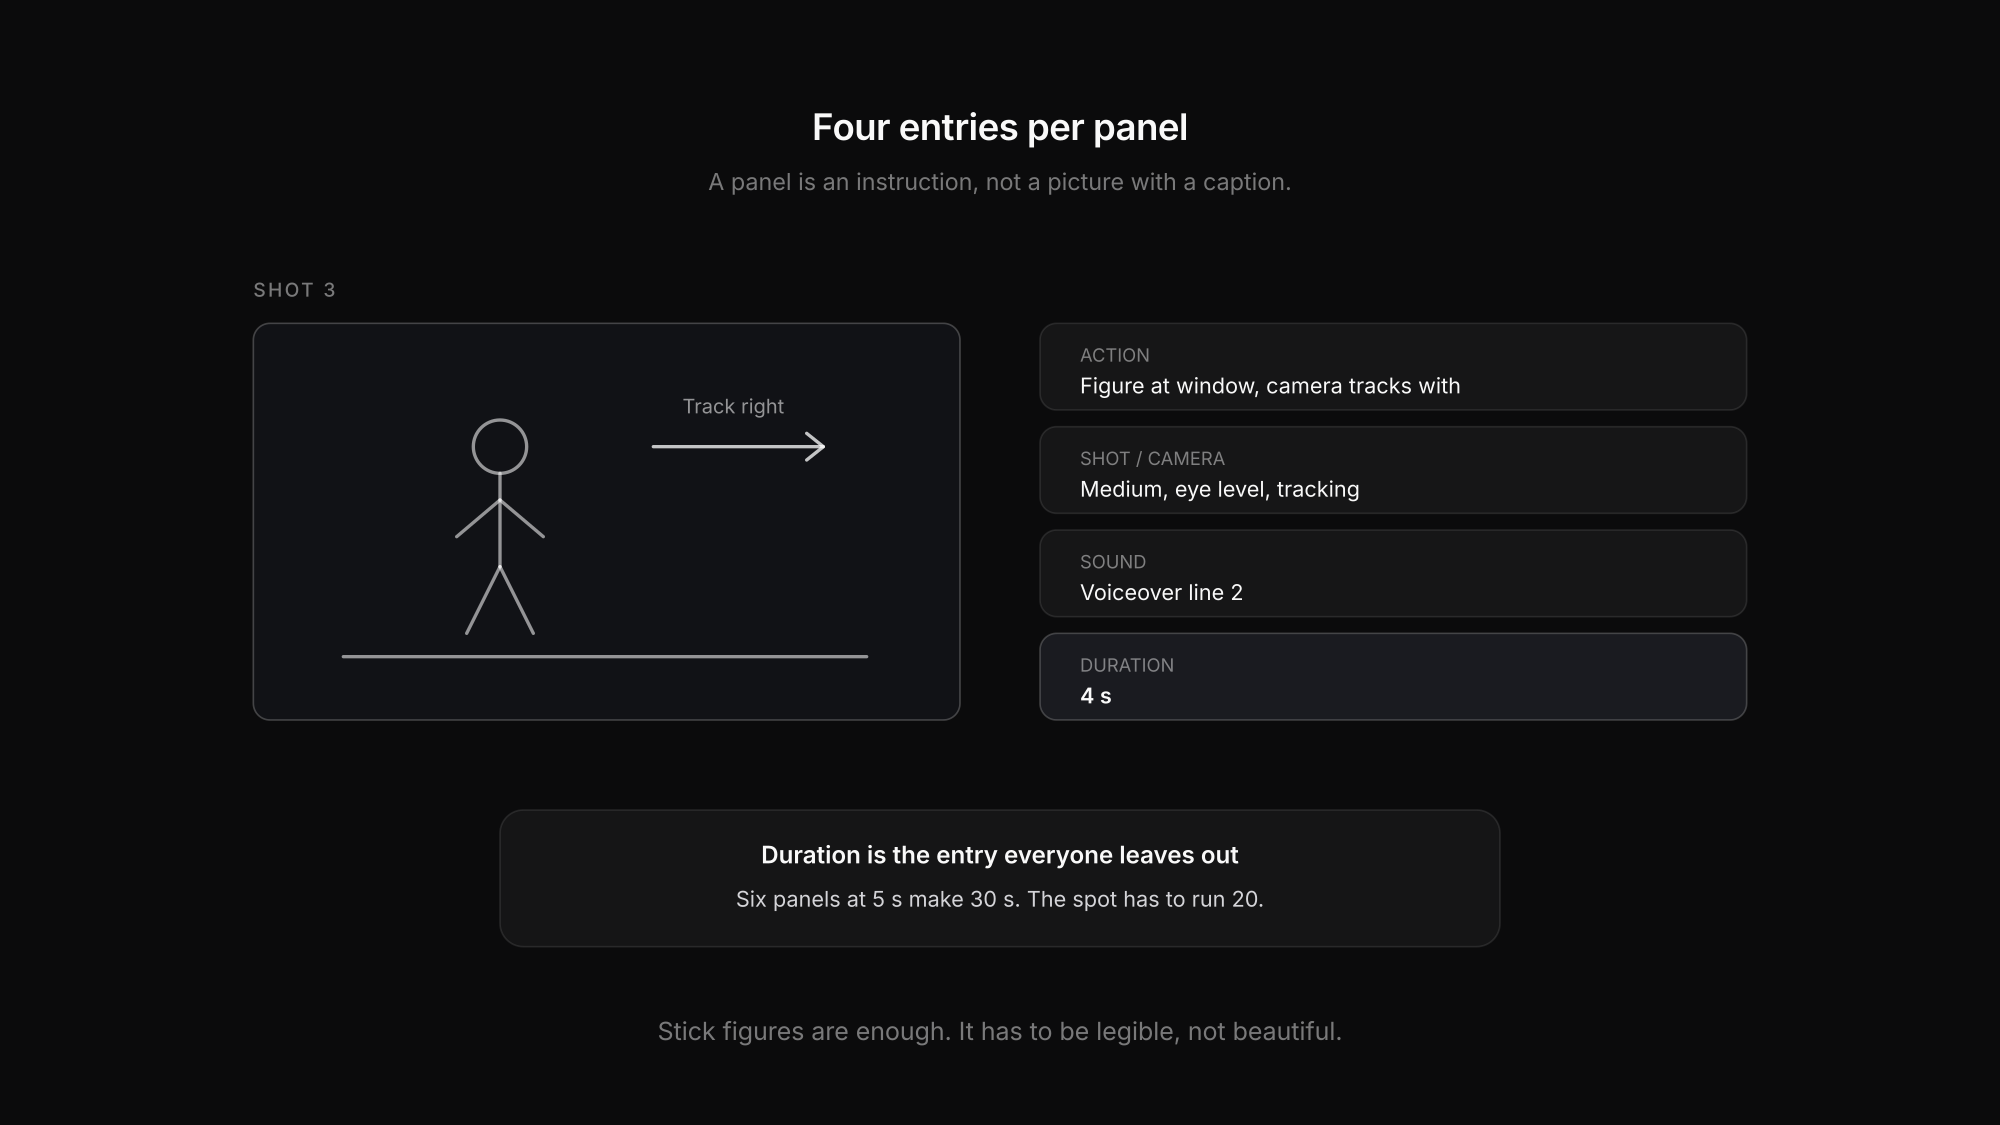
A panel is not a picture with a caption but a complete instruction for one shot. Four entries cover it:
- Action. Who or what is in frame, where, and what happens. Movement of people or camera goes in as an arrow — that is the only convention you genuinely need.
- Shot size and camera. Wide, medium, close, detail — plus angle and movement: eye level, low angle, pan, track, locked off.
- Sound. Dialogue, voiceover, atmos or music. Note it only where it drives the shot.
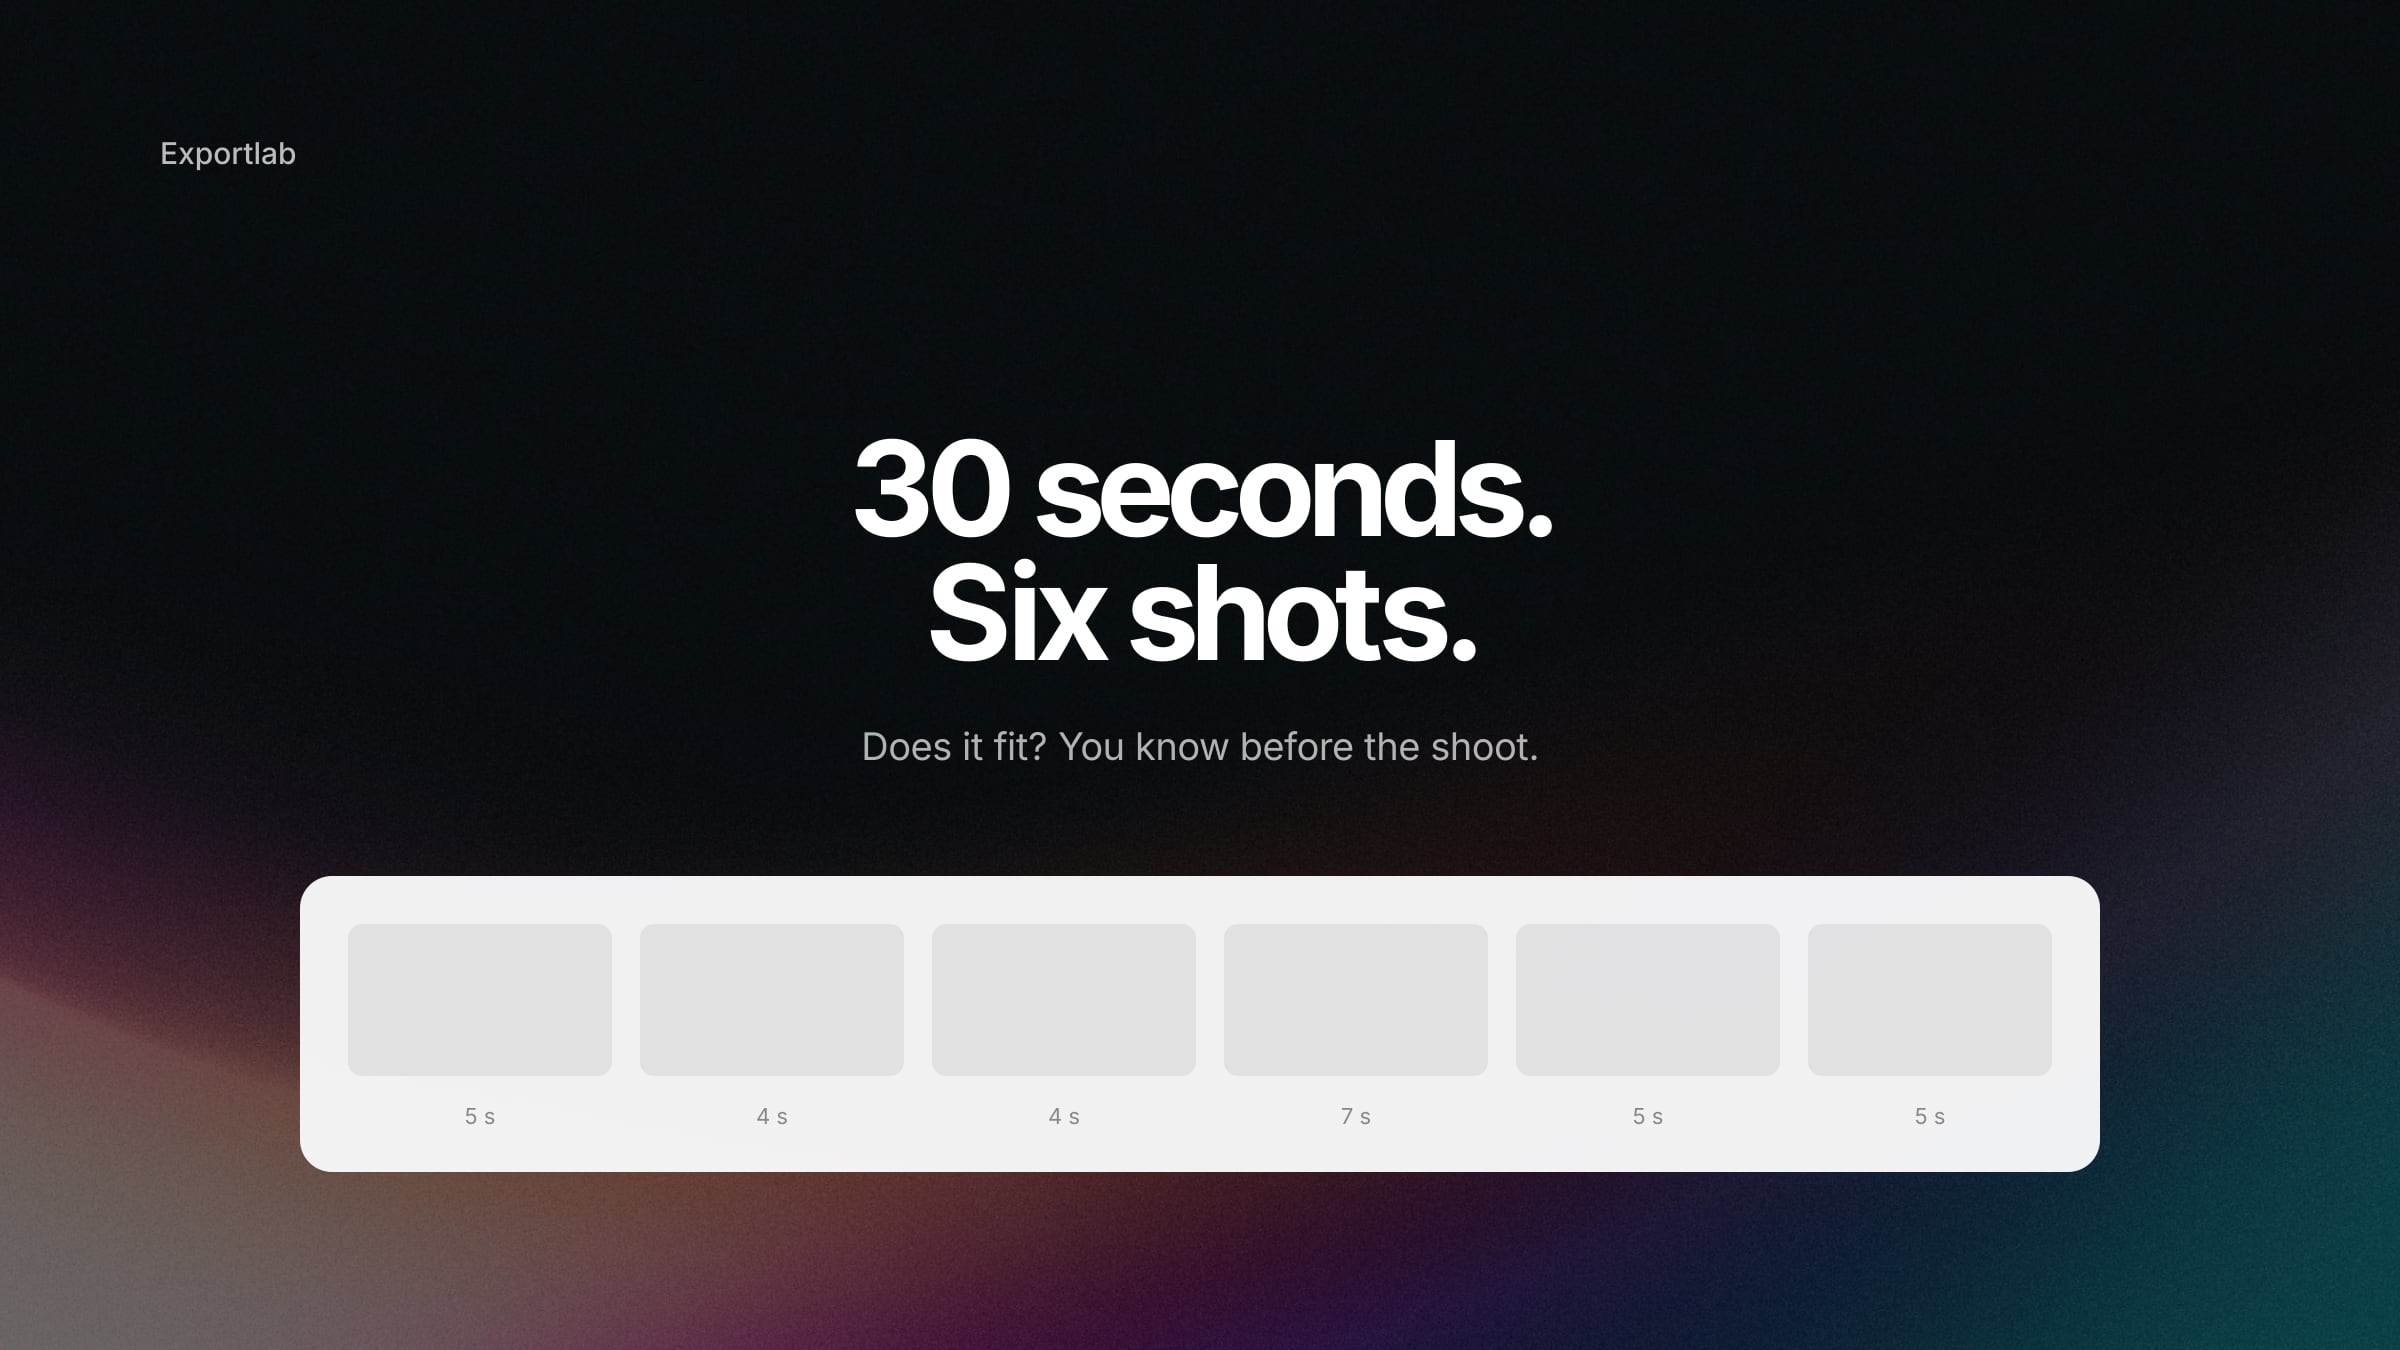
- Duration. The entry that goes missing most often and saves the most. Six panels at five seconds make thirty — if the spot has to run twenty, you find out here rather than in the edit.
Duration is why storyboards are mandatory on commercials. A 30-second spot has no slack: every shot planned a second too long pushes another one out.
You do not need to be able to draw
That is the real obstacle, and it is not one.
A storyboard has to be legible, not beautiful. Stick figures, rectangles and arrows do everything required: who stands where, how it is framed, what moves in which direction. Nobody is grading the drawing.
The practical alternatives to drawing:
- Photos from the location recce. You were there anyway — a phone shot at the planned focal length is more precise than any sketch. How to collect those systematically is in the post on location scouting.
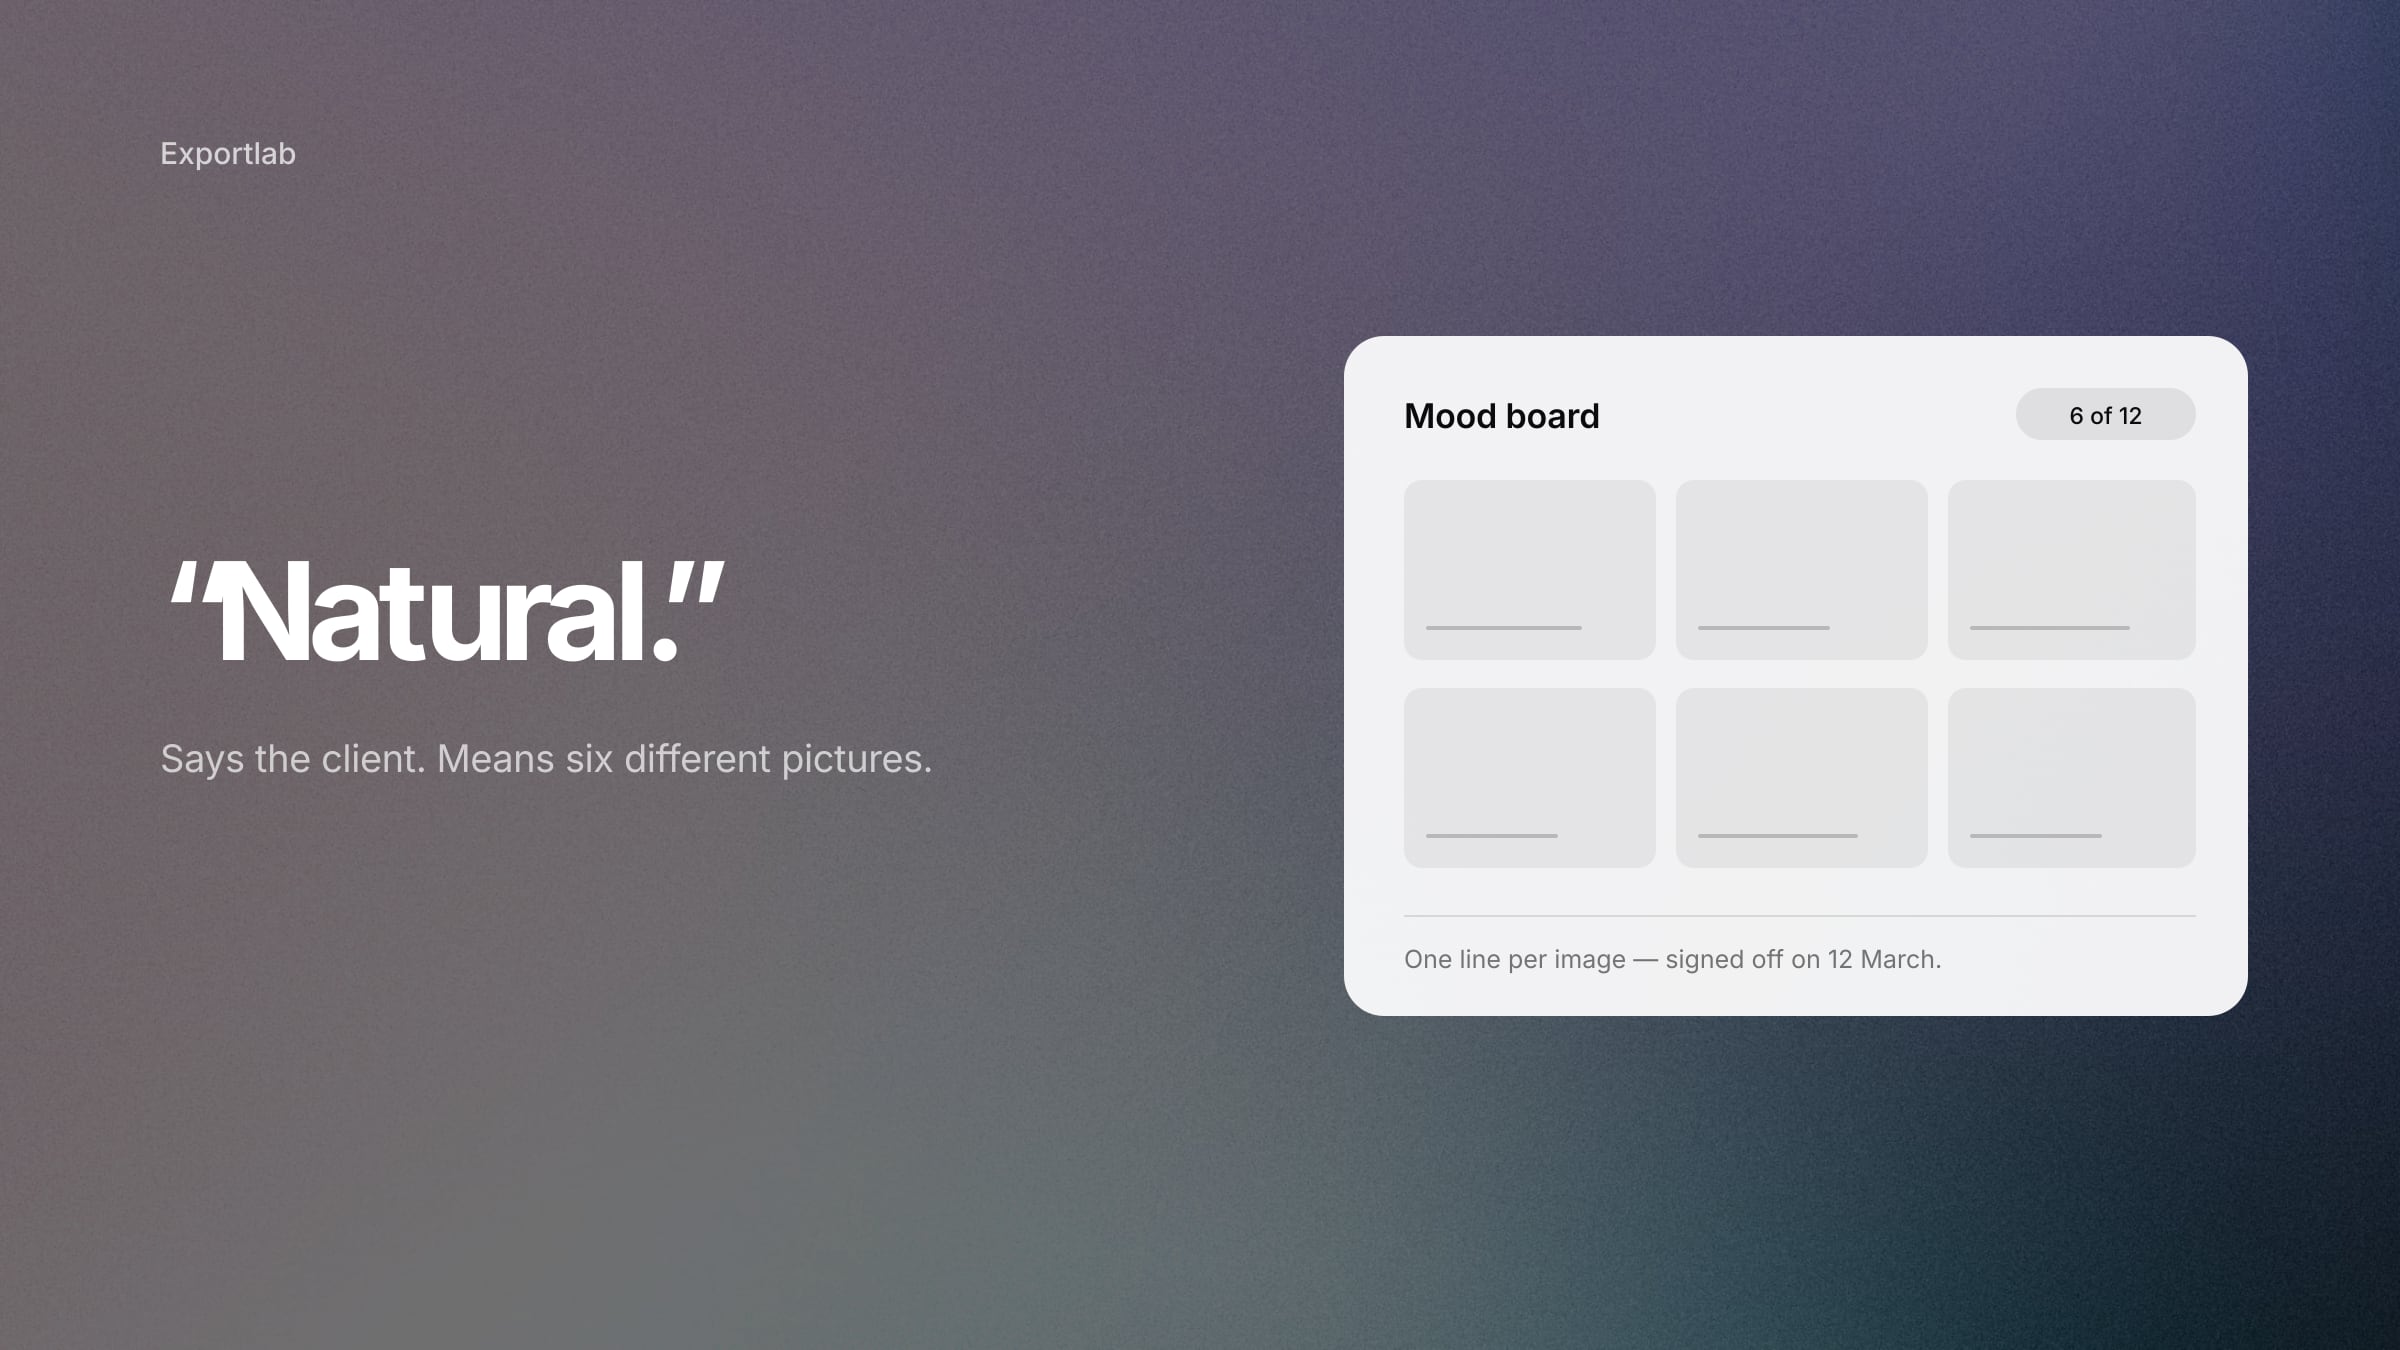
- Reference images. A frame from another film, or an image from the mood board, with a note on what is meant by it.
- Staged phone photos. Two colleagues, five minutes, six frames. For interview setups often the fastest route.
- Storyboard software. Tools exist with ready-made figures and sets. Worth it for many panels, overkill for six.
Draw storyboards regularly and you get good enough quickly. But the first version is allowed to look like a napkin sketch.
Storyboard, shot list, schedule: which does what
Three documents describing the same production and still answering different questions:
| Document | Answers | Form | Coverage |
|---|---|---|---|
| Storyboard | What does the shot look like? | image plus note | selected shots |
| Shot list | What gets filmed? | table | every shot |
| Shooting schedule | When and where? | time grid | every block |
The important difference is in the last column. The shot list is the complete record — every shot needed. The storyboard draws only the shots where the visual idea needs explaining. A wide of the building needs no panel. A camera move that tracks past a detail onto a face does.
Keeping both complete doubles the work. The storyboard is selective; the shot list is not.
How to work through it
Five steps:
- Read the script and mark the key moments. Not every line — the points where the visual idea changes or where something needs explaining.
- Decide the shots. One or several per key moment. Watch the rhythm of shot sizes: wide, medium and detail in sequence carries; six mediums in a row does not.
- Sketch. Rough, fast, no eraser. First pass in one go.
- Add the notes. Camera, sound, duration — plus the number that will reappear in the shot list.
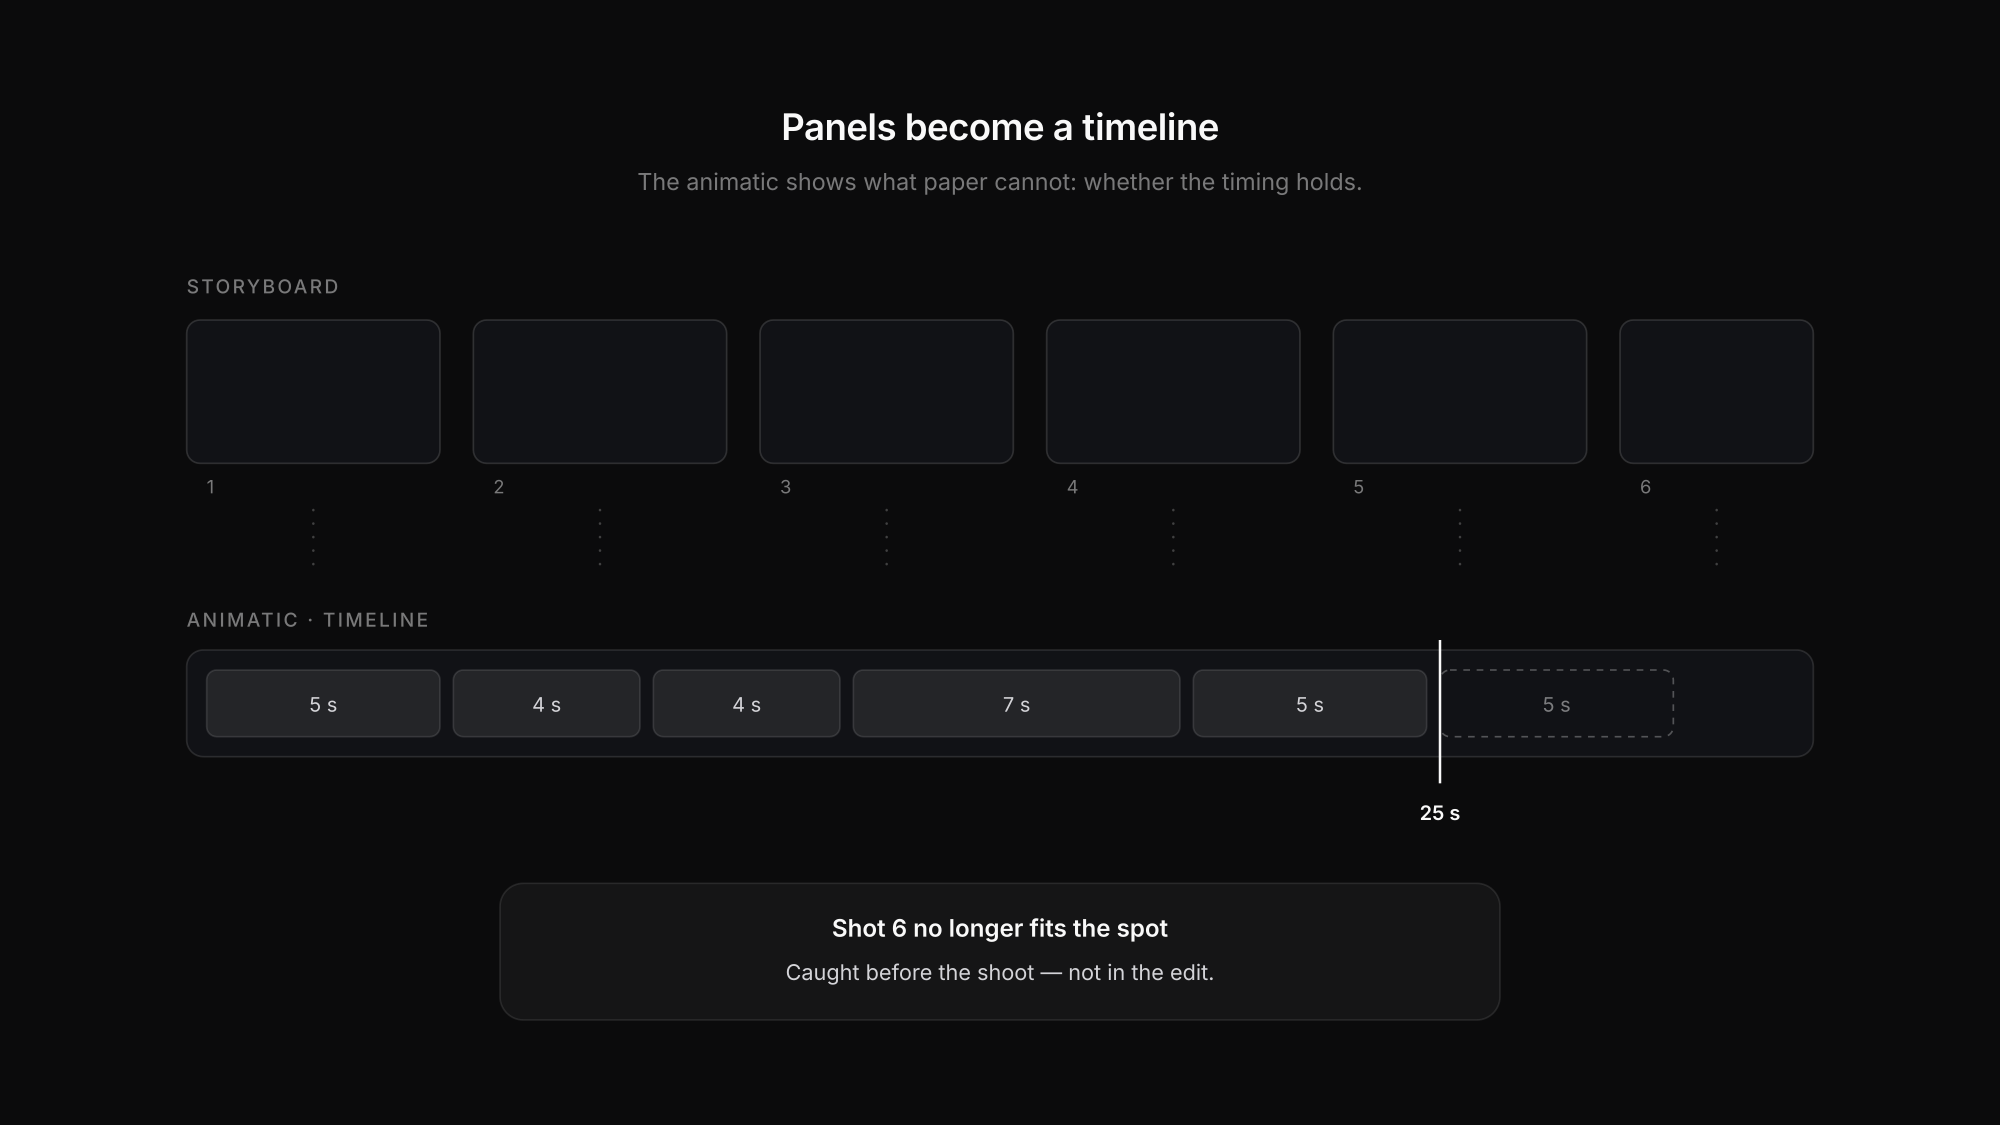
- Add it up and cut. Total the durations. If it does not fit the runtime, you cut here rather than on the shoot day.
Step five is the one everyone skips and the one that justifies the effort.
From storyboard to animatic
An animatic is the obvious next step, and plenty of people have never heard the term: the panels go into an edit timeline, each held for its planned duration, with a soundtrack of voiceover or music under it.
The result is a rough film made of stills. It shows what a storyboard on paper cannot: whether the timing works. Whether the line fits the shot, whether a cut lands too early, whether the ending rushes.
The effort is small — the images already exist. On commercials and explainer videos the animatic is often what the client approves before anything is filmed. A change to the animatic costs an hour; the same change after the shoot costs a shoot day.
When you do not need a storyboard
Not every production needs one, and saying so plainly saves more time than any template.
A storyboard pays off on commercials with a fixed runtime, explainer videos and animation, complex camera moves, productions with client approval before the shoot, and anywhere effects or composition have to be settled in advance.
It usually does not pay off on documentary and reportage — you do not know what will happen. On events, for the same reason. On interviews, where two or three setups make up the entire visual language. And on shoots where the visual idea is already settled in the mood board and the shot list carries the rest.
When in doubt: draw the three shots you are unsure about and leave the rest. A partial storyboard is perfectly legitimate.
Where the storyboard sits on the day
A finished storyboard has two lives. Before the shoot it is an approval document — it goes to the client and the team, and the feedback on it is the reason it exists. On the day it is a reference for camera and director.
Both times the same rule applies as for the schedule and the shot list: a PDF emailed the night before is the weakest option on set. What is needed is the current version, in the same place as the rest of the production.
In Exportlab storyboard panels sit with the content item inside production planning, linked to the block where the shot happens. On the day the crew sees the current block with its panels. Production planning is currently in beta and enabled per workspace.
Without software the principle is the same: one file, one version number, and panel numbers identical to the ones on the shot list.
FAQ: making a storyboard
What is a storyboard?
A sequence of drawn or photographed frames showing how planned shots should look, with notes on camera, sound and duration. It turns a script into pictures before anything is filmed.
How do I make a storyboard?
Read the script and mark the key moments, decide the shots for each, sketch roughly, add notes on camera, sound and duration, then total the durations and cut until the runtime fits. Use the template above for the frame.
Do I need a storyboard template?
You don't have to have one — a sheet with six rectangles works. A template saves you redrawing the same fields and stops duration and camera notes going missing. The one above comes as a PDF for printing and a Word file for filling in.
Do I have to be able to draw?
No. Stick figures, rectangles and arrows are enough, because a storyboard has to be legible rather than beautiful. If you would rather not draw at all, work with phone photos from the recce, reference images, or staged frames.
What is the difference between a storyboard and a shot list?
The shot list records every shot needed, as a table. The storyboard draws only the shots where the visual idea needs explaining. The list is complete, the board is selective — keeping both complete would be doing the job twice.
What is an animatic?
An animatic is made by laying the storyboard panels into an edit timeline at their planned durations with sound under them. The result is a rough film of stills you can use to check whether the timing works, before filming.
How many panels does a storyboard need?
As many as there are shots that need explaining. A 30-second spot often runs to eight or twelve. Drawing every shot means building the shot list a second time.
Conclusion
Making a storyboard is not about drawing nicely. It is about making a visual idea testable while changes are still cheap. Four entries per panel do the job: action, shot and camera, sound, duration.
Two things make the difference: total the durations at the end — that is where you find out whether the concept fits the runtime. And draw only what needs explaining; complete coverage is the shot list's job, not the storyboard's.