

Location Scouting: From Map Search to Permit
Location scouting is the part of preparation that gets underestimated most — until the shoot day hangs on a detail: the light falls the wrong way at 2pm, the underground garage has no power, or the caretaker knows nothing about it.
Choosing a location is not about finding a nice picture. It is about checking whether work can actually happen at this place, at this hour, with this crew — and whether it is allowed. This article walks the process: shortlist online, check on site, clear the permit, set a backup, hand it to the team.
Two questions before the search
Before you open the first map, two things decide what you are even looking for.
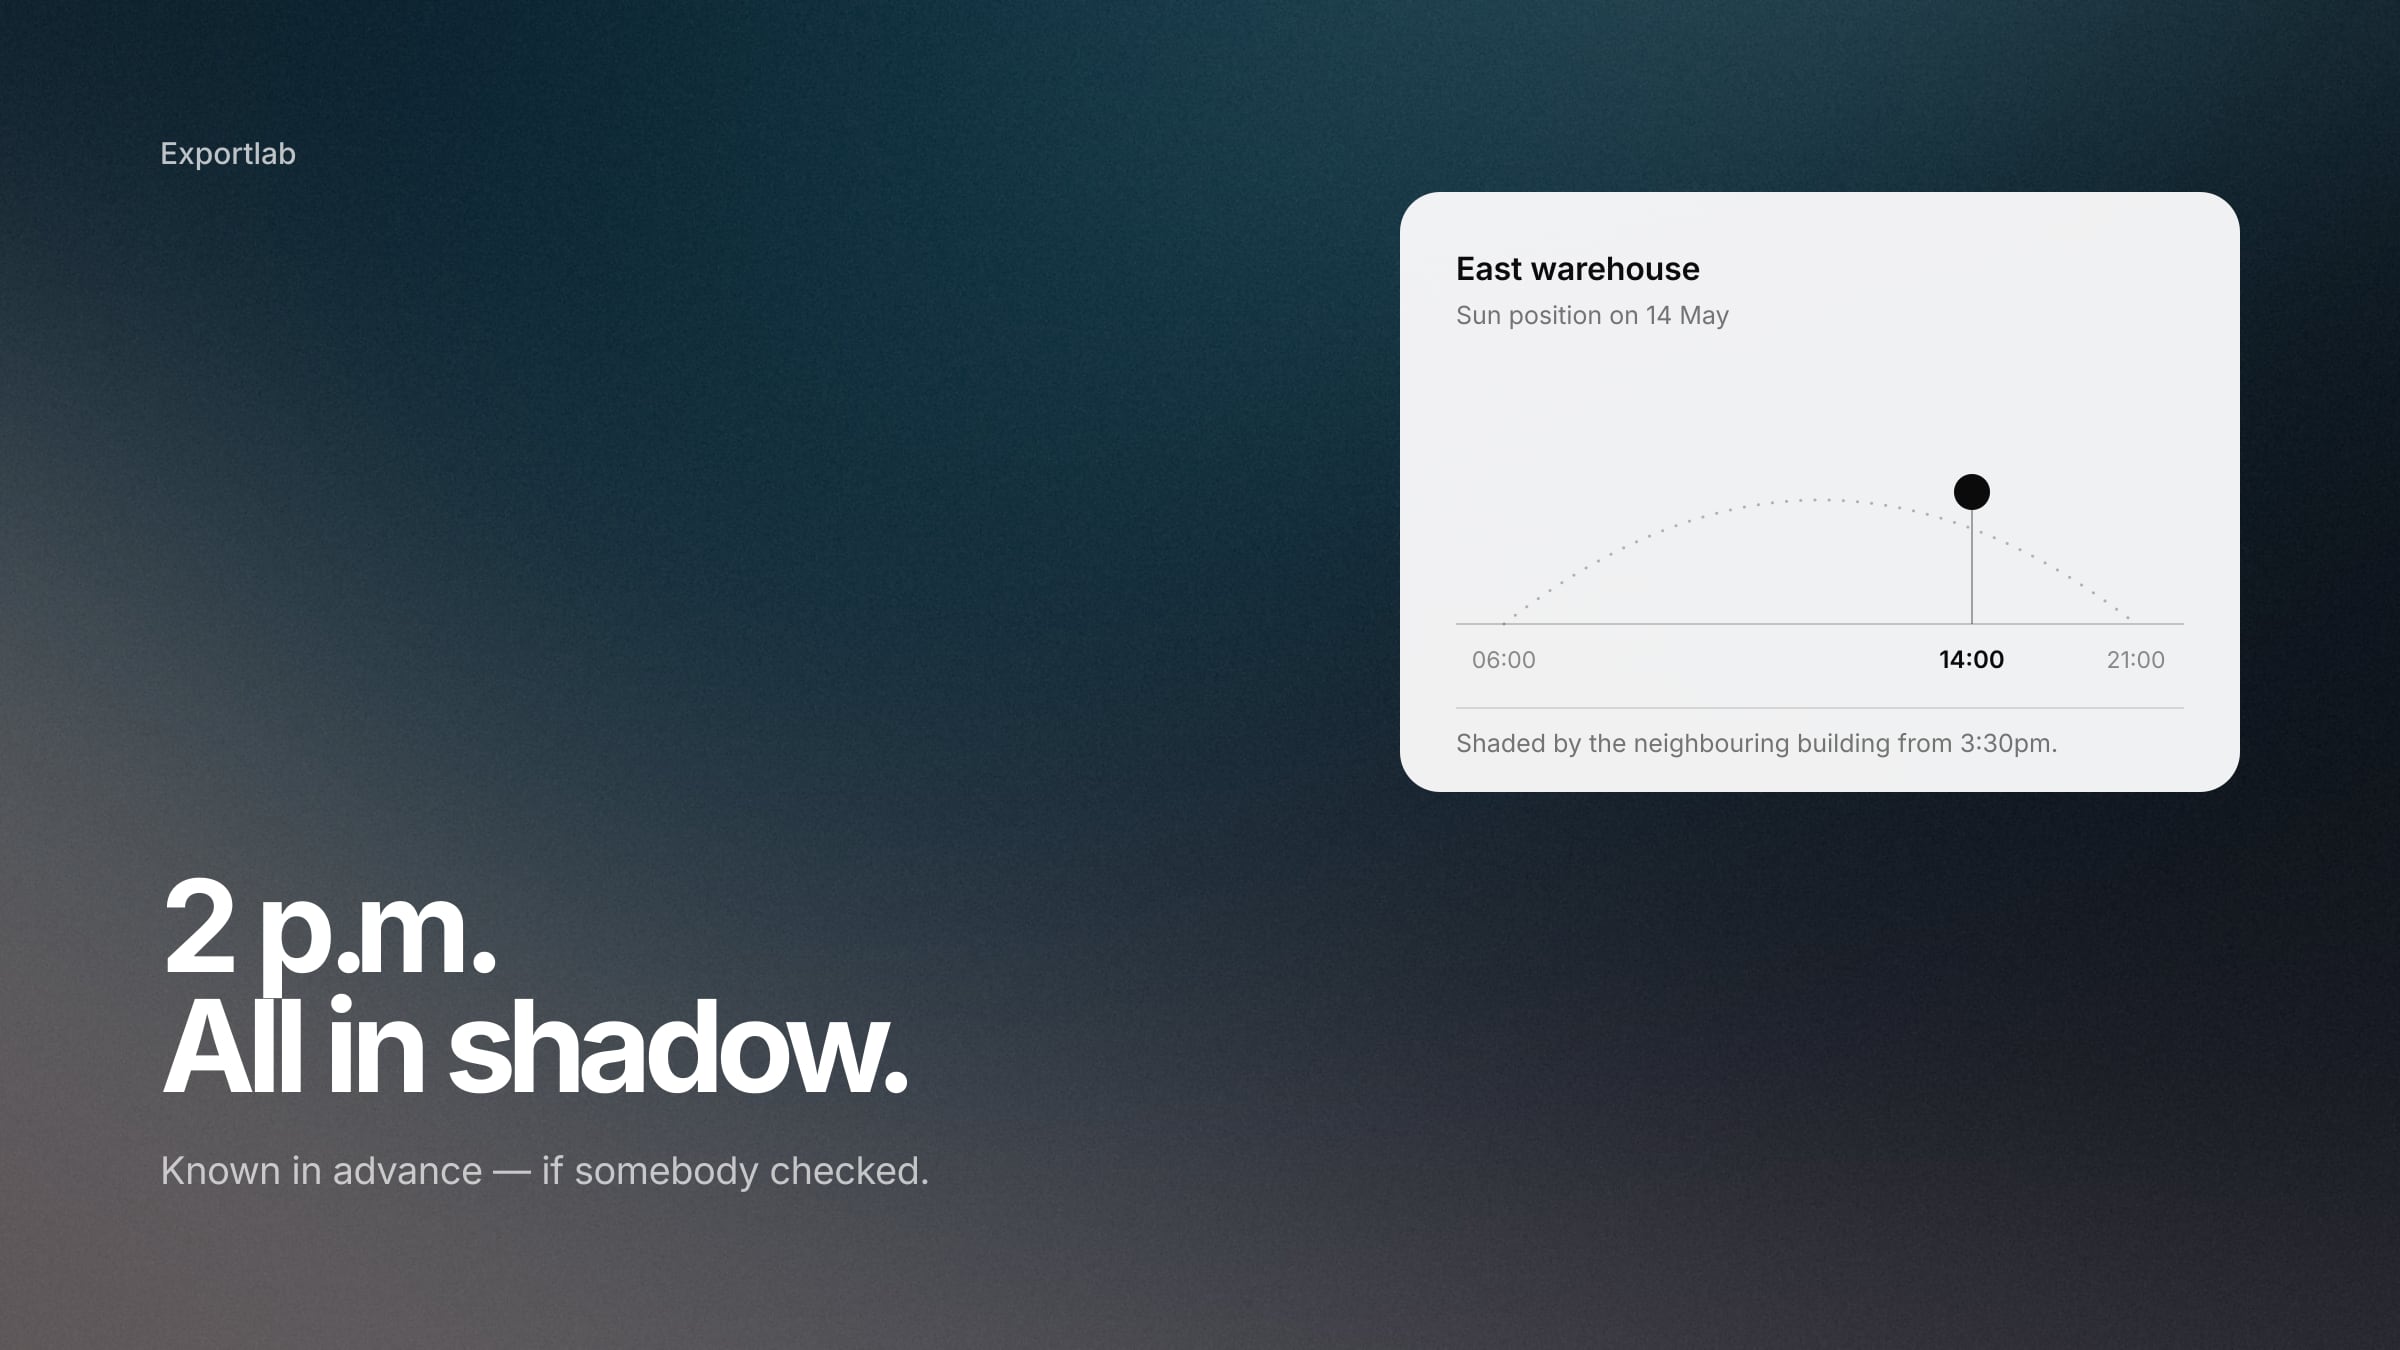
When is the shoot? Not the date — the hour. A location that works in the morning can sit in the neighbouring building's shadow by afternoon. Without a time window you are looking for a place, not a shooting situation.
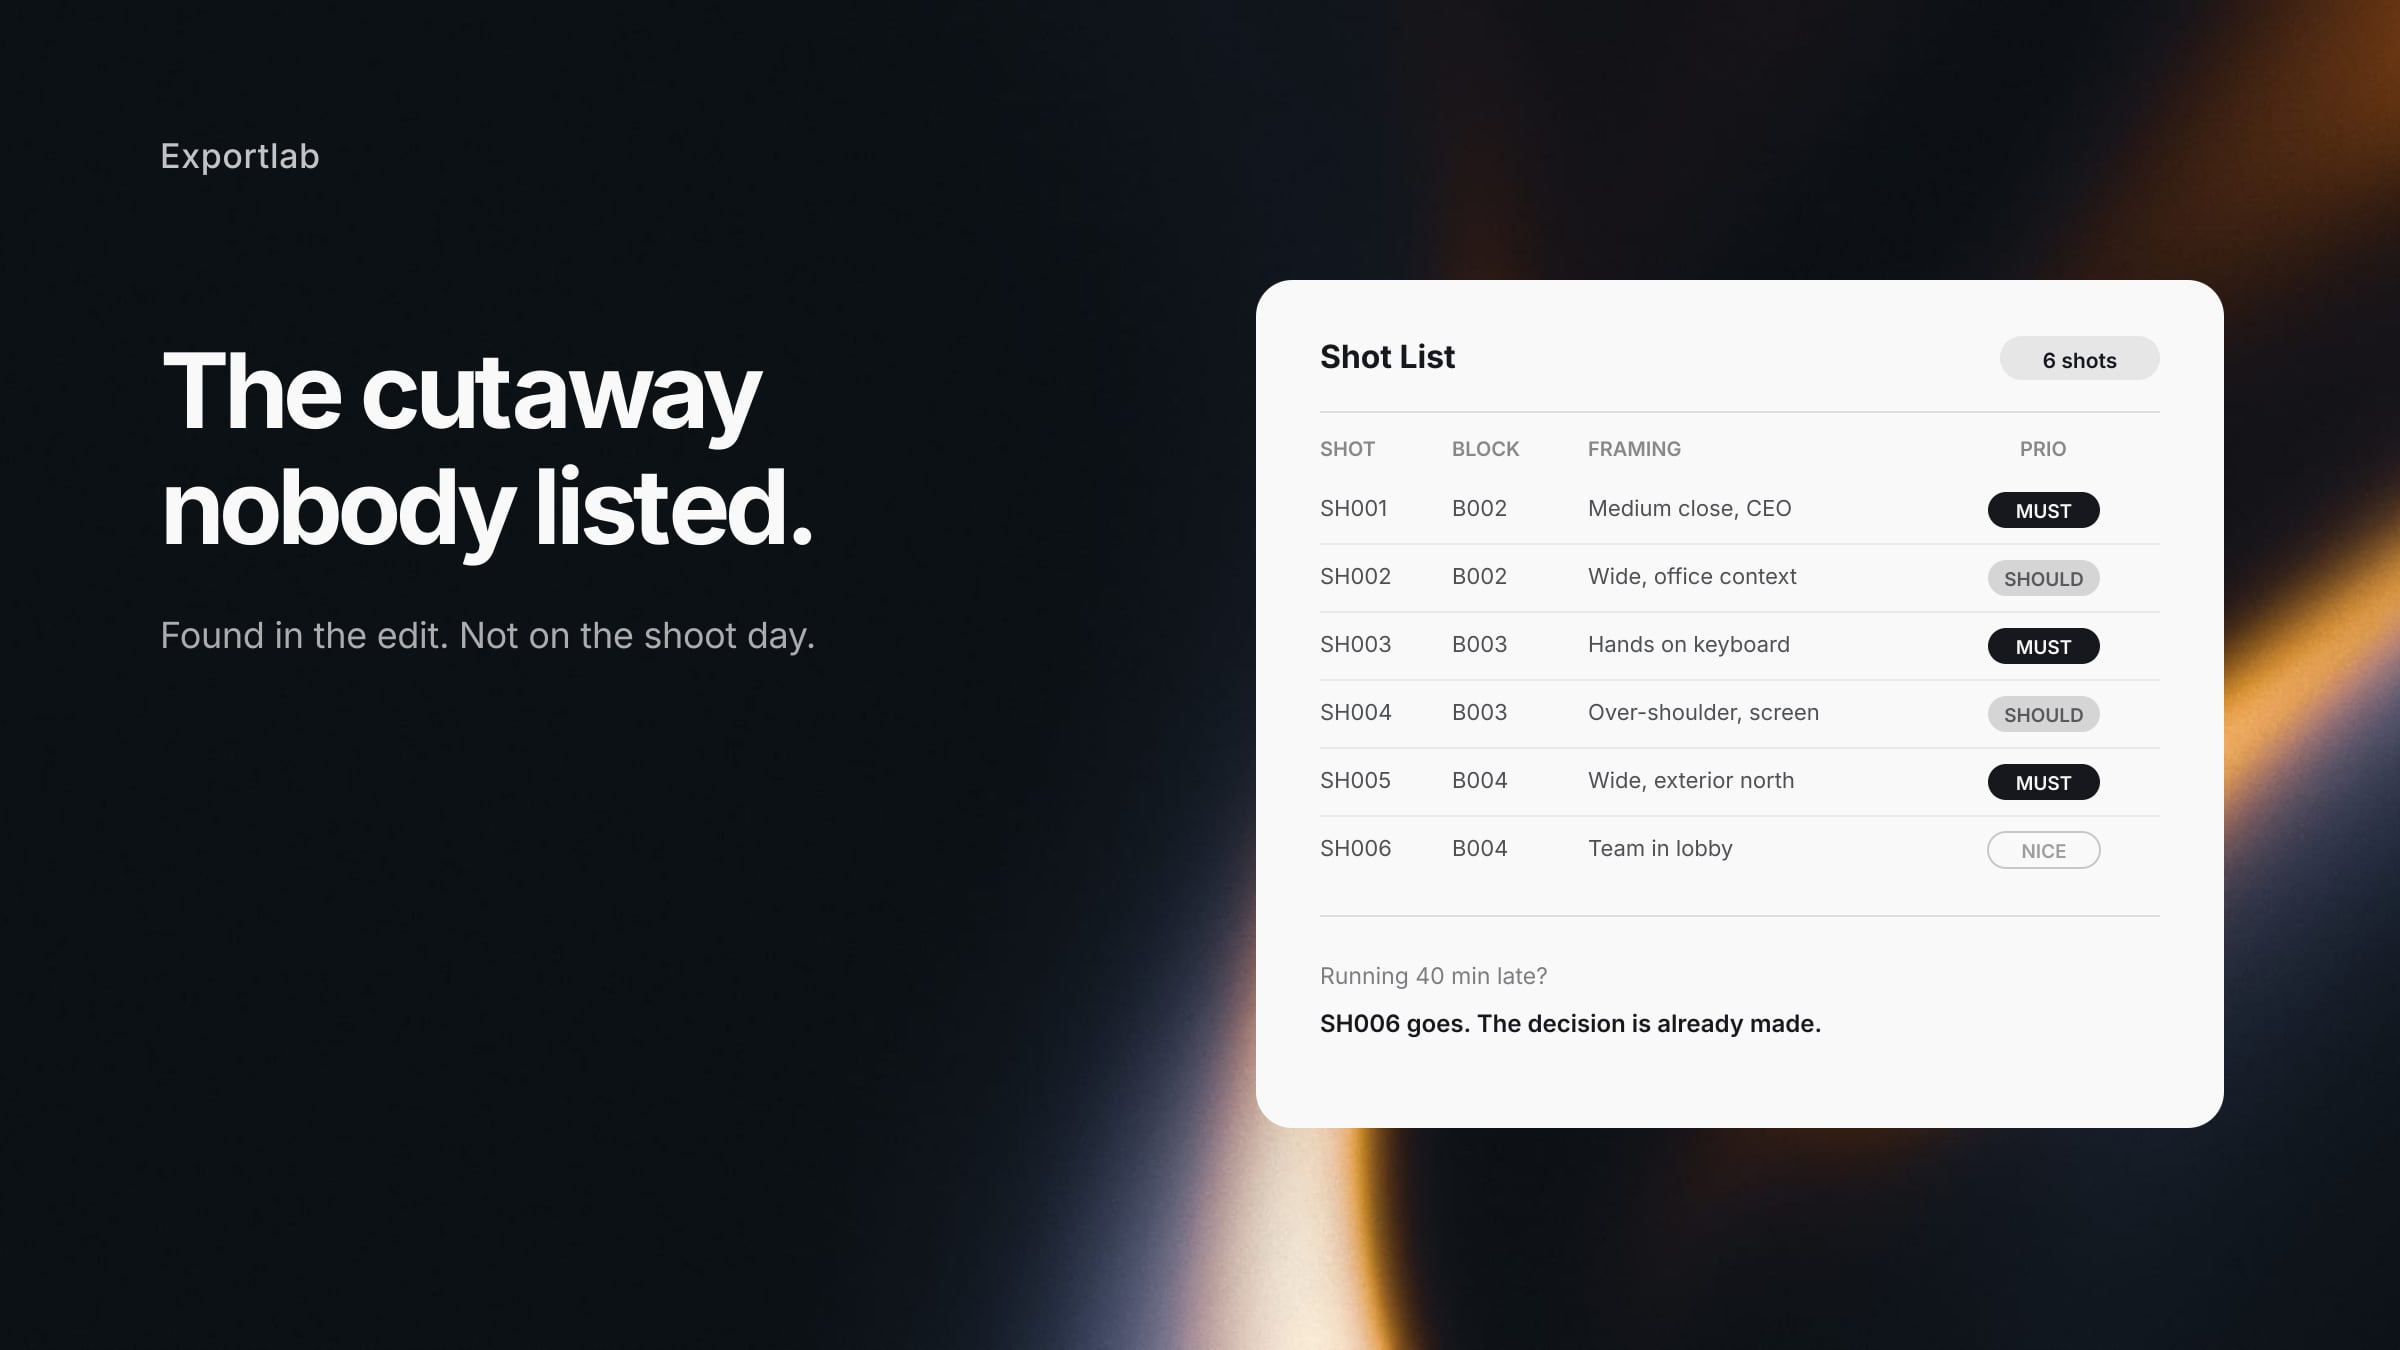
What has to be possible there? Power, setup time, parking for the van, somewhere to change, sound without traffic noise. That list comes out of the shooting schedule and the shot list — and it is the real search filter. "Nice old building" is not one.
Step 1: Shortlist online
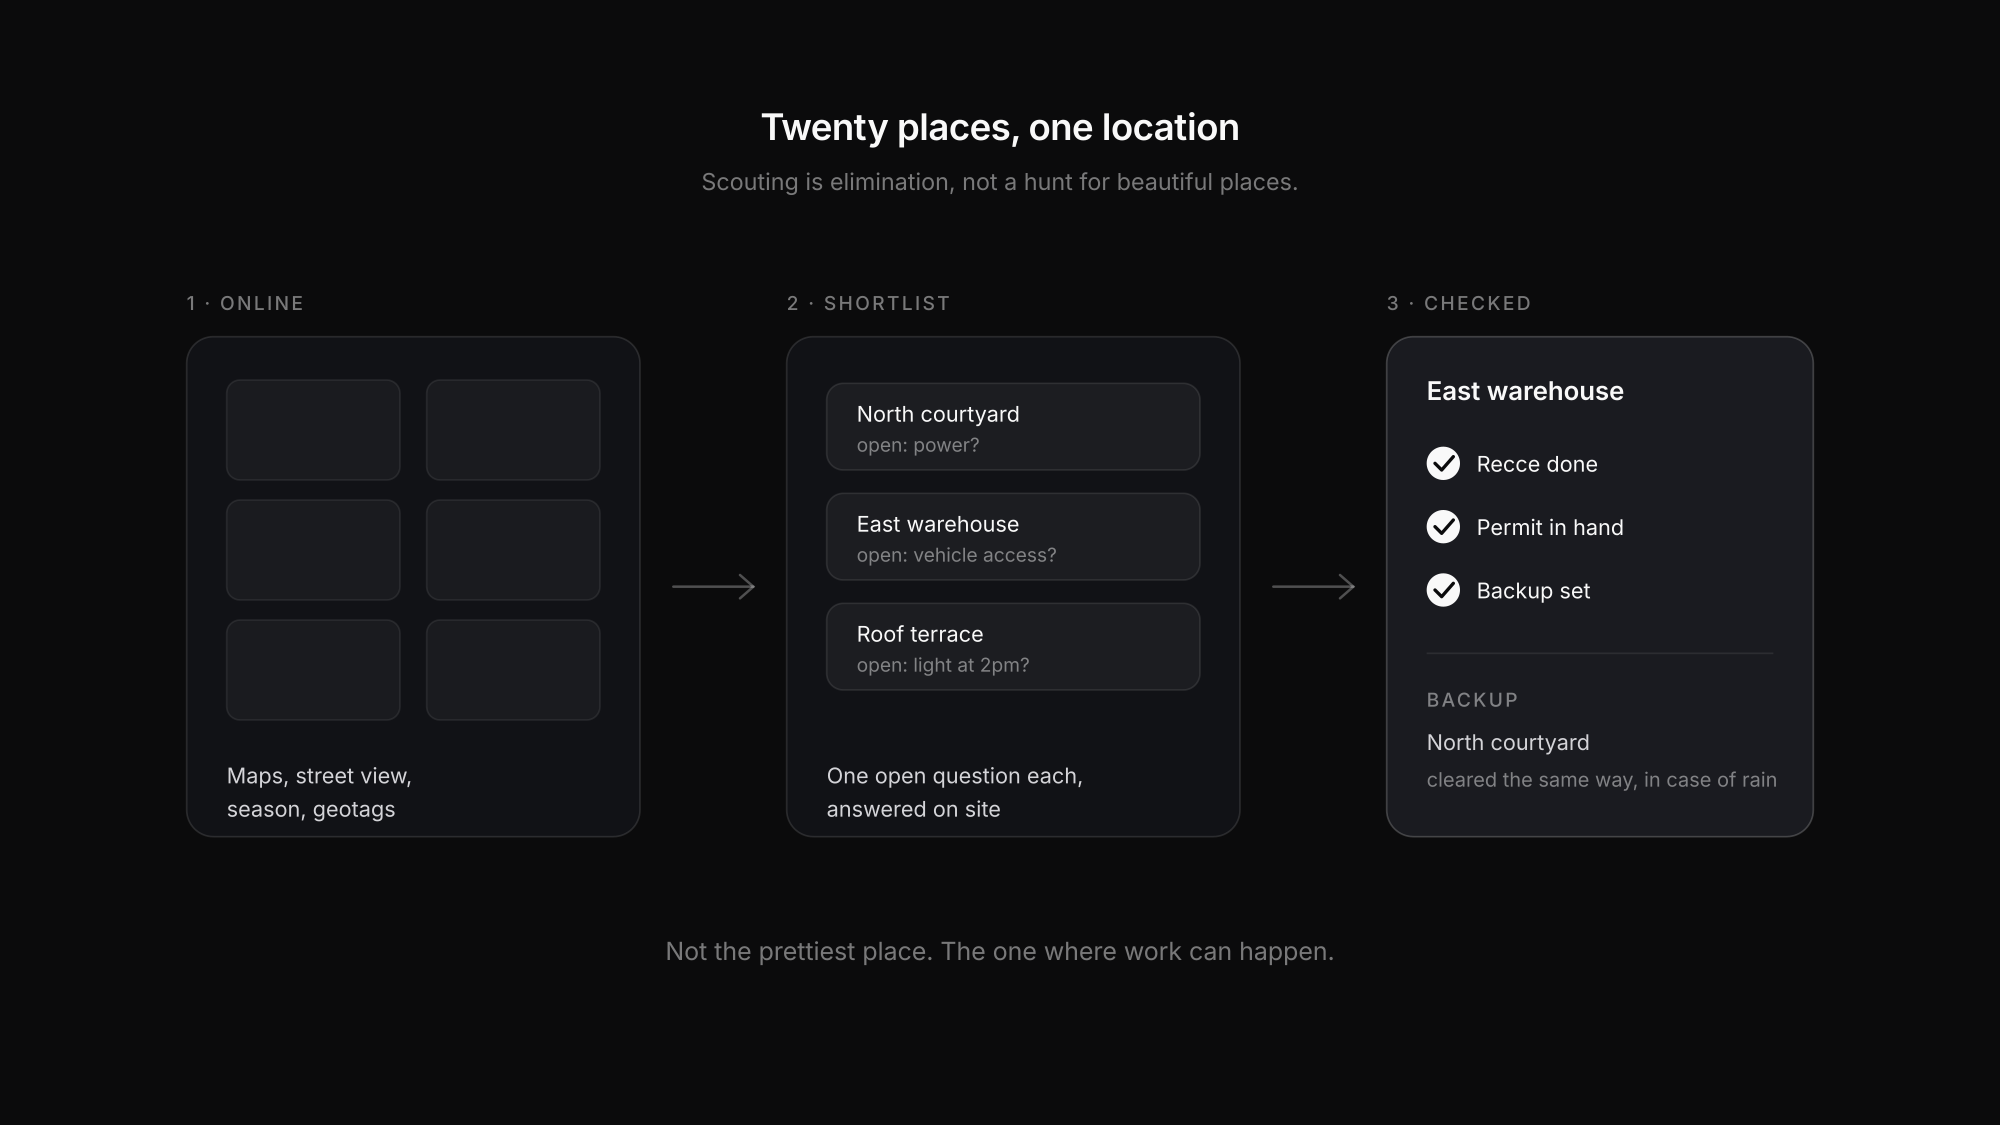
The first pass happens at your desk and serves to turn twenty options into three.
- Map services with satellite and street view. Street view shows you the facade, the surroundings and the access. Watch the capture date of the imagery — street views are often several years old, and roadworks change everything.
- The time slider in map services. Older imagery of the same place shows what the location looks like in other seasons. A courtyard with deciduous trees is a different place in February than in July.
- Photo platforms and geotags. Where people have already shot, you find images at various times of day — including the angles others chose.
- Location databases. There are platforms that broker filming locations. For unusual requirements or short notice they save real time, but cost a booking fee or day rate.
What comes out of this step is not a decision but a shortlist of three to five addresses — each with one open question you want answered on site.
Step 2: Sun position
This is where desk research hits its limit and still does the most work.
At a given time and place the sun sits at a calculable angle, described by azimuth (compass direction) and elevation (height above the horizon). Photography apps lay that path over the map for any date and hour.
In practice: you are not checking whether the location "has good light", but whether it has good light at the hour you plan to shoot.
- Is the light frontal, side-on or backlit?
- Will the subject sit in a neighbouring building's shadow at that hour?
- Where does golden hour fall that day — and does it fit the schedule?
- For interiors: when does direct light come through which window?
Two caveats. The calculation knows nothing about weather — an overcast day partly cancels direction out. And it knows nothing about shading from trees or structures absent from the map data. So it does not replace the site visit; it prepares it.
Step 3: The recce
The site visit is called a recce, short for reconnaissance. Hold it at the planned shooting time where you can, otherwise you are assessing a different light situation from the one you will work in.
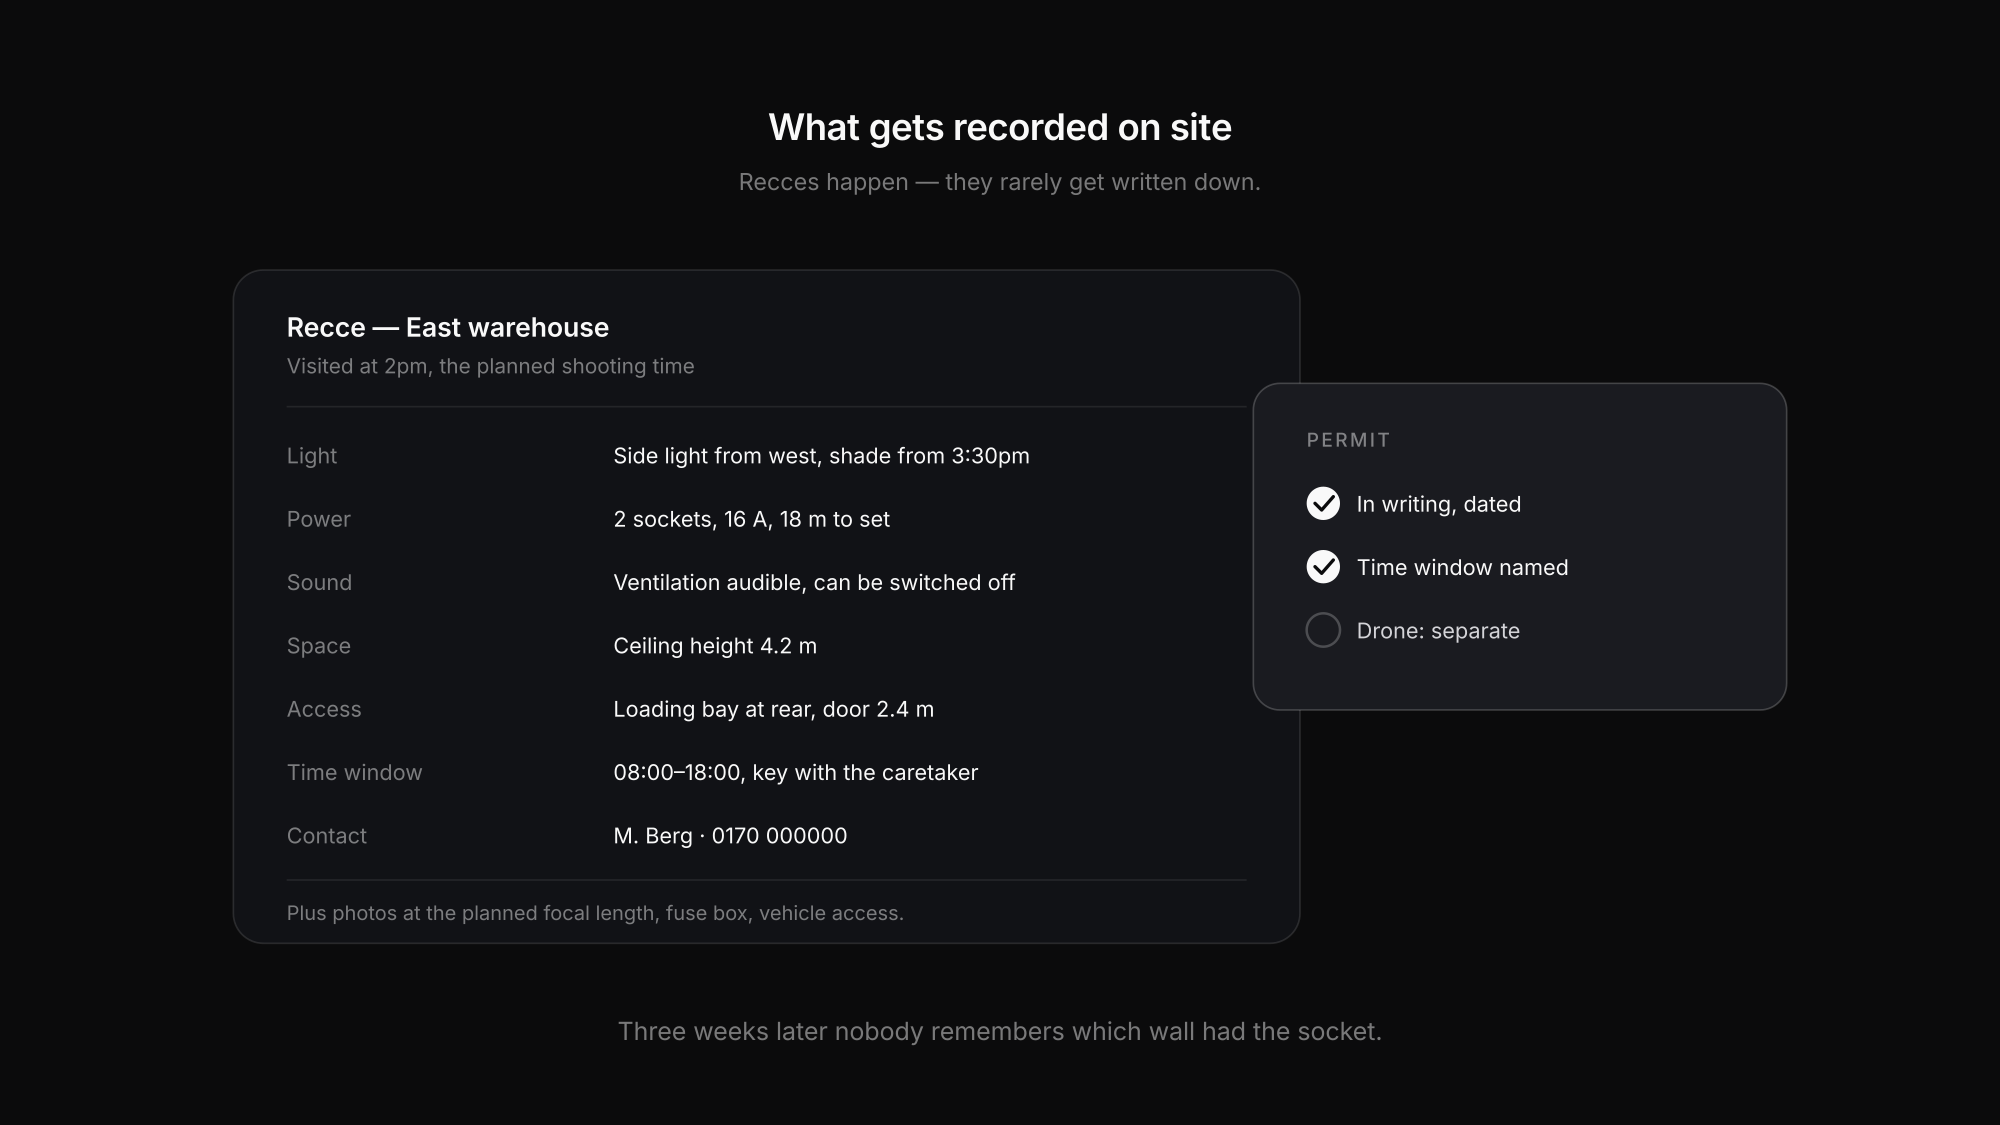
What you record — the recce checklist:
| Area | What matters |
|---|---|
| Light | Direction at shoot time, shading, mixed light from fluorescents or neon |
| Power | Sockets, circuit rating, distance to set, whether your extensions reach |
| Sound | Traffic, ventilation, reverb, neighbours, flight path, church bells |
| Space | Setup area, ceiling height, distance for your focal length, room to move |
| Access | Parking, loading zone, lift, stairs, door widths for cases |
| Facilities | Toilet, changing space, somewhere dry if it rains, water |
| Time window | When the location is available, who unlocks and locks up |
| Contact | Name, mobile number, reachable on the shoot day |
Photographs belong with it. Not pretty ones — useful ones: the space shot on a phone at the planned focal length, where the fuse box sits, the vehicle access, the room as a panorama. Those images become the basis for setup planning later — and for colleagues who were never there knowing what to expect.
Where recces usually fail: they happen, but nothing gets written down. Three weeks later nobody remembers which wall had the socket.
Step 4: Permits and the legal side
This gets concrete — and it helps to keep two things apart: where may I stand? and what may I do with the image?
In public space. On public paths, streets and squares you may generally be present and take photographs. But as soon as photography becomes a production with rigging, cordons or vehicles, that is special use of public space — and cities typically require a filming permit, often with a fee and lead time. Responsibility usually sits with the local authority or a film commission.
On private property. Here the owner's or occupier's rights apply. That includes places which merely *feel* public: shopping centres, stations, museums, many courtyards. Being allowed in is not permission to film — get that separately, in writing where you can, with the date, time window and the agreed use.
Freedom of panorama. Many jurisdictions allow works permanently situated in public space to be photographed and the images to be exploited. The scope differs sharply between countries: Germany's § 59 UrhG covers only the exterior of buildings and only from publicly accessible ground without aids such as ladders or lifts; France and Italy are considerably more restrictive, while the UK is broader for buildings and sculpture. Check the rule for the country you are shooting in rather than assuming your home rule travels.
Property release. Where a building, estate or distinctive object is recognisable in frame and the image is used commercially, a written release from the rights holder is standard — the counterpart to a model release for people. Stock agencies often require one.
Step 5: The backup location
The step almost everyone skips — and the one that saves the shoot day when it is needed.
Every exterior location needs an answer to rain. Every location with third-party access needs an answer to "the key isn't here". The backup does not have to be equivalent; it only has to make the shots possible that absolutely must happen that day — the must-haves from the shot list.
Three things make a backup usable: it is within reach, it is cleared exactly as the main location is, and the crew knows about it beforehand. A fallback someone only phones on the day is not a backup.
What scouting costs
Location scouting rarely appears as its own line in a budget — and then goes missing from the quote. These costs are real:
- Your time. Desk research plus travel plus the visit. For three locations, half a day to a full day is realistic.
- Travel. To the recce, and possibly a second trip at the intended shooting time.
- Location fees. Day rates for brokered locations, usage fees for museums, stations or private properties.
- Permit fees. Set locally, with processing time — the critical item when the date is close.
- Cancellation risk. What happens if the location is unavailable on the day? That question belongs in the quote, not in a conversation on the shoot day.
On smaller jobs it is worth showing scouting as its own line rather than letting it disappear into the day rate. It makes visible that preparation is work.
When hiring a location scout pays off
Services exist that broker locations or take the whole search off your hands. That is not competition for your own scouting, it is a question of scale.
Scout it yourself when there are one or two locations within reach, when you know the place, and when the location is not where the risk sits.
A scout or a database pays off when the requirement is unusual (an empty industrial hall with power), when the production is in a city you do not know, when the date is close, or when several locations have to be covered in one day and the travel times have to work.
The honest arithmetic: a scouting day costs money, a lost shoot day costs more.
Getting the location to the crew
A checked location is worth nothing if someone is digging through an email thread for the address on the shoot day.
What is needed on the day belongs in the call sheet: exact address, access and parking, contact with a mobile number, time window, and anything unusual from the recce. The detailed notes and photographs belong wherever the rest of the production lives — not in a folder on one laptop.
In Exportlab locations sit with the project inside production planning, together with the blocks shot there. On the day the crew sees the current block with its location rather than a PDF from the night before. Production planning is currently in beta and enabled per workspace.
Without software the same principle works: one sheet per location, always the same fields, filed next to the schedule rather than beside it.
FAQ: location scouting
What is location scouting?
The systematic search for and assessment of filming locations for a photo or film production. It covers more than finding a suitable place: light at the intended hour, power, sound, access, time window, permits and a fallback all belong to it.
What does a location scout do?
A location scout searches for suitable locations on a production's behalf, visits them, documents them photographically, and clears availability, cost and permits in advance. The output is a set of checked options with everything the production needs to decide.
Do I need a permit to photograph?
It depends where you stand and what you intend. In public space photography is generally possible; as soon as you rig, cordon off or work with vehicles, cities typically require a filming permit. On private property — including shopping centres, stations and museums — permission has to come from the rights holder, and being allowed in is not the same thing.
What is freedom of panorama?
A copyright exception that lets you photograph works permanently situated in public space and exploit the images. Its scope varies considerably by country: Germany covers only building exteriors, seen from publicly accessible ground without aids; France and Italy are narrower; the UK is broader. Check the rule where you are shooting.
How do I find a photo location near me?
Map services with satellite and street view for the first pass, photo platforms with geotags for images at different times of day, and local photography groups for places that are not mapped. After that only the visit counts: whether a location holds is decided on site, at the intended hour.
How long does location scouting take?
For a single-location shoot day, half a day is realistic — desk shortlist, travel, visit. Add several locations, an unfamiliar city or permits, and you plan in days rather than hours, because processing times at authorities are not negotiable.
Conclusion
Good location scouting is not a search for beautiful places but a process of elimination: it works out in advance what could sink a shoot day, and leaves you with the locations where work can actually happen.
Four things make the difference: check the light at the planned hour rather than in general, keep a recce record with the same fields every time, clear permits early rather than late, and set a backup before you need it. What is needed on the day goes in the call sheet — the rest belongs in the same place as the schedule.